
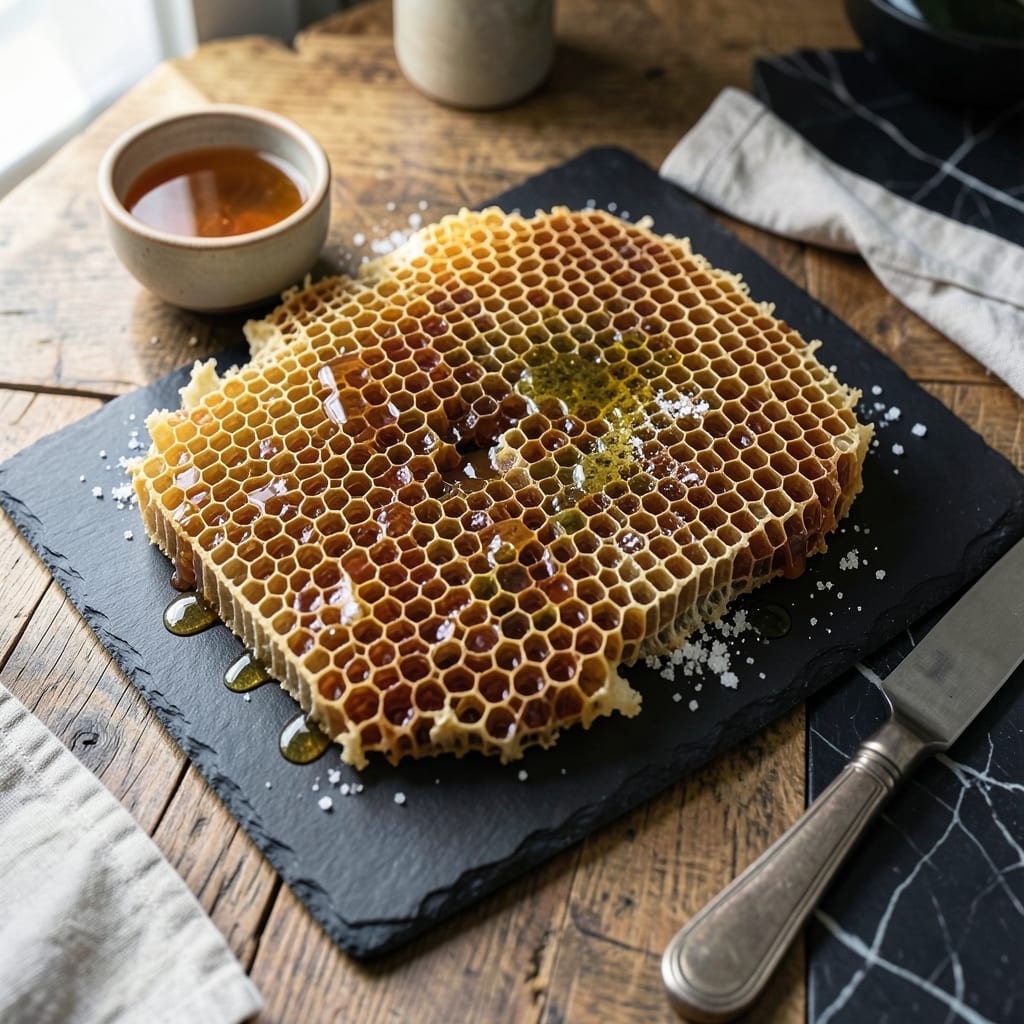
Creating edible honeycomb at home delivers a show-stopping dessert with minimal effort. This recipe transforms simple ingredients into a golden, crispy structure that melts in your mouth.
The process relies on precise temperatures and timing, ensuring the sugar mixture reaches the perfect stage for expansion. You’ll be amazed at how baking soda creates those signature air pockets.
What emerges from your kitchen will be a light, delicate confection with a honey-kissed sweetness. The texture is unlike any other candy—both airy and crunchy.
Perfect for gifting or elevating a dessert spread. This treat is simpler to make than it appears.
Ingredients for Honeycomb Recipe with Honey
Eight ingredients create this golden, airy confection with honey-kissed sweetness.
| Ingredient | Amount | Notes |
|---|---|---|
| Granulated Sugar 🍚 | 1 ½ cups | Fine grain for even melting |
| Honey 🍯 | ½ cup | Raw, unfiltered preferred |
| Baking Soda 🧂 | 2 tsp | Fresh for maximum lift |
| Corn Syrup 🫒 | ¼ cup | Light or dark variety |
| Water 💧 | 2 tbsp | Filtered for purity |
| Vanilla Extract 🌿 | 1 tsp | Pure extract for best flavor |
| Salt 🧂 | ¼ tsp | Fine grain for even distribution |
| Vegetable Oil 🫒 | 1 tbsp | For greasing pan |
The honey is non-negotiable here—local raw honey from a farmers market adds depth you won’t get from store brands. Sugar should be standard granulated (the fine stuff), not organic or turbinado. Whole Foods or Trader Joe’s carry both in bulk. Baking soda loses potency over time, so check your box’s expiration date. A fresh can makes those signature air pockets pop perfectly.
No corn syrup? Agave nectar works at a 1:1 ratio. Swap vanilla for almond extract if you want a different flavor profile. The water amount can be eyeballed—just enough to help the sugar dissolve. If you’ve got a candy thermometer, use it. If not, the hard-ball stage (250°F) is what you’re after. Don’t skip the oil for greasing—parchment paper alone won’t cut it.
This keeps 2-3 weeks in an airtight container at room temp. Humidity is the enemy, so add a silica packet if you’ve got one. Best eaten fresh though—the texture is magic right after it cools. Break into pieces just before serving.
Why You’ll Love This Recipe
- One Bowl Wonder: I love that this comes together in a single pot with just sugar, honey, and a few other pantry staples.
- Sweet & Complex: The honey adds depth that plain sugar can’t—rich, floral, and just the right amount of sticky.
- Gift-Worthy Treat: I package the broken pieces in cellophane bags for a homemade gift that always impresses.
- Stores Like Magic: Honestly, it keeps for weeks in an airtight container, so I can snack or bake with it anytime.
Step-by-Step Instructions for Honeycomb
Here’s the method I swear by for light, airy candy with that signature golden crunch.
Step 1: Prepare Your Workspace and Pan
Line a baking sheet with parchment paper, ensuring it covers all sides—this prevents sticking and makes cleanup effortless. Lightly grease the paper with the 1 tablespoon Vegetable Oil using a paper towel, spreading it thinly and evenly across the surface.
Place the baking sheet on a flat, heat-safe surface. I like to position it near the stove so it’s ready the moment the mixture is. This preparation is non-negotiable; the candy hardens almost instantly once poured, so you won’t have time to fuss with the pan later.
Step 2: Combine and Heat the Base Ingredients
In a large, heavy-bottomed saucepan, combine the 1.5 cups Granulated Sugar, 0.5 cup Honey, and 0.25 cup Corn Syrup. Stir just enough to blend the ingredients—avoid overmixing, which can cause sugar crystals to form on the sides of the pan.
Place the saucepan over medium heat and bring the mixture to a boil without stirring. Use a candy thermometer clipped to the side of the pan to monitor the temperature. You’re aiming for 300°F, the hard crack stage, where the mixture turns a deep amber color and small bubbles form a foamy layer on top.
Resist the urge to stir during this process. If sugar crystals appear on the pan’s sides, use a pastry brush dipped in 2 tablespoons Water to gently wash them down.
Step 3: Add Baking Soda and Flavorings
Once the mixture reaches 300°F, immediately remove the pan from heat. Working quickly, stir in the 2 tsp Baking Soda—this is where the magic happens. The mixture will foam up dramatically, expanding to nearly double in size as the baking soda reacts with the heat.
Next, add the 0.25 tsp Salt and 1 tsp Vanilla Extract, stirring just until combined. The vanilla adds a subtle depth, while the salt balances the sweetness. Be cautious: the mixture is extremely hot and will bubble vigorously.
Step 4: Pour, Cool, and Break
Immediately pour the foaming mixture onto the prepared baking sheet. Use a heatproof spatula to spread it into an even layer, about ¼-inch thick. Work fast—the candy begins to set within seconds.
Let it cool completely at room temperature for 20-25 minutes. You’ll know it’s ready when the edges pull away from the parchment and the surface is hard to the touch. Avoid the temptation to touch it prematurely; it retains intense heat longer than you’d expect.
Once fully cooled, break the honeycomb into pieces by hand. The texture should be light and airy, with a satisfying crunch that shatters slightly as you bite into it. Store in an airtight container at room temperature for up to 2 weeks.
Pro Tips For Making Honeycomb Recipe With Honey
- Use a Candy Thermometer: After burning two batches, I finally realized that guessing the temperature just doesn’t work—aim for 300°F (hard crack stage) and don’t walk away from the pot.
- Measure Honey Precisely: I learned this the hard way—honey is denser than sugar, so weigh it (about 7 oz per cup) instead of scooping, or your honeycomb will spread too thin.
- Skip Stirring After Boiling: Resist the urge to stir once it starts boiling—this can cause crystallization, and your honeycomb will turn grainy instead of light and airy.
- Add Baking Soda Last: Sounds weird, but it works: whisk in the baking soda right before pouring—it reacts immediately to create those airy bubbles, so timing is everything.
Health Benefits of honeycomb recipe with honey
Natural Energy Source
This creation delivers a quick energy boost thanks to the natural sugars in honey, which provide 17g of carbohydrates per tablespoon. The glucose and fructose are absorbed at different rates, giving you both immediate and sustained energy. I always reach for this when I need a mid-afternoon pick-me-up. 💪
Rich in Antioxidants
Raw honey contains phenolic acids and flavonoids, powerful antioxidants that combat oxidative stress. These compounds help protect your cells from damage and may reduce inflammation. Darker honey varieties, like buckwheat, tend to have higher antioxidant levels.
Soothes Sore Throats
Honey has been used for centuries as a natural remedy for coughs and sore throats. Its thick consistency coats the throat, while its antibacterial properties may help fight infections. I like to dissolve a piece slowly for relief when I feel a scratchy throat coming on.
Prebiotic Benefits
The small amounts of oligosaccharides in honey act as prebiotics, promoting the growth of beneficial bacteria in your gut. A healthy gut microbiome supports digestion and immune function. This makes your treat not just delicious, but gut-friendly too. 🌱
Minimal Fat Content
Unlike many candy options, this honey-based creation contains virtually no fat. The primary ingredients—sugar, honey, and corn syrup—are fat-free, making it a lighter indulgence. Just remember that moderation is key, as it’s still high in calories.
Natural Cough Suppressant
Studies show honey can be as effective as some over-the-counter cough medicines. The World Health Organization even recognizes honey as a natural cough remedy. Keep some on hand during cold and flu season for a sweet, soothing treatment. 💛
Nutrition Facts
Frequently Asked Questions
Why does the mixture need to reach 300°F?
Reaching 300°F ensures the sugar reaches the hard crack stage. This is crucial for creating the right texture and allowing the baking soda to create those signature air pockets.
Can I make this without a candy thermometer?
Yes, but it’s tricky. Test by dropping a bit into cold water—if it forms hard, brittle threads, it’s ready. This method is less precise than using a thermometer, though.
What happens if I stir the mixture too much while heating?
Over-stirring can cause sugar crystals to form on the pan sides, leading to a grainy texture. Stir just enough to combine initially, then let it cook undisturbed.
How can I store leftovers to keep them fresh?
Keep pieces in an airtight container at room temperature for up to 2 weeks. Add a silica packet to guard against humidity, which can make them sticky.

- 6 Egg Cake Recipe with Oil: Light as Air With Buttery Moisture - October 4, 2026
- 4 Bean Casserole Recipe: One-Pan Heartiness With Smoky Paprika Depth - October 4, 2026
- 3-Ingredient Keto Mug Cake Recipe: Microwave Magic in 2 Minutes - October 4, 2026