
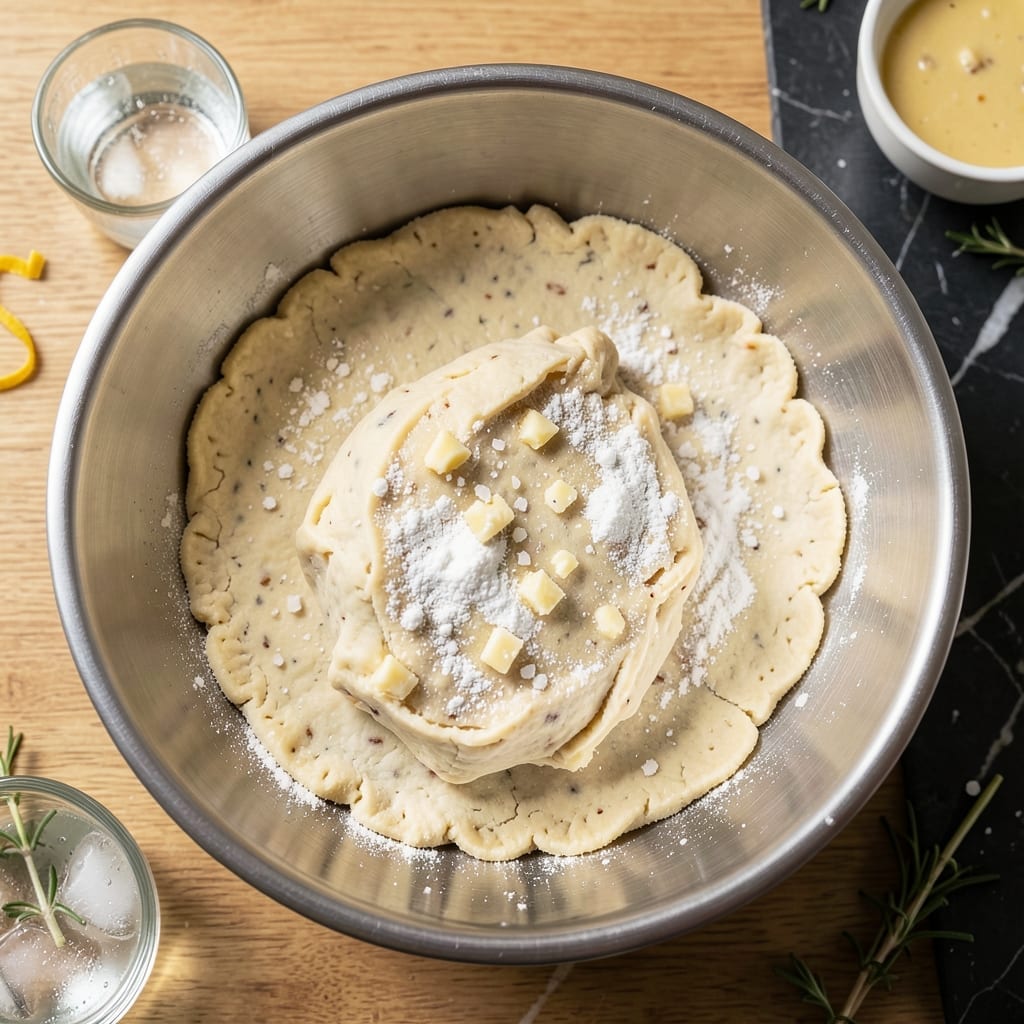
Achieving flaky pie crust at home is simpler than you think with a KitchenAid mixer. This method delivers professional results without the guesswork.
The mixer handles the cold butter and flour combination perfectly, creating that essential layered texture. No overworking the dough—just precise mixing for tender, crisp crusts every time.
After chilling, the dough rolls out smoothly, ready for any pie filling. The layers separate beautifully during baking, giving you that golden, flaky finish.
Perfect for beginners and experienced bakers alike. This technique ensures consistent, bakery-quality results with minimal effort.
Ingredients for Kitchenaid Pie Crust Recipe Video
Cold butter, precise mixing, and minimal effort yield bakery-quality results every time.
| Ingredient | Amount | Notes |
|---|---|---|
| All-Purpose Flour 🌾 | 2 ½ cups | Sifted, plus extra for dusting |
| Unsalted Butter 🧈 | 1 cup | Cold, cut into 1/2-inch cubes |
| Ice Water 💧 | ¼ cup | Plus 1 tbsp as needed |
| Granulated Sugar 🍚 | 1 tsp | Optional, for sweet crusts |
| Fine Sea Salt 🧂 | 1 tsp | Diamond Crystal preferred |
| White Vinegar 🍋 | 1 tbsp | Or apple cider vinegar |
| Heavy Cream 🥛 | 2 tbsp | Optional, for extra tenderness |
| Vanilla Extract 🌿 | ½ tsp | For sweet pie crusts only |
The butter must stay cold—cut it into cubes and chill for 10 minutes before starting. Use all-purpose flour with moderate protein content (10-12%). King Arthur Flour is ideal for consistent texture. The vinegar tenderizes the gluten, but don’t overmix. A KitchenAid mixer with the paddle attachment ensures even distribution without warming the dough.
No vinegar? Lemon juice at equal amount works. For a richer crust, swap 2 tbsp cream for ice water. Sweet crusts benefit from vanilla extract, but omit for savory pies. If using salted butter, reduce added salt by half. The dough should hold together when pressed but not be sticky—add water 1 tsp at a time.
Chill the dough at least 1 hour before rolling—overnight is even better. Wrapped tightly, it keeps in the fridge for 3 days or freezer for 3 months. For best flakiness, let it sit at room temperature 5-10 minutes before rolling to prevent cracking.
Why You’ll Love This Recipe
- Hands-Off Mixing: The stand mixer does all the work—just pulse the cold butter and flour until crumbly, then drizzle in ice water.
- Buttery, Flaky Layers: That unsalted butter and ice water combo creates the most tender, golden crust I’ve ever pulled from the oven.
- Penny-Pincher’s Dream: All-purpose flour, butter, and a pinch of sugar and salt—no fancy ingredients, just pantry staples.
Step-by-Step Instructions for Kitchenaid Pie Crust
Master the technique for perfect flaky layers using your stand mixer every time.
Step 1: Pulse Dry Ingredients in Mixer
Fit your stand mixer with the paddle attachment. Add the 2.5 cups All-Purpose Flour, 1 tsp Fine Sea Salt, and 1 tsp Granulated Sugar to the bowl. Pulse on low speed for 3-4 seconds just until combined—overmixing at this stage develops gluten, which ruins the flaky texture.
You want the dry ingredients evenly distributed without compacting them. The mixture should look like coarse sand with no visible salt or sugar crystals. This brief mixing ensures the salt and sugar integrate fully without activating the flour’s proteins prematurely.
Step 2: Cut in Cold Butter Until Pea-Sized
Add the 1 cup Unsalted Butter, cut into ½-inch cubes, to the flour mixture. With the mixer on low speed, mix for 20-30 seconds until the butter pieces are coated with flour and reduced to roughly pea-sized crumbs.
Stop the mixer and check the texture—the largest butter pieces should be no bigger than peas, with some smaller, sand-like particles. This uneven distribution of butter sizes is crucial; the larger pieces create steam pockets for flakiness, while the smaller ones add tenderness. If any butter has fully melted, chill the bowl for 10 minutes before proceeding.
Step 3: Stream in Wet Ingredients Gradually
In a small bowl, combine the 0.25 cup Ice Water, 1 tbsp White Vinegar, 2 tbsp Heavy Cream, and 0.5 tsp Vanilla Extract. With the mixer running on low speed, slowly pour in the liquid mixture, 1 tablespoon at a time, through the feed tube.
Add just enough liquid for the dough to come together when pressed—it should look shaggy and slightly crumbly, not smooth. Overworking the dough at this stage develops gluten, so stop as soon as the flour is moistened. If the dough feels too dry, add the reserved 1 tablespoon of ice water, but no more.
Step 4: Chill for Optimal Texture
Turn the dough out onto a lightly floured surface and gently shape it into a 1-inch thick disc. Wrap it tightly in plastic wrap and refrigerate for at least 1 hour, or up to 2 days. This resting period allows the flour to fully hydrate and the butter to firm up.
During this time, the vinegar tenderizes the gluten while the cold butter solidifies, ensuring distinct layers form during rolling and baking. Don’t skip this step—chilled dough handles better and resists shrinking during baking. The dough is ready when it’s firm to the touch but not rock-hard.
Step 5: Roll and Shape for Baking
On a lightly floured surface, roll the chilled dough into a 12-inch circle, about ⅛-inch thick. Rotate the dough 90 degrees after every few rolls to prevent sticking and ensure even thickness. Use a dry pastry brush to sweep off excess flour as you work.
Transfer the dough to your pie dish, easing it into the corners without stretching. Trim the edges to leave a ½-inch overhang, then fold and crimp decoratively. For a pre-baked crust, dock the bottom with a fork and blind bake at 375°F for 15-20 minutes until light golden brown.
Pro Tips For Making Kitchenaid Pie Crust Recipe Video
- Chill the Butter: Cut the butter into 1/2-inch cubes and freeze for 10-15 minutes before mixing—I learned this the hard way after ending up with a tough crust from butter that was too soft.
- Use Ice Water: Measure your water first, then add ice cubes to it so it stays frigid while mixing; warm water makes the dough sticky and hard to handle.
- Don’t Overmix: Stop the mixer as soon as the dough just comes together—overworking it develops gluten, and you’ll end up with a chewy crust instead of a flaky one.
- Rest the Dough: Let the dough rest in the fridge for at least 30 minutes before rolling; it relaxes the gluten and makes it easier to shape without cracking.
Health Benefits of This Recipe
Gluten Considerations
While this crust uses all-purpose flour, the vinegar helps inhibit gluten formation, making it slightly easier to digest. The cold butter and minimal mixing also reduce gluten development, which is why we get those beautiful flaky layers instead of a tough crust.
Heart-Healthy Fats
The unsalted butter provides healthy fats that your body needs for energy and vitamin absorption. While it’s high in saturated fat, the small amount per serving (about 12g per slice) fits into a balanced diet. I always use high-quality butter for better flavor and nutrition. 💪
Vitamin Enrichment
If you opt for the heavy cream in this recipe, you’ll add a boost of vitamin A and calcium. A single crust made with cream provides about 10% of your daily calcium needs. The ice water keeps the dough tender while adding no extra calories.
Low Sugar Option
With only 1 tsp of sugar in the entire crust, this recipe keeps added sugars minimal. For a savory pie, you can omit the sugar entirely without affecting texture. The vanilla extract in sweet versions adds flavor without significant sugar content.
Portion Control
A standard 1/8 slice of pie crust contains roughly 200-250 calories, making it a reasonable indulgence. The flaky texture satisfies cravings with smaller portions. I find that a well-made crust makes the whole pie more enjoyable with less filling needed. 💛
Dietary Flexibility
This recipe easily adapts to dietary needs. Swap the all-purpose flour for a 1:1 gluten-free blend if needed, and use coconut oil instead of butter for a dairy-free version. The technique remains the same, and the results are just as impressive.
Nutrition Facts
Frequently Asked Questions
What attachment should I use in my KitchenAid?
Use the paddle attachment for pie crust dough. It mixes the cold butter and flour evenly without overworking the gluten, which is key for flaky layers. Avoid the dough hook—it develops too much gluten.
How cold should the butter be?
Keep butter at 35-40°F (fridge-cold). Cut into ½-inch cubes and chill 10 minutes before mixing. If butter softens during mixing, pause and refrigerate the bowl.
Why does the recipe include vinegar?
The 1 tbsp vinegar tenderizes the gluten, preventing toughness. It also helps the dough stay workable during rolling. You can substitute lemon juice if needed.
Can I make this dough ahead?
Yes! Wrap tightly and refrigerate up to 2 days or freeze for 3 months. Let it warm slightly at room temperature before rolling to prevent cracking.

- 6 Egg Cake Recipe with Oil: Light as Air With Buttery Moisture - October 4, 2026
- 4 Bean Casserole Recipe: One-Pan Heartiness With Smoky Paprika Depth - October 4, 2026
- 3-Ingredient Keto Mug Cake Recipe: Microwave Magic in 2 Minutes - October 4, 2026