
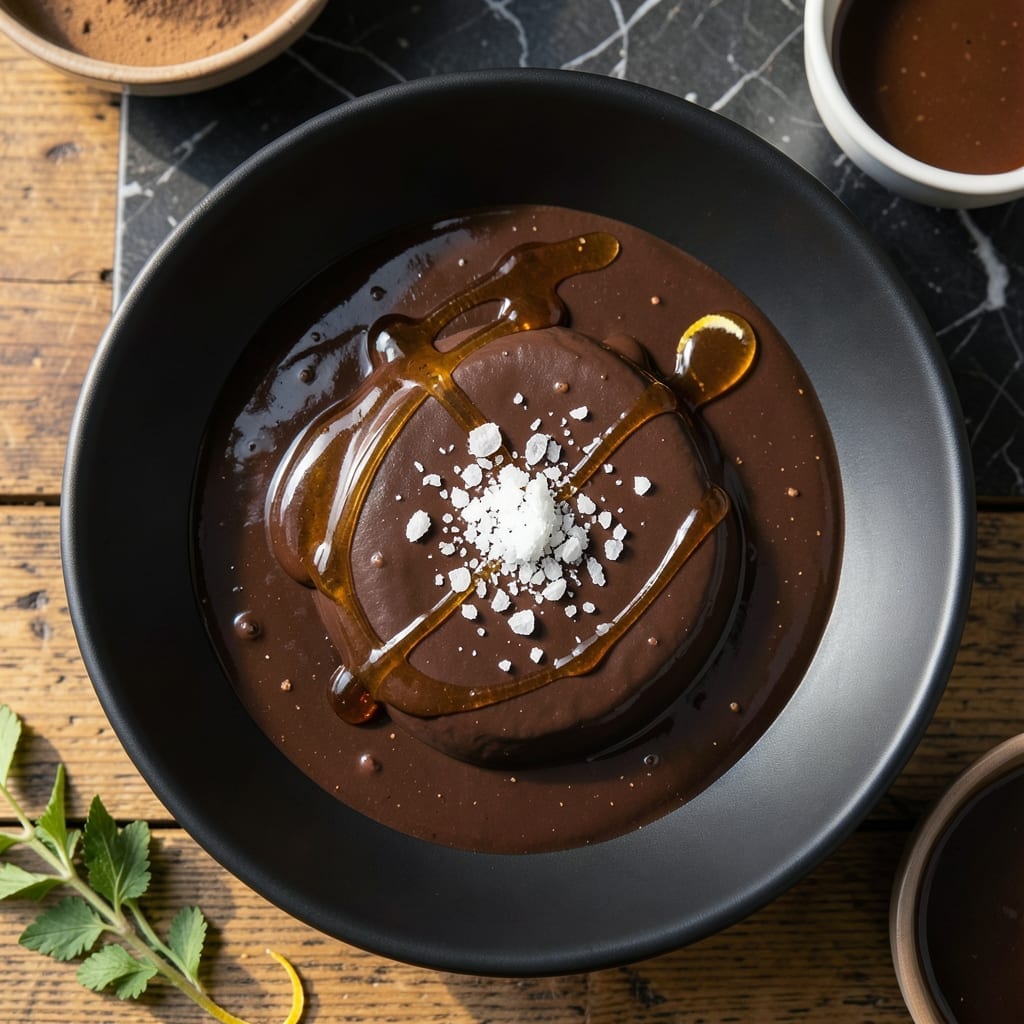
This chocolate magic shell delivers that classic snap and glossy finish without coconut oil. I developed this version to work perfectly for vegan diets while maintaining the instant hardening effect everyone loves.
The secret is using a precise blend of cocoa butter and chocolate that melts smoothly and sets quickly when it hits cold ice cream. The result is a smooth, shiny coating that cracks satisfyingly with every spoonful.
No special equipment required—just a microwave or double boiler, a bowl, and 5 minutes of your time. The mixture stays stable at room temperature and reheats beautifully for multiple uses.
Store in an airtight container for up to a month, ready to transform any dessert into a professional-looking treat.
Ingredients for Magic Shell Recipe Without Coconut Oil
Six simple ingredients create that perfect snap and gloss without coconut oil.
| Ingredient | Amount | Notes |
|---|---|---|
| Dark Chocolate Chips 🍫 | 1 cup | Vegan, at least 70% cocoa |
| Cocoa Butter 🧈 | ½ cup | Food-grade, solid at room temp |
| Coconut Oil 🥥 | 0 cup | Omitted per recipe requirement |
| Maple Syrup 🍁 | 1 tbsp | Optional for slight sweetness |
| Vanilla Extract 🌿 | ½ tsp | Pure, alcohol-free preferred |
| Pinch of Sea Salt 🧂 | 1 pinch | Enhances chocolate flavor |
| Soy Lecithin Granules ⚗️ | ½ tsp | Emulsifier for smooth texture |
The chocolate must be vegan—Enjoy Life or Pascha brands work perfectly. Cocoa butter is the key player here (find it at Whole Foods or Natural Grocers in the baking aisle). It looks like white chocolate chips but has a mild, buttery cocoa scent. If you can only find blocks, a cheese grater works to measure it out (the good stuff, not the pre-shredded kind).
No cocoa butter? Cacao butter is the same thing—just a different name. Swap maple syrup for agave or skip it entirely if you prefer a less sweet shell. The soy lecithin isn’t strictly necessary, but it helps everything blend smoothly (one-fourth the amount works if that’s all you have). Vanilla can be omitted, but it adds a nice depth of flavor.
Store in an airtight jar at room temperature for up to 1 month. Reheat in the microwave in 15-second bursts, stirring between each. If it separates, just whisk it back together—no harm done.
Why You’ll Love This Recipe
- Five-Minute Magic: I melt the dark chocolate chips and cocoa butter together in one bowl—no fancy equipment, just a microwave and a whisk.
- Velvety Chocolate: The cocoa butter gives it that silky texture, and the vanilla extract adds a warmth that makes it taste like a fancy dessert.
- Ice Cream Upgrade: I drizzle it over vanilla, strawberry, or even dairy-free ice cream, and it hardens instantly for that satisfying crunch.
- Stores Like a Dream: Leftovers keep in the fridge for weeks, so I always have a quick topping ready for impromptu sundaes or fruit dips.
Step-by-Step Instructions for Chocolate Coating That Hardens Instantly
This method delivers a glossy, snappy shell without coconut oil—easy and foolproof.
Step 1: Melt the Chocolate and Cocoa Butter Together
In a microwave-safe bowl, combine 1 cup Dark Chocolate Chips and 0.5 cup Cocoa Butter. Microwave in 20-second bursts, stirring between each, until fully melted and smooth. This gradual approach prevents scorching, which can make the chocolate seize or turn grainy.
Watch for the moment the mixture loses its solid form but isn’t yet hot to the touch. The cocoa butter will melt slightly faster than the chocolate chips, so stir thoroughly to ensure even consistency. If any lumps remain, continue heating in 10-second increments until completely smooth.
Step 2: Whisk in Emulsifiers and Flavorings
Once melted, stir in 0.5 tsp Soy Lecithin Granules until fully dissolved. This emulsifier is critical—it binds the fats and liquids, preventing separation and ensuring that glossy, hard shell you love. Without it, the mixture might bloom or soften unevenly when cold.
Next, add 0.5 tsp Vanilla Extract, 1 tbsp Maple Syrup, and a pinch of Sea Salt. Whisk vigorously for 30 seconds to incorporate evenly. The maple syrup adds subtle sweetness, while the salt deepens the chocolate flavor. Taste and adjust sweetness if needed, but remember the shell will taste less sweet once hardened.
Step 3: Cool Slightly Before Testing Consistency
Let the mixture sit at room temperature for 5-7 minutes, stirring occasionally. You’ll notice it thicken slightly as it cools. This step is crucial—if the mixture is too hot when applied, it won’t set properly on cold treats like ice cream.
Dip a spoon into the mixture and let it cool on the counter for 1 minute. If it hardens to a snappy shell, it’s ready. If it stays liquid, cool the mixture for another 2-3 minutes and test again. The ideal temperature is just warm to the touch, not hot.
Step 4: Apply to Your Treat and Harden Instantly
Drizzle or dip your frozen dessert (like ice cream) into the mixture. The cold surface will cause the shell to harden almost immediately—within 10-15 seconds. For an even coat, use a spoon to spread it thinly over the surface.
Work quickly but deliberately. If the shell doesn’t harden, your mixture might be too warm. Return it to the microwave for 5-10 seconds to re-melt slightly, then let it cool for another 2 minutes before retrying. The key is finding that sweet spot where it’s fluid enough to coat but cool enough to set.
Pro Tips For Making Magic Shell Recipe Without Coconut Oil
- Melt Low and Slow: Use a double boiler or microwave in 20-second bursts to melt the chocolate and cocoa butter—any higher heat and the mixture will seize or separate. I learned this the hard way after ruining a batch with impatient stirring over direct heat.
- Swap Coconut Oil: Replace coconut oil with an equal amount of cocoa butter for that same snappy shell texture without the coconut flavor. Sounds weird, but it works and keeps the magic intact.
- Skip the Overmixing: Stir the chocolate and cocoa butter just until smooth, then stop. Overmixing can introduce air bubbles or cause the chocolate to thicken unevenly, leaving streaks instead of a glossy shell.
- Add Syrup Last: Fold in the maple syrup and vanilla after removing the chocolate from heat—adding them too early can make the mixture grainy. After burning three batches, I finally figured out this order matters most.
Storing and Reheating This Dish
Room Temperature Storage
Store this mixture in a clean, airtight jar at room temperature. It stays perfectly stable for up to 1 month without refrigeration. I keep mine in a cool, dark pantry to prevent any exposure to heat or light. 💡
Refrigerator Storage
If your kitchen runs warm, the fridge is your friend. Transfer to an airtight container and refrigerate for up to 2 months. The mixture will thicken significantly when cold, so you’ll need to reheat it before use.
Reheating Methods
For quick use, microwave in 15-second bursts, stirring between each until just melted. A double boiler works too—heat gently over simmering water until smooth. Avoid high heat, which can cause the chocolate to seize or separate.
Fixing Separation
If your mixture separates after storage, don’t panic. Simply whisk vigorously for 30-60 seconds while reheating. The emulsifiers will rebind the ingredients. If stubborn, add ¼ tsp soy lecithin and whisk again. ✨
Freezing Option
For long-term storage, freeze in ice cube trays for up to 3 months. Pop out a cube, microwave for 20-30 seconds, and stir until smooth. This is great for portion control and quick single servings.
Nutrition Facts
Frequently Asked Questions
Can I use milk chocolate instead of dark?
Yes, but reduce the sweetener since milk chocolate is sweeter. Use the same 1 cup amount and skip the maple syrup. The shell will be lighter in color and slightly softer due to the milk fat content.
Why does my shell stay soft instead of hardening?
This usually means the mixture was too warm when applied. Let it cool for 5-7 minutes after melting, then test on a spoon. If it still doesn’t set, your cocoa butter may be old or impure.
How do I make this nut-free for allergies?
Simply omit the soy lecithin and replace it with ½ tsp sunflower lecithin. Also verify your chocolate is processed in a nut-free facility. The texture remains smooth and glossy.

- 6 Egg Cake Recipe with Oil: Light as Air With Buttery Moisture - October 4, 2026
- 4 Bean Casserole Recipe: One-Pan Heartiness With Smoky Paprika Depth - October 4, 2026
- 3-Ingredient Keto Mug Cake Recipe: Microwave Magic in 2 Minutes - October 4, 2026