
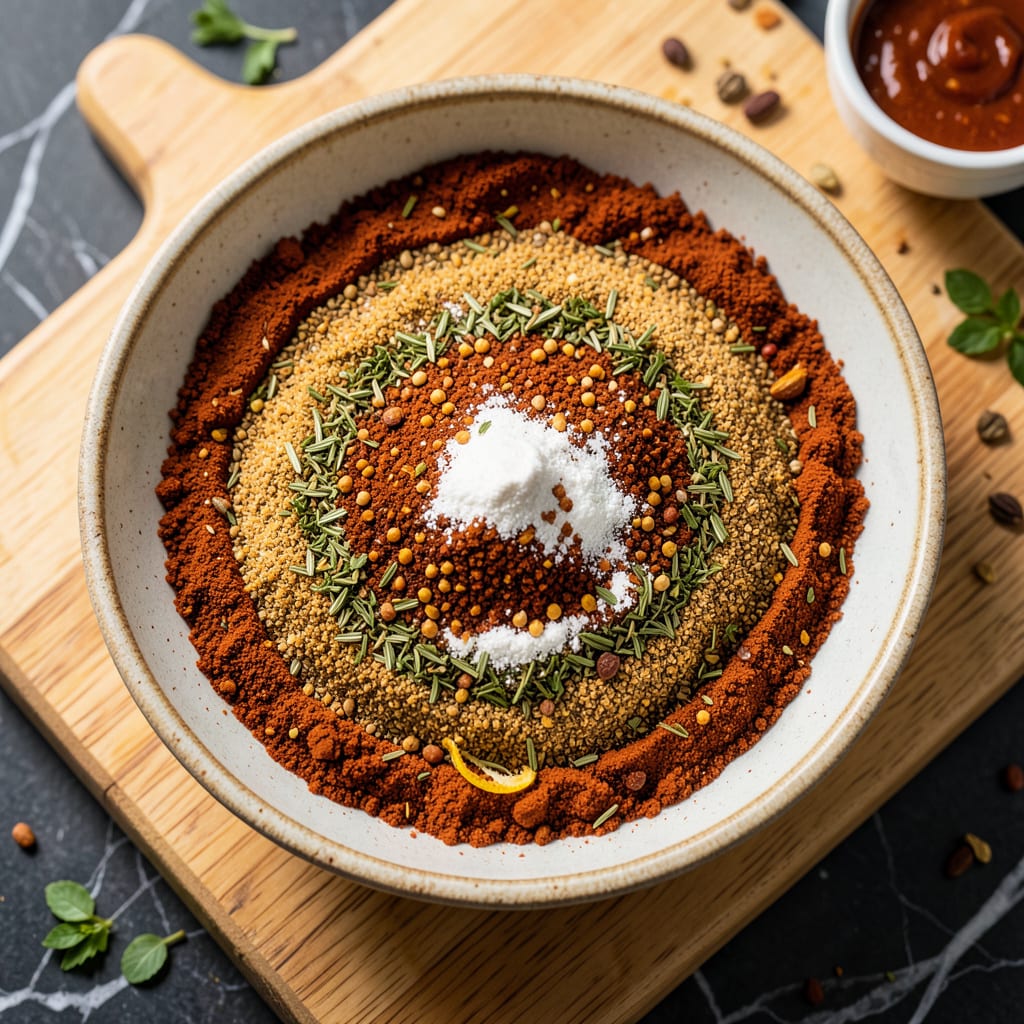
Creating your own homemade chili seasoning blend means never running out of that signature McCormick flavor when you need it most. This precise copycat version replicates the balanced warmth, subtle heat, and savory depth of the original packet—using just eight common pantry spices you likely already have.
Mix a single batch for immediate use or scale up to keep a 6-month supply in your spice cabinet. Use exactly 2 tablespoons per pound of ground beef for chili that tastes just like the classic, without the store-bought markup or last-minute grocery runs. The secret lies in the exact ratio of chili powder to cumin, carefully calibrated to match McCormick’s iconic profile.
Ingredients for Mccormick Chili Seasoning Recipe Copycat
Eight pantry spices blend perfectly to recreate that classic McCormick chili flavor you know and love.
| Ingredient | Amount | Notes |
|---|---|---|
| Chili Powder 🌶️ | 4 tbsp | Medium heat, not hot |
| Ground Cumin 🌿 | 2 tbsp | Freshly toasted preferred |
| Garlic Powder 🧄 | 1 tbsp | Not garlic salt |
| Onion Powder 🧅 | 1 tbsp | Freshly ground if possible |
| Dried Oregano 🍃 | 1 tsp | Mexican variety preferred |
| Paprika 🌶️ | 1 tsp | Sweet or smoked variety |
| Salt 🧂 | 1 tsp | Fine sea salt preferred |
| Black Pepper 🌶️ | ½ tsp | Freshly ground preferred |
| Cayenne Pepper 🔥 | ¼ tsp | Adjust for heat preference |
[recipeingredientscaler]
The chili powder and cumin are doing most of the heavy lifting here—Penzeys or bulk bins at natural food stores have the freshest options. If you’re buying pre-packaged, check the expiration date (spices lose potency fast). I always grab Mexican oregano when I can find it—it’s earthier than the Italian kind. For the paprika, sweet or smoked both work, but smoked adds that subtle depth McCormick’s blend is known for.
No cayenne? Red pepper flakes at half the amount get you close. The salt is crucial for balancing flavors, so don’t skip it—fine sea salt dissolves better than kosher in dry mixes. If you’re scaling up, toast the cumin seeds in a dry pan first, then grind—it makes a huge difference. The garlic and onion powders should be pure, not mixed with salt or anti-caking agents.
Store this in an airtight container away from light and heat. Keeps 6 months at peak flavor (though it’s safe longer). I make a double batch—one for now, one for later. Use 2 tablespoons per pound of ground beef just like the original packet. Pro tip: label your jar with the date so you remember when to refresh.
Why You’ll Love This Recipe
- No Measuring Madness: Honestly, this is my kind of recipe—just dump, stir, and you’re done. Five spices (chili powder, cumin, garlic, onion, oregano) in one bowl, no fancy tools, no stress. I’ve made it half-asleep on a Sunday morning, and it still turns out perfect.
- That McCormick Magic: Here’s what sold me—the first time I tasted it, I swore it was the store-bought packet. The cumin and garlic powder hit just right, warm and savory without overpowering, while the oregano sneaks in that herby brightness. My picky nephew didn’t even notice it was homemade.
- Batch & Forget It: I triple the recipe once a month, stash it in a mason jar, and suddenly weeknight chili (or tacos, or meatloaf, or… you get it) becomes a 5-minute flavor boost. No last-minute store runs, no expired packets lurking in the pantry. Between us, it’s saved me on more than one “what’s for dinner?” panic.
- Pennies per Serving: A single batch costs less than a packet—and makes way more. Those five spices are kitchen staples I already own, so it’s basically free flavor. I’ll be real: the first time I did the math, I felt a little robbed for all the years I bought the pre-made stuff. (Worth it.)
Step-by-Step Instructions for Homemade Chili Seasoning
Here’s the simple method to create a perfectly balanced spice blend that rivals the store-bought version.
Step 1: Select and Prepare Your Spices
Begin by gathering all your spices. I recommend using freshly toasted ground cumin for maximum flavor—you can toast whole cumin seeds in a dry skillet for 1-2 minutes until fragrant, then grind them. The chili powder should be medium heat, not hot, to match the classic McCormick profile.
For the garlic powder and onion powder, freshly ground versions will give you the most vibrant flavor, but store-bought works perfectly fine. Make sure your dried oregano is Mexican variety if possible—it has a slightly different flavor profile that works beautifully in this blend.
Step 2: Combine the Base Spices
In a medium mixing bowl, add the 4 tbsp chili powder and 2 tbsp ground cumin. These two spices form the foundation of your blend, providing that classic chili flavor. Use a whisk to break up any clumps and combine them thoroughly.
The chili powder should be evenly distributed with the cumin—this ensures every spoonful of your finished blend has consistent flavor. At this stage, you’ll notice the rich red color starting to develop, which is exactly what you want for that authentic chili seasoning appearance.
Step 3: Add the Aromatic Elements
Now incorporate the 1 tbsp garlic powder, 1 tbsp onion powder, and 1 tsp dried oregano. These ingredients add depth and complexity to your blend. The garlic powder should be pure—make sure you’re not accidentally using garlic salt, which would make your blend too salty.
Whisk vigorously for about 30 seconds until all ingredients are completely integrated. You’ll start to smell the wonderful aroma of the spices combining—this is when you know the blend is coming together properly. The texture should be uniform with no visible separation of spices.
Step 4: Balance with Final Seasonings
Add the 1 tsp paprika, 1 tsp salt, 0.5 tsp black pepper, and 0.25 tsp cayenne pepper. The paprika adds beautiful color and a subtle sweetness, while the cayenne provides just a hint of heat. If you prefer a milder blend, you can reduce the cayenne to just a pinch.
Whisk everything together for another full minute to ensure perfect distribution. The final blend should have a consistent reddish-brown color throughout. Taste a tiny pinch on your fingertip—you should detect warm, earthy notes with just a whisper of heat at the finish.
Step 5: Store for Maximum Freshness
Transfer your homemade chili seasoning to an airtight container. I prefer glass jars with tight-fitting lids to preserve freshness. Store in a cool, dark place like your spice cabinet—it will maintain peak flavor for up to 6 months.
Before each use, give the jar a quick shake to redistribute any settled spices. This blend makes enough for about 4 batches of chili, so you’ll have plenty on hand. The flavor actually improves slightly after a day or two as the spices meld together, so don’t be afraid to make it ahead of time.
Storing and Reheating This mccormick chili seasoning recipe copycat
Short-Term Storage
For immediate use, keep your homemade blend in a small glass jar with a tight-fitting lid—I love using 4-ounce mason jars for this. Store it in your spice cabinet or pantry, away from direct light and heat sources. The blend will stay fresh and potent for at least 6 months this way. 🌿
Long-Term Storage
If you’ve made a bulk batch, portion it into vacuum-sealed bags or airtight containers before freezing. This preserves the spices’ essential oils for up to 12 months. I label each bag with the date and “Chili Seasoning” to avoid confusion. When ready to use, let it come to room temperature before opening to prevent moisture condensation.
Usage Tips
Remember the golden ratio: 2 tablespoons per pound of ground beef—just like the original McCormick packet. For vegetarian chili, use the same amount per 2 cups of beans or meat substitute. Always give the jar a quick shake before measuring to ensure even distribution of spices.
Revival Trick
If your blend seems less aromatic after several months, revive it by dry-toasting 1 teaspoon in a skillet for 30 seconds before adding to your chili. This releases the essential oils again. I do this with older batches and it works like magic.
Scaling Advice
This recipe makes enough for about 4 batches of chili. To scale up, multiply all ingredients by 4 for a 1-year supply (16 batches). Store the bulk amount in a large airtight container and refill your small jar as needed. The flavor actually improves after 24 hours as the spices meld.
Moisture Warning
Never store this blend in the refrigerator—the humidity will cause clumping. If you notice any moisture, spread the spices on a baking sheet and dry in a 200°F oven for 10 minutes, then cool completely before returning to storage. This happens sometimes in humid climates. ✨
Nutrition Facts

- 303 Sauce Recipe: Smoky Chipotle and Tomato Base for Bold Flavors - October 4, 2026
- 00 Flour Pasta Recipe No Egg: Al Dente in 10 Minutes Without Gluten - October 4, 2026
- 2 Ingredient Funnel Cake Recipe: Crispy Bites With Zero Fuss - October 4, 2026