
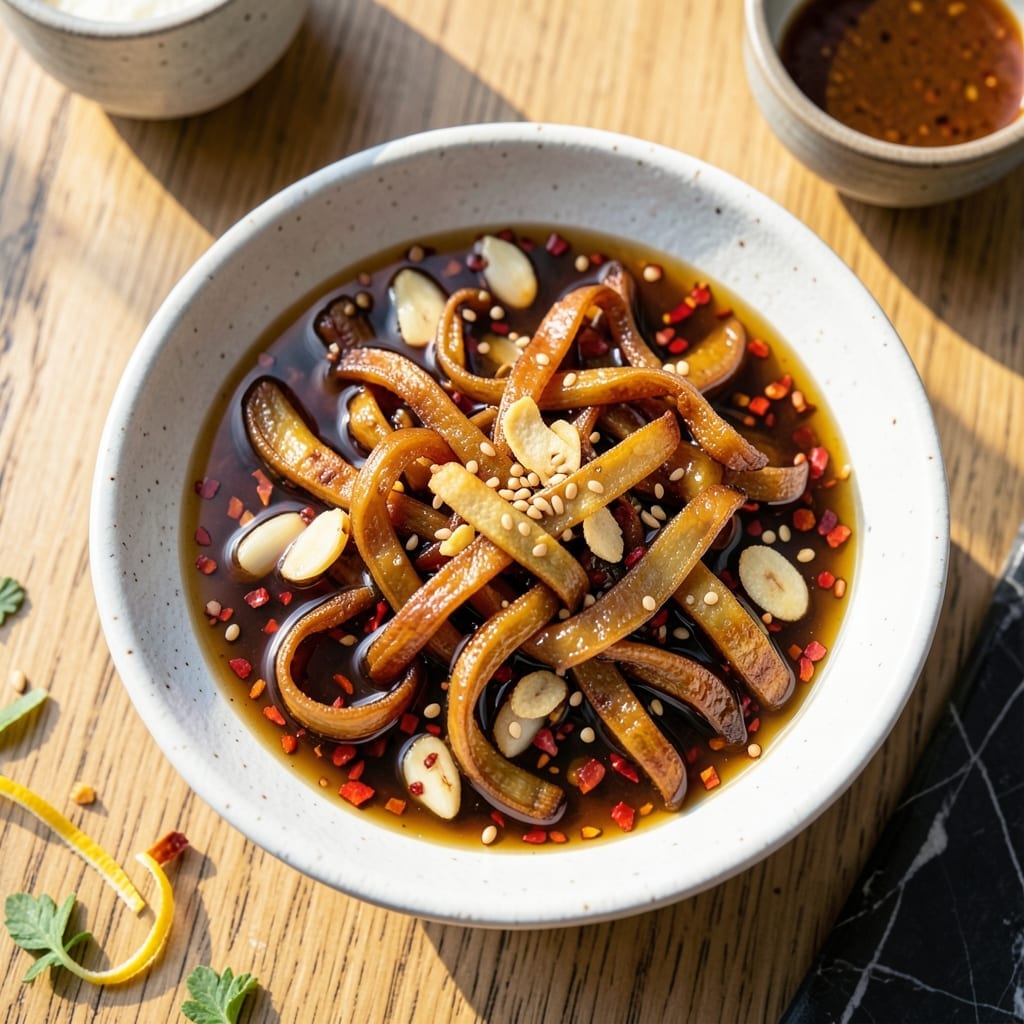
This homemade chili crunch delivers the signature Momofuku heat with a perfect balance of crunchy texture and umami depth. I developed this version after countless taste tests to match the restaurant-quality flavor.
The secret lies in blooming the aromatics in hot oil before adding the chili flakes, which creates layers of flavor. Sesame seeds and fried shallots add the iconic texture that makes this condiment so addictive.
You’ll end up with a versatile sauce that’s spicy, savory, and crunchy all at once. It keeps beautifully in the fridge for weeks, ready to elevate any dish.
Drizzle over noodles, eggs, or use as a dipping sauce. Here’s how to make this pantry staple.
Ingredients for Momofuku Chili Crunch
Nine ingredients transform into that addictive spicy, crunchy, umami-packed condiment you crave.
| Ingredient | Amount | Notes |
|---|---|---|
| Neutral Oil 🫒 | 1 ½ cups | High smoke point like avocado or grapeseed |
| Dried Chili Flakes 🌶️ | ½ cup | Crushed red pepper or Sichuan chili flakes |
| Shallots 🧅 | 4 whole | Thinly sliced for frying |
| Garlic Cloves 🧄 | 8 cloves | Thinly sliced or minced |
| Ginger Root 🌿 | 2 tbsp | Freshly grated or minced |
| Sesame Seeds 🌰 | ½ cup | Toasted for extra crunch |
| Soy Sauce 🥫 | 2 tbsp | Low-sodium or tamari for gluten-free |
| Rice Vinegar 🍚 | 1 tbsp | For balancing heat |
| Sugar 🍚 | 1 tbsp | Coconut or brown sugar preferred |
The oil is the foundation—avocado or grapeseed are ideal for their neutral flavor and high smoke point. Sichuan chili flakes give authentic heat, but crushed red pepper works too (just check the freshness). Shallots are non-negotiable for that sweet, crispy bite. I get mine from Whole Foods or any well-stocked Asian market where they’re usually fresher and cheaper.
Out of shallots? Yellow onions in a pinch—just slice them thin and fry low and slow. No Sichuan chili flakes? Gochugaru (Korean chili flakes) adds a slightly sweeter heat. For gluten-free, tamari swaps in perfectly for soy sauce. The ginger and garlic are doing heavy lifting for the umami depth, so don’t skip them (fresh only, no powdered stuff).
Stores beautifully in a clean jar at room temperature for 1 month, or in the fridge for 3 months. The flavors deepen over time, so make a big batch. Stir before using—those crunchy bits settle to the bottom (worth the extra minute).
Why You’ll Love This Recipe
- One Pot Magic: I just dump everything into a pan and let the shallots and garlic work their magic in the oil.
- Addictive Crunch: That first bite of crispy fried shallots and ginger with the heat from the chili flakes? I can’t stop sneaking spoonfuls.
- Endless Uses: I drizzle it on eggs, noodles, even plain rice—honestly, it makes everything taste better.
- Lasts for Weeks: I make a big batch and it stays fresh in the fridge, so I always have a flavor boost ready.
Step-by-Step Instructions for Momofuku Chili Crunch
Here is how to build layers of flavor in this punchy, textured condiment.
Step 1: Bloom Aromatics in Hot Oil
Pour the 1.5 cups neutral oil into a medium saucepan and heat over medium-low heat until it reaches 325°F. Add the 4 whole shallots, sliced thin, and fry for 3-4 minutes until they turn light golden brown.
Next, add the 8 cloves garlic cloves and 2 tbsp ginger root. Stir frequently to prevent burning, and cook for 2-3 minutes until the garlic edges just begin to crisp. This builds the aromatic base that defines the chili crunch.
Step 2: Toast the Chili Flakes and Sesame Seeds
Reduce the heat to low and carefully stir in the 0.5 cup dried chili flakes. Cook for 1-2 minutes, allowing the flakes to darken slightly and infuse the oil with their smoky heat.
Then, add the 0.5 cup sesame seeds and toast for another 2-3 minutes until they turn light golden and release their nutty aroma. Keep the heat low to avoid scorching the chili flakes or seeds.
Step 3: Balance the Flavors with Sweet and Tangy
Remove the saucepan from heat and let the mixture cool for 2-3 minutes. Stir in the 2 tbsp soy sauce, 1 tbsp rice vinegar, and 1 tbsp sugar. The soy sauce adds umami depth, while the vinegar and sugar balance the heat and create a well-rounded flavor profile.
Taste and adjust if needed, but the combination of salty, sweet, and tangy should already be perfectly harmonized with the spicy, nutty base.
Step 4: Cool and Store for Maximum Flavor
Transfer the mixture to a clean, heatproof jar and let it cool completely at room temperature. As it cools, the oil will continue to absorb the flavors of the chili, garlic, and shallots, deepening the complexity of the crunch.
Once cooled, seal the jar and store it in the refrigerator. For the best flavor, let it sit for at least 24 hours before using. This resting time allows all the ingredients to meld together, creating a condiment that is both fiery and deeply savory.
Pro Tips For Making Momofuku Chili Crunch
- Heat the Oil Slowly: Start with low-medium heat and let the oil warm for 2-3 minutes before adding aromatics—I learned this the hard way after burning two batches of shallots.
- Toast the Chili Flakes: Add the dried chili flakes to the oil first and cook until they just start to sizzle, about 30 seconds, to deepen their flavor before the shallots go in.
- Skip Wet Ingredients: Make sure your shallots, garlic, and ginger are completely dry before frying, or the oil will spatter and the crunch won’t form right.
- Use a Light Oil: Stick to something neutral like grapeseed or avocado oil with a high smoke point—olive oil burns too easily and leaves a bitter taste.
Best Sauces and Condiments for This Dish
Classic Pairings
Drizzle this over steamed rice or noodle bowls for an instant flavor boost. The heat and crunch work especially well with udon or ramen. I love how it transforms simple carbs into a restaurant-worthy dish. 🍜
Breakfast Upgrade
Spoon a teaspoon over scrambled eggs or avocado toast for a morning kick. The umami depth pairs perfectly with the creaminess. I’ve converted many friends to this breakfast habit.
Dipping Sauce
Mix 2 tbsp chili crunch with 1 tbsp soy sauce and 1 tsp honey for a dipping sauce. It’s incredible with dumplings, spring rolls, or even grilled cheese sandwiches.
Salad Dressing
Whisk 1 tbsp chili crunch with 3 tbsp rice vinegar and 1 tsp sugar for a tangy dressing. It adds amazing texture to cucumber salads or slaw.
Pizza Finisher
Drizzle over cheese pizza or margherita right after baking. The heat cuts through the richness beautifully. I discovered this trick at a Brooklyn pizzeria and never looked back. 🔥
Soup Enhancer
Stir a spoonful into pho, hot and sour soup, or even chicken noodle. The oil-based condiment floats on top, infusing every bite with flavor.
Nutrition Facts
Frequently Asked Questions
Can I use a different oil?
Yes, but stick to neutral oils with a high smoke point like avocado or peanut. Olive oil’s flavor is too strong and may burn at the required 325°F temperature.
How do I adjust the heat level?
Reduce the dried chili flakes to 1/4 cup for mild heat or add 1 tsp of sugar to balance spiciness. For extra kick, include a pinch of cayenne.
Why did my chili flakes burn?
This happens if the oil is too hot or you add them too quickly. Always fry aromatics first at medium-low heat, then lower to low before adding chili flakes.
Can I make this without frying?
Not recommended. Frying the shallots, garlic, and ginger in oil is essential for developing the deep, layered flavors that define this condiment.

- 6 Egg Cake Recipe with Oil: Light as Air With Buttery Moisture - October 4, 2026
- 4 Bean Casserole Recipe: One-Pan Heartiness With Smoky Paprika Depth - October 4, 2026
- 3-Ingredient Keto Mug Cake Recipe: Microwave Magic in 2 Minutes - October 4, 2026