
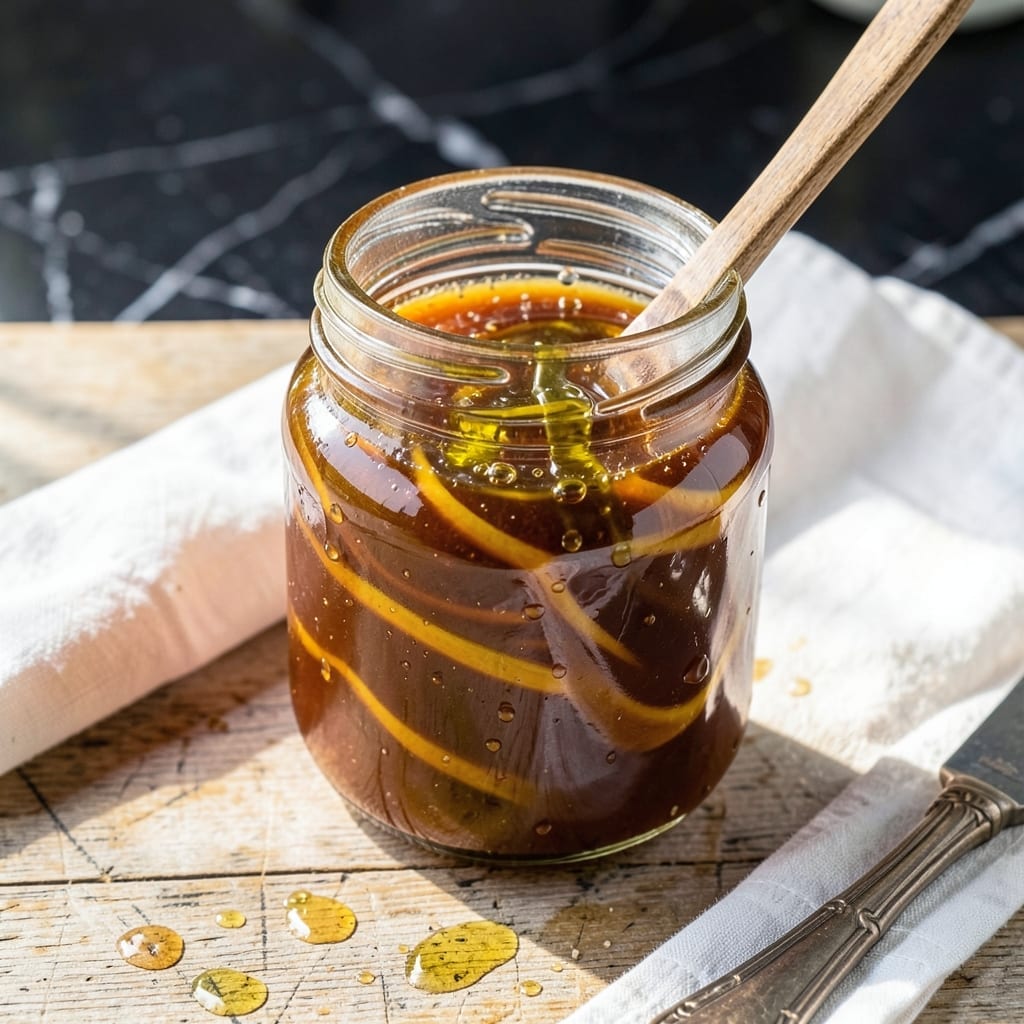
This syrup delivers the bright, concentrated flavors of classic snow cones without any artificial additives. I developed this recipe to give kids (and adults) the vibrant taste they love using only natural ingredients.
The process is simple: fruit juice or purees are reduced with natural sweeteners to create a thick, pourable syrup. A touch of citrus juice enhances the flavor and helps preserve the color naturally.
What you get is a vibrant, flavorful syrup that pours smoothly over shaved ice and creates that nostalgic snow cone experience. The natural colors may be subtler but the taste is anything but.
Make a batch and store it in the refrigerator for up to two weeks. It’s perfect for summer gatherings or whenever you need a refreshing treat.
Ingredients for Natural Snow Cone Syrup
Bright natural flavors come together for a syrup that tastes like childhood summer.
| Ingredient | Amount | Notes |
|---|---|---|
| Fruit Juice 🍹 | 2 cups | 100% pure, no added sugar |
| Granulated Sugar 🍚 | 1 cup | Organic cane preferred |
| Honey 🍯 | 0 cup | Omit for vegan compliance |
| Agave Nectar 🌿 | ½ cup | Vegan sweetener alternative |
| Lemon Juice 🍋 | 2 tbsp | Freshly squeezed for brightness |
| Lime Juice 🍈 | 1 tbsp | Freshly squeezed for tang |
| Water 💧 | ¼ cup | As needed for consistency |
| Vanilla Extract 🌿 | ½ tsp | Pure for depth of flavor |
The juice is everything here. Cold-pressed 100% fruit juice from Whole Foods or Trader Joe’s gives the cleanest flavor—avoid anything with added sugar or preservatives. For the sugar, organic cane is ideal but regular granulated works fine (just skip the honey to keep it vegan). The citrus juices should be fresh—bottled stuff tastes flat and won’t brighten the syrup properly.
Out of agave? Maple syrup at a 1:1 ratio works perfectly. No fresh lemons or limes? Bottled juice in a pinch, but cut the amount by half—it’s more concentrated. Want a different flavor? Swap the fruit juice for any 100% pure variety (cherry, blueberry, and mango are all fantastic). The vanilla is optional but adds a nice depth if you have it.
This keeps in the fridge for 2 weeks in a sealed jar. The colors may fade a bit over time, but the flavor stays bright. Freeze in ice cube trays for 6 months if you want to make a big batch. Just thaw and stir before using.
Why You’ll Love This Recipe
- 5-Minute Mix: I stir the fruit juice, honey, and lemon in a saucepan and it’s ready before the ice melts.
- Bright, True Fruit Taste: Honestly, the agave and lemon make the berry juice pop like a just-picked bite.
- Party or Popsicles: Same syrup drizzles over shaved ice or freezes into homemade pops—my kids don’t care which.
- Pennies a Glass: A quart of juice plus pantry sweeteners gives me six cups of syrup for the cost of one store bottle.
Step-by-Step Instructions for Natural Snow Cone Syrup
Here’s the method I use for vibrant, naturally sweet syrup that pours perfectly every time.
Step 1: Combine Fruit Juice and Sweeteners
In a medium saucepan, pour in the 2 cups Fruit Juice. This forms the flavor base, so I always use 100% pure juice for the best taste. Add the 1 cup Granulated Sugar next—organic cane sugar works beautifully here.
If you’re making a vegan version, replace the granulated sugar with 0.5 cup Agave Nectar instead. Stir gently until the sugar or agave begins to dissolve. You’ll see the mixture start to shimmer slightly as the sugar crystals disappear.
Step 2: Add Citrus and Vanilla for Brightness
Measure in the 2 tbsp Lemon Juice and 1 tbsp Lime Juice. I always use freshly squeezed for that bright, zesty kick that artificial syrups can’t match. The citrus not only adds flavor but helps balance the sweetness.
Next, stir in the 0.5 tsp Vanilla Extract. Pure vanilla makes a noticeable difference here, adding depth that complements the fruit juice beautifully. The mixture should smell fragrant and slightly tangy at this point.
Step 3: Simmer and Adjust Consistency
Place the saucepan over medium heat and bring the mixture to a gentle simmer. You want to see small bubbles forming around the edges, not a rolling boil. Let it cook for 5-7 minutes, stirring occasionally.
After simmering, check the thickness. If it needs thinning, add up to 0.25 cup Water, 1 tablespoon at a time, until it reaches the perfect pourable consistency. The syrup should coat the back of a spoon but still flow easily.
Step 4: Cool and Store for Best Results
Remove the saucepan from heat and let the syrup cool to room temperature. This takes about 30 minutes. As it cools, it will thicken slightly more—this is normal.
Once cooled, transfer the syrup to clean glass bottles or jars. I like to use squeeze bottles for easy pouring over shaved ice. The syrup will keep in the refrigerator for up to 2 weeks, though I doubt it’ll last that long once you taste it!
Pro Tips For Making Natural Snow Cone Syrup
- Simmer, Don’t Boil: Keep the heat low enough that the sugar dissolves without bubbling hard—I learned this the hard way after my first batch crystallized into a sticky mess.
- Strain the Juice: Even fresh-squeezed fruit juice can have pulp or bits that clog syrup bottles, so run it through a fine-mesh strainer before mixing.
- Skip the Over-Sweetening: Start with less sugar or honey than you think you need, then adjust—snow cone syrup should be sweet but still pour easily, not thick like candy.
- Add Lemon Last: Stir in the lemon juice after the syrup cools slightly to preserve its bright flavor, otherwise it can turn bitter if heated too long.
Pro Cooking Tips for Perfect Results
Juice Quality Matters
For the most vibrant flavor, always use 100% pure fruit juice with no added sugar. I prefer cold-pressed options from Trader Joe’s or Whole Foods—they have the cleanest, most concentrated fruit flavor. Avoid “fruit drinks” or cocktails, as they dilute the taste.
Sugar Dissolving Tip
When combining 1 cup Granulated Sugar with the juice, stir over low heat until fully dissolved. This prevents graininess in your final syrup. For vegan versions, agave nectar dissolves even faster.
Citrus Timing
Add the 2 tbsp Lemon Juice and 1 tbsp Lime Juice after the sugar dissolves. Freshly squeezed is critical—bottled juice can taste flat. The acidity brightens the fruit flavor and helps preserve the natural color. 🌟
Perfect Simmer
Maintain a gentle simmer at medium heat for 5-7 minutes. You want small bubbles at the edges, not a rolling boil. Stir occasionally to prevent scorching at the bottom.
Thickness Test
Check consistency by coating the back of a spoon. If it’s too thick, add 1 tbsp Water at a time. The syrup should flow easily but leave a light film. This ensures perfect pouring over shaved ice. 💡
Cooling Trick
Let the syrup cool for 30 minutes before bottling. It will thicken slightly as it cools. I transfer mine to squeeze bottles for easy, mess-free use.
Nutrition Facts
Frequently Asked Questions
Can I use frozen fruit juice concentrate?
Yes, but dilute it with an equal amount of water first to match the consistency of regular juice. This ensures the syrup doesn’t become too thick or overly sweet.
How do I make the colors more vibrant?
A pinch of natural food coloring like beet powder or turmeric can boost the hue. Also, simmer the juice for 2-3 minutes longer to intensify the color naturally.
Why did my syrup crystallize?
This usually happens if the sugar wasn’t fully dissolved before simmering. Stir over low heat until completely smooth to prevent graininess.
Store in an airtight container to avoid moisture loss.

- 6 Egg Cake Recipe with Oil: Light as Air With Buttery Moisture - October 4, 2026
- 4 Bean Casserole Recipe: One-Pan Heartiness With Smoky Paprika Depth - October 4, 2026
- 3-Ingredient Keto Mug Cake Recipe: Microwave Magic in 2 Minutes - October 4, 2026