
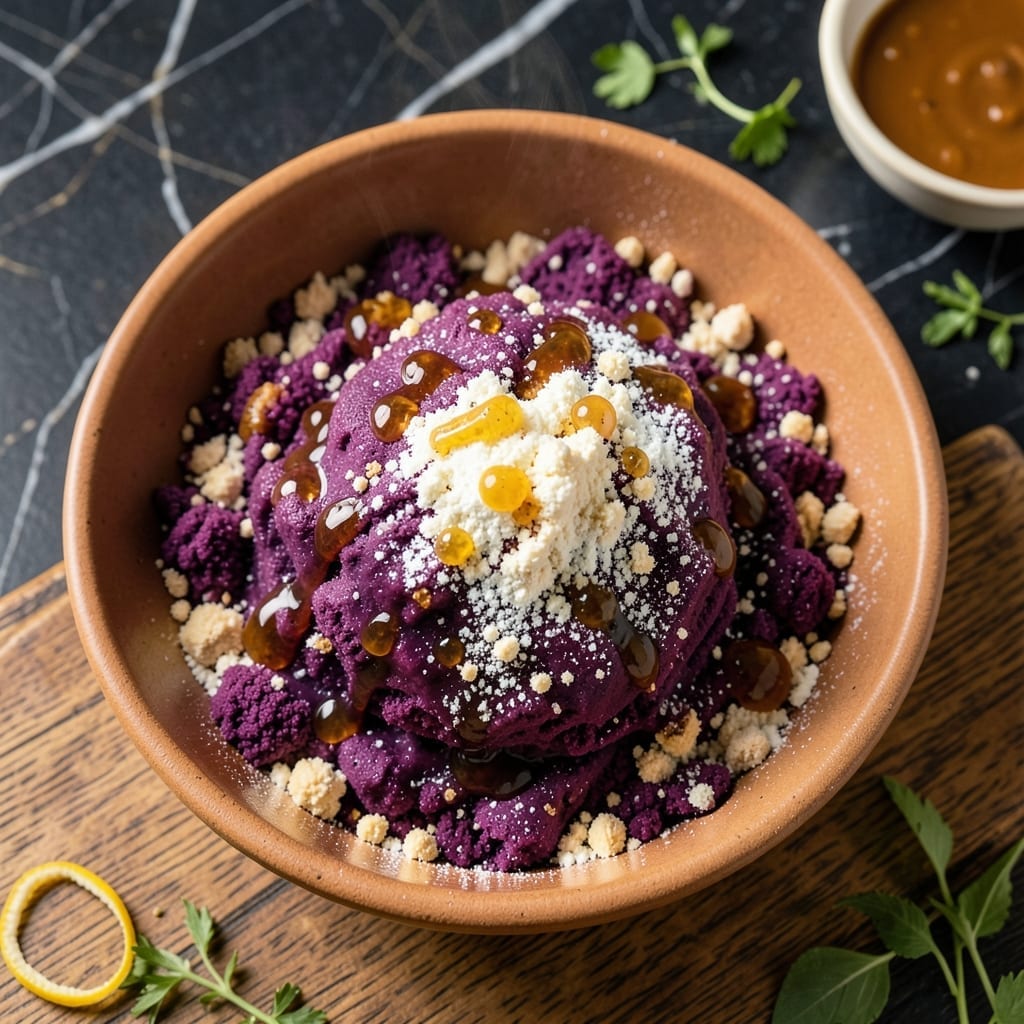
This ube polvoron is a Filipino treat that’s as fun to make as it is to eat. I love how the vibrant purple color comes from natural ube halaya, giving these crumbly shortbread cookies their signature look and sweet, nutty flavor.
The process is simpler than you might think—just toast the flour, mix in the ube and butter, then shape into little logs. No baking required, just a quick chill to set everything in place.
What you get are delicate, melt-in-your-mouth cookies with a rich, slightly earthy taste that’s uniquely ube. They’re perfect for gifting or serving at parties.
Store them in an airtight container, and they’ll stay fresh for days. Let’s make a batch!
Ingredients for Ube Polvoron
A few simple ingredients transform into these vibrant purple Filipino cookies ready to impress.
| Ingredient | Amount | Notes |
|---|---|---|
| All-Purpose Flour 🌾 | 2 cups | Toasted until golden brown |
| Ube Halaya 🟪 | 1 cup | Purple yam jam, store-bought or homemade |
| Unsalted Butter 🧈 | ½ cup | Melted and cooled slightly |
| Powdered Sugar 🍚 | ½ cup | Plus extra for rolling |
| Condensed Milk 🥛 | ¼ cup | Sweetened, for binding |
| Vanilla Extract 🌿 | 1 tsp | Pure vanilla for best flavor |
| Salt 🧂 | ¼ tsp | Fine grain for even distribution |
| Toasted Pinipig 🌾 | ½ cup | Optional for texture, see notes |
| Ube Extract 🟪 | ½ tsp | For enhanced purple color |
The ube halaya is the star here—Filipino grocery stores like Seafood City or Filipino Mart carry it in jars or cans. Look for brands like FCF or Ube King for authentic flavor and that deep purple hue. The flour needs toasting (don’t skip this part) to give the cookies their signature crumbly texture. Butter quality matters too—real unsalted for the best shortbread base.
No ube halaya? Ube ice cream or frozen ube puree can work (thaw and reduce water first). Can’t find condensed milk? Powdered milk plus sugar syrup at a 1:1 ratio gets you close. Skip the pinipig? Crushed cornflakes or rice cereal add a similar crunch. The vanilla can be swapped for almond extract if you prefer a different flavor profile.
These keep beautifully in an airtight container at room temperature for up to 2 weeks. For longer storage, freeze for 3 months—just bring to room temp before serving. The purple color fades over time (that’s normal), but the flavor stays just as rich and nutty.
Why You’ll Love This Recipe
- 5-Minute Mix: I just dump, mix, and roll—no baking, no waiting, just purple crumbly goodness ready in minutes.
- Ube Heaven: That rich, earthy ube halaya paired with sweet condensed milk? It’s like a little piece of Filipino bakery in my kitchen.
- Gift in a Jar: I pack these in cute jars for birthdays, potlucks, or just because—everyone goes nuts for the vibrant color and melt-in-your-mouth texture.
- Stays Fresh: Honestly, they keep for weeks in the fridge, so I can make a big batch and snack on them whenever the craving hits.
Step-by-Step Instructions for Ube Polvoron
Here’s the method I use to create these delicate purple treats with ease every time.
Step 1: Toast the Flour to Nutty Perfection
Heat a dry skillet over medium-low heat and add the 2 cups All-Purpose Flour. Stir constantly with a wooden spoon for 8-10 minutes until the flour turns a light golden color and gives off a gentle toasted aroma.
This step is crucial—it removes the raw flour taste and adds a subtle nuttiness that makes the polvoron special. Don’t rush the process; if the heat is too high, the flour will brown unevenly. Remove from heat and let it cool completely before proceeding.
Step 2: Create the Ube Butter Mixture
In a large bowl, combine the 0.5 cup Unsalted Butter (melted and cooled), 1 cup Ube Halaya, 0.5 cup Powdered Sugar, 0.25 cup Condensed Milk, 1 tsp Vanilla Extract, 0.25 tsp Salt, and 0.5 tsp Ube Extract. Mix until smooth and fully incorporated.
The ube halaya should blend seamlessly with the butter, creating a vibrant purple mixture. Taste and adjust sweetness if needed, though the condensed milk and powdered sugar typically provide the perfect balance.
Step 3: Combine with Toasted Flour
Gradually add the cooled toasted flour to the ube mixture, stirring gently with a spatula until fully combined. The mixture will be crumbly but should hold together when pressed. If it feels too dry, add a tiny splash of condensed milk, but be careful not to overmoisten.
This is where the magic happens—the toasted flour absorbs all the rich ube flavor, creating that signature melt-in-your-mouth texture. The color should be a beautiful, even purple throughout.
Step 4: Shape and Coat the Polvoron
Take about 1 tablespoon of the mixture and roll it between your palms to form a small ball. Then roll each ball in additional Powdered Sugar until fully coated. For extra texture, roll some in the 0.5 cup Toasted Pinipig instead.
Arrange the finished polvoron on a tray lined with parchment paper. The sugar coating not only adds sweetness but also gives them that classic snowy appearance. If the mixture starts to crumble, press it more firmly as you shape it.
Step 5: Chill and Serve
Refrigerate the polvoron for at least 30 minutes to firm up. This makes them easier to handle and enhances the flavor as the ingredients meld together. Store in an airtight container in the fridge for up to 2 weeks.
Serve at room temperature for the best texture. The contrast between the sweet, crumbly exterior and the rich ube center is what makes these so irresistible. Each bite should dissolve on your tongue with a burst of purple yam goodness.
Pro Tips For Making Ube Polvoron
- Toast the Flour: Dry-toast the all-purpose flour in a pan over low heat for 3-5 minutes until lightly golden—this removes the raw taste and adds a subtle nuttiness that balances the ube’s sweetness. I learned this the hard way after my first batch tasted like raw dough.
- Use Room-Temp Butter: Let the unsalted butter sit out for 30 minutes before mixing. Cold butter won’t blend well with the ube halaya, leaving you with uneven, crumbly polvoron instead of that smooth, melt-in-your-mouth texture.
- Skip the Overmixing: Once the condensed milk goes in, mix just until combined—overworking the dough makes the polvoron dense and tough. Sounds weird, but it works: stop as soon as the purple streaks disappear.
- Chill Before Shaping: Pop the dough in the fridge for 20-30 minutes before rolling into balls. This keeps the butter firm so the polvoron holds its shape instead of collapsing into a messy, buttery puddle.
Essential Equipment for Perfect Results
Essential Mixing Tools
I always use a large stainless steel mixing bowl for the ube-butter base—it’s durable and won’t absorb odors. A silicone spatula is perfect for folding in the toasted flour without scratching your bowl. 💪
Toasting Equipment
A heavy-bottomed skillet (I prefer Lodge cast iron) ensures even heat distribution for toasting the flour. Stir with a wooden spoon to prevent hot spots. The flour should reach a light golden color in 8-10 minutes.
Shaping Aids
For perfectly round polvoron, use a 1-tablespoon cookie scoop to portion the mixture. Roll between your palms, then coat in powdered sugar on a parchment-lined tray. This prevents sticking and makes cleanup easy.
Chilling Solutions
An airtight glass container works best for chilling—it won’t absorb flavors and lets you see the vibrant purple layers. I use Pyrex with snap-lock lids. Chill for at least 30 minutes before serving. ❄️
Optional Texture Tools
If adding toasted pinipig, spread it on a baking sheet to cool completely before rolling. A food processor can pulse pinipig into finer bits for even coating. Skip this if you prefer the classic sugar-dusted look.
Nutrition Facts
Frequently Asked Questions
Can I use fresh ube instead of halaya?
Yes, but steam and mash 2 cups of fresh ube first. Mix with 1/4 cup sugar and 2 tbsp butter to mimic halaya’s texture. The color may be lighter, so add ube extract for vibrancy.
Why is my mixture too dry?
This usually means the flour was over-toasted. Add condensed milk 1 tsp at a time until it holds shape. Avoid adding butter—it can make the texture greasy.
How do I get brighter purple color?
Add 1/2 tsp more ube extract to the butter mixture. Let the dough rest for 10 minutes before shaping to deepen the hue. Natural color fades over time.
Can I bake these instead of chilling?
No—baking will dry them out. Chilling for 30 minutes is essential for the melt-in-mouth texture. If you prefer warm treats, serve at room temperature after chilling.

- 6 Egg Cake Recipe with Oil: Light as Air With Buttery Moisture - October 4, 2026
- 4 Bean Casserole Recipe: One-Pan Heartiness With Smoky Paprika Depth - October 4, 2026
- 3-Ingredient Keto Mug Cake Recipe: Microwave Magic in 2 Minutes - October 4, 2026