
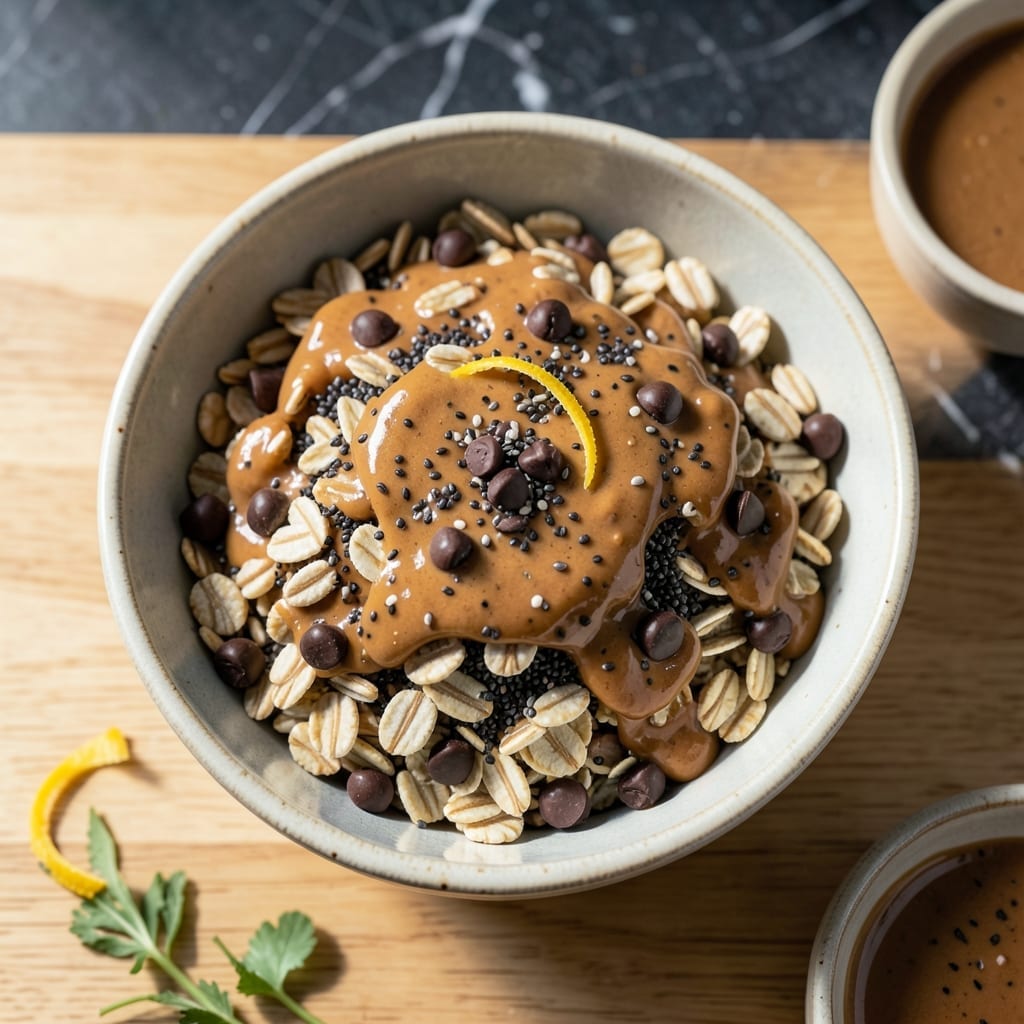
Creating treats with kids shouldn’t require an oven or complicated steps. This approach transforms simple ingredients into delightful, mess-free creations that little hands can help assemble.
The beauty lies in its no-fuss nature—just mix, shape, and chill. Children stay engaged while learning basic kitchen skills without the risks of hot surfaces or sharp tools.
What emerges are fun, colorful results that taste as good as they look. Each bite delivers the satisfaction of something they helped make, building confidence and memories.
Perfect for after-school snacks, party activities, or weekend projects. These treats prove that delicious doesn’t need to be difficult.
Ingredients for No Bake Recipe for Kids
Simple pantry staples combine for a kid-friendly, no-bake treat everyone will love.
| Ingredient | Amount | Notes |
|---|---|---|
| Rolled Oats 🌾 | 2 cups | Old-fashioned or quick oats |
| Peanut Butter 🥜 | ¾ cup | Creamy or chunky variety |
| Honey 🍯 | ½ cup | Or maple syrup alternative |
| Vanilla Extract 🌿 | 1 tsp | Pure extract for best flavor |
| Mini Chocolate Chips 🍫 | ½ cup | Semi-sweet or dark variety |
| Chia Seeds 🌱 | 2 tbsp | Optional for extra texture |
| Flaxseed Meal 🌾 | 2 tbsp | Optional binder alternative |
| Cinnamon 🌿 | ½ tsp | Ground for even distribution |
| Salt 🧂 | ¼ tsp | Fine grain for blending |
| Shredded Coconut 🥥 | ½ cup | Sweetened or unsweetened |
| Dried Cranberries 🍒 | ½ cup | Chopped for even mixing |
| Almond Butter 🥜 | ¼ cup | Optional peanut butter alternative |
The oats and nut butter form the base—old-fashioned oats hold their shape better than instant. For nut-free versions, sunflower seed butter works perfectly. I always grab my peanut butter from Trader Joe’s or Whole Foods for that fresh, no-stir consistency. The honey can be swapped for maple syrup if you need a vegan option (just adjust sweetness to taste).
Out of chocolate chips? Chopped nuts or dried fruit add great texture. No chia or flaxseed? Ground oats or wheat germ can bind instead. The vanilla extract is worth the splurge—pure extract beats imitation every time. If your mixture feels too dry, a splash of coconut oil brings it together without changing the flavor profile.
These keep beautifully in the fridge for 1 week or freeze for 3 months in portions. Store in airtight containers with parchment between layers to prevent sticking. Perfect for making ahead and grabbing on busy mornings (or sneaking a few for yourself).
Why You’ll Love This Recipe
- No Oven Needed: I just mix, roll, and chill—no preheating, no baking, no stress.
- Sweet & Salty Fix: The peanut butter and honey combo hits that perfect balance, and those mini chocolate chips? Pure joy.
- Lunchbox Hero: Honestly, these hold up great in lunchboxes or as an after-school snack.
- Budget Friendly: Rolled oats and peanut butter stretch far, and one batch makes enough for the whole week.
Step-by-Step Instructions for No Bake Treats
These simple steps ensure a foolproof process that kids can help with from start to finish.
Step 1: Combine the Wet Ingredients
In a large mixing bowl, measure out the 0.75 cup peanut butter and 0.25 cup almond butter. Add the 0.5 cup honey and 1 tsp vanilla extract to the same bowl. I prefer using a silicone spatula to scrape every last bit of sticky honey from the measuring cup.
Mix these ingredients together vigorously until fully combined and smooth. The mixture should be thick but pourable. If it appears too stiff, let it sit at room temperature for 5 minutes to soften slightly before proceeding.
Step 2: Incorporate the Dry Components
Add the 2 cups rolled oats, 0.5 tsp cinnamon, and 0.25 tsp salt to the wet mixture. Stir until the oats are completely coated with the peanut butter mixture. This is where the texture starts to come together—you want every flake to glisten with the sticky binding mixture.
Next, fold in the 2 tbsp chia seeds and 2 tbsp flaxseed meal. These ingredients add nutritional value and help bind the mixture, but their small size means they distribute easily without clumping. The dough should hold together when pressed between your fingers.
Step 3: Add the Mix-Ins for Flavor and Texture
Now stir in the 0.5 cup mini chocolate chips, 0.5 cup dried cranberries, and 0.5 cup shredded coconut. The mini chocolate chips are ideal here as they distribute evenly without overpowering each bite. If the mixture feels too dry at this point, add a drizzle more honey to achieve the right consistency.
The cranberries add a tart contrast to the sweetness, while the coconut introduces a subtle chew. I like to reserve a small handful of chocolate chips to press into the tops of the finished treats for a professional touch.
Step 4: Shape and Set the Treats
Line a baking sheet with parchment paper. Using a cookie scoop or tablespoon measure, portion out the mixture into 12 equal mounds (about 2 tablespoons each). Roll each portion between your palms to form smooth balls, pressing firmly to ensure they hold their shape.
Place the rolled treats on the prepared baking sheet. If the mixture sticks to your hands, dampen them slightly with water. Press the reserved chocolate chips into the tops if desired. Refrigerate for at least 30 minutes to allow the treats to set completely.
Step 5: Store and Serve
Once firm, transfer the treats to an airtight container. They will keep in the refrigerator for up to 10 days, though they rarely last that long. The flavors continue to meld over time, with the oats softening slightly while maintaining their chew.
Serve at room temperature for the best texture. These no-bake bites are perfect for lunchboxes, after-school snacks, or a quick energy boost. The combination of protein from the nut butters and fiber from the oats makes them a satisfying treat that parents can feel good about.
Pro Tips For Making No Bake Recipe For Kids
- Chill 30 Minutes: I learned this the hard way—if you try to shape the mixture before it’s fully chilled, it’ll crumble apart. Pop it in the fridge for at least 30 minutes so the peanut butter and honey firm up enough to hold together.
- Toast the Oats: Sounds weird, but it works: give the rolled oats a quick toast in a dry pan for 2-3 minutes until fragrant. It adds a nutty depth that makes the final bites way more interesting.
- Warm the Honey: After struggling with sticky clumps, I now microwave the honey for 10-15 seconds to loosen it before mixing—makes it blend smoothly with the peanut butter without leaving globs.
- Use Mini Chips: Skip the regular chocolate chips; the mini ones distribute better in every bite and don’t sink to the bottom. I was skeptical until I tried it, but the texture is noticeably better.
Regional Styles of These Flavors
American Classic
This style keeps it simple with peanut butter, honey, and rolled oats as the base. I often see this version at Midwest potlucks. Add mini chocolate chips for that classic American sweetness kids adore. 💛
Tropical Twist
Inspired by Hawaiian flavors, swap dried cranberries for dried pineapple and add toasted coconut flakes. The tropical notes pair perfectly with almond butter for a beachy vibe. Use macadamia nuts for extra crunch.
British Flapjack Style
Across the pond, they make similar treats called flapjacks. Use golden syrup instead of honey and press the mixture into a pan to cut into bars. The texture becomes denser and chewier, perfect for school lunchboxes.
Mediterranean Version
Replace chocolate chips with chopped dates and pistachios, and add orange zest for brightness. This reflects flavors from Greece and Turkey, where nut and honey sweets are traditional. A sprinkle of sea salt enhances all the flavors.
Mexican Inspired
Add cinnamon and a pinch of cayenne for warmth, then roll the finished bites in crushed pecans. This style mirrors Mexican wedding cookies, with a spicy kick that’s mild enough for kids. The heat builds slowly but stays kid-friendly.
Australian Muesli Bars
Press the mixture into a lined pan and cut into bars instead of balls. Add sunflower seeds and pumpkin seeds for crunch. These are popular in Australia as healthy snacks for school or sports. They travel well in backpacks. ✨
Nutrition Facts
Frequently Asked Questions
Can I make these without nut butter?
Use sunflower seed butter or soy nut butter for a nut-free version. These alternatives bind just as well and keep the texture perfect.
How long do these need to chill?
Refrigerate for at least 30 minutes to firm up. For best results, let them set for 1 hour before serving. This ensures they hold their shape when handled.
What if the mixture is too dry?
Add a little more honey or a splash of coconut oil, 1 tablespoon at a time, until it sticks together. The texture should hold when pressed between your fingers.
Can I use quick oats instead?
Yes, but old-fashioned oats create a better texture. Quick oats work in a pinch but may result in a softer bite. Both types are kid-friendly and easy to find.

- 6 Egg Cake Recipe with Oil: Light as Air With Buttery Moisture - October 4, 2026
- 4 Bean Casserole Recipe: One-Pan Heartiness With Smoky Paprika Depth - October 4, 2026
- 3-Ingredient Keto Mug Cake Recipe: Microwave Magic in 2 Minutes - October 4, 2026