
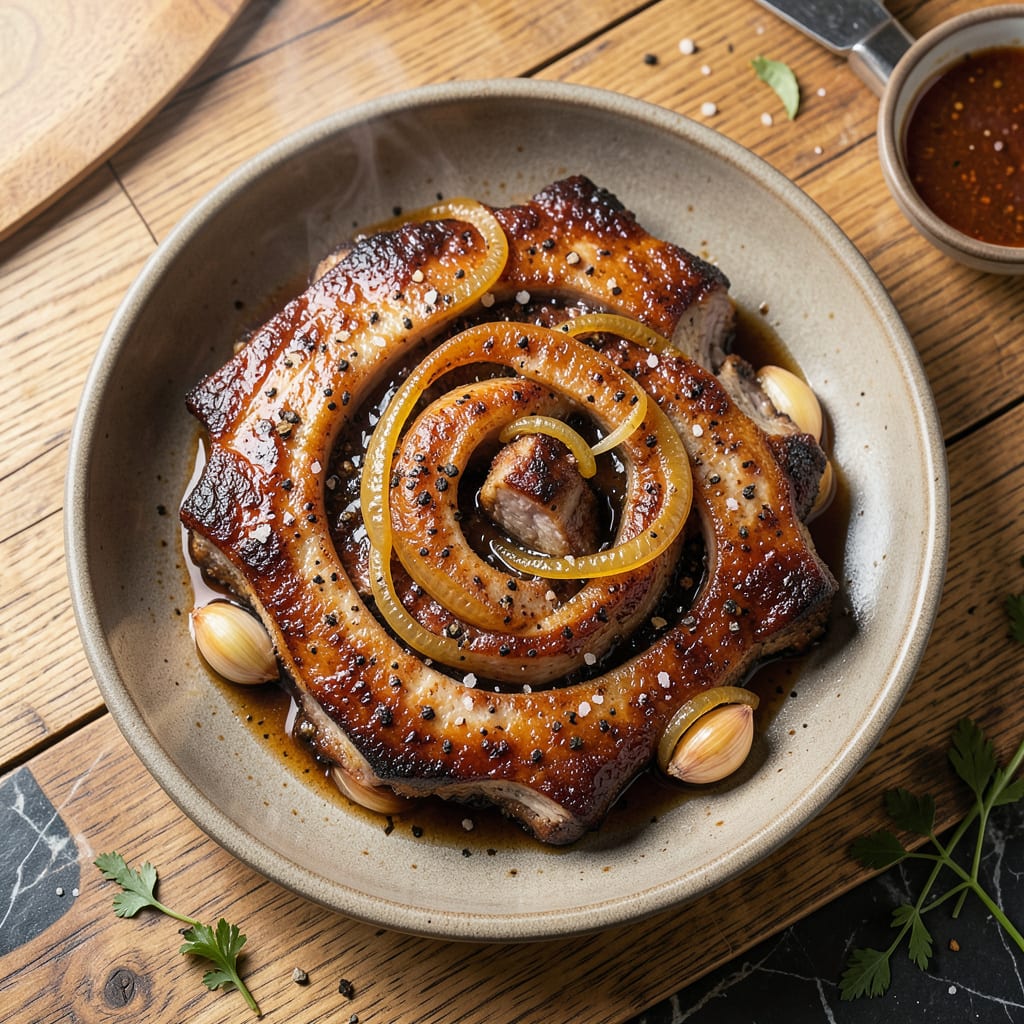
Achieving fall-off-the-bone tender pork ribs in the oven requires precision, not complexity. This method delivers restaurant-quality results using simple techniques and a 2-hour cooking process at controlled temperature. The key lies in balancing moisture retention with gradual heat penetration, ensuring every bite yields perfectly without drying out.
The process begins with strategic seasoning and oven setup, followed by a carefully timed cook that transforms tough cuts into succulent meat. By maintaining a consistent 325°F environment and monitoring internal temperature, you’ll produce ribs that release cleanly from the bone while retaining their rich, porky flavor—no smoker required.
Ingredients for Oven Boneless Country Style Pork Ribs
Optimal tenderness requires precise seasoning and moisture control—these ingredients deliver restaurant-quality results through controlled oven cooking.
| Ingredient | Amount | Notes |
|---|---|---|
| boneless country-style pork ribs 🍖 | 3 lb | Trimmed of excess fat |
| kosher salt 🧂 | 1 ½ tbsp | Diamond Crystal preferred |
| freshly ground black pepper 🌶️ | 1 tbsp | Coarse grind recommended |
| smoked paprika 🌶️ | 2 tsp | Sweet or hot variety |
| garlic powder 🧄 | 1 tbsp | Not garlic salt |
| onion powder 🧅 | 1 tbsp | Freshly opened for potency |
| light brown sugar 🍚 | 2 tbsp | Packed, for caramelization |
| apple cider vinegar 🍎 | ¼ cup | Unfiltered preferred |
| low-sodium chicken broth 🍲 | 1 cup | Or vegetable broth alternative |
| olive oil 🫒 | 2 tbsp | Extra-virgin for richness |
| yellow mustard 🟡 | 2 tbsp | For tenderizing marinade |
| Worcestershire sauce 💧 | 1 tbsp | Lea & Perrins recommended |
| unsalted butter 🧈 | 2 tbsp | For finishing baste |
| fresh thyme sprigs 🌿 | 4 whole | Stems removed post-cook |
| fresh rosemary sprigs 🌿 | 2 whole | Optional for aromatic depth |
The pork selection determines final texture. Boneless country-style ribs from the shoulder end (not loin) provide ideal fat marbling for the 2-hour cook time. Costco or Whole Foods typically carry high-quality cuts with consistent thickness. For the dry rub, Diamond Crystal kosher salt ensures proper penetration without over-salting, while freshly ground black pepper (tellichery preferred) provides superior aromatic qualities. The smoked paprika should be recently purchased—stale spices lose potency after 6 months in the pantry.
Substitutions must maintain moisture balance. Vegetable broth replaces chicken broth at 1:1 ratio for dietary needs. If avoiding Worcestershire, coconut aminos plus ½ tsp balsamic vinegar mimics the umami depth. Dijon mustard can substitute yellow mustard, though its sharpness requires reducing vinegar by 1 tbsp. For herb variations, dried thyme at 1 tsp replaces fresh, but add it to the rub rather than during cooking. The brown sugar is critical for Maillard reactions—white sugar lacks the molasses complexity.
Preparation timing affects ingredient performance. The apple cider vinegar and mustard should be whisked immediately before applying to prevent separation. Store fresh herbs wrapped in damp paper towels for up to 5 days refrigerated. The unopened broth keeps 12-18 months in the pantry, while opened broth requires 4-day refrigeration. For advance prep, combine dry rub ingredients and store in an airtight container for up to 3 months—re-toast the cumin if included.
Why You’ll Love This Recipe
- One-Pan Magic: I toss the ribs with salt, pepper, smoked paprika, and garlic powder—no marinating, no fancy prep. One sheet pan, 40 minutes in the oven, and I’m wiping down the counter while it cooks.
- Smoky, Garlicky Bite: That smoked paprika isn’t just for color—it gives these ribs a deep, almost barbecue-like flavor without the grill. The garlic powder caramelizes just enough to make every bite ridicuously good.
- Meal Prep MVP: I double the batch on Sundays and stash half for tacos, salads, or quick rice bowls later. Honestly, it reheats better than most proteins—still juicy, never dry.
- Budget-Friendly Crowd Pleaser: Boneless country ribs are half the price of chops but just as hearty. I feed four for under $10, and the leftovers (if there are any) disappear fast.
Step-by-Step Instructions for Oven Boneless Country-Style Pork Ribs
This method delivers perfectly tender ribs with minimal effort and maximum flavor development.
Step 1: Prepare and Season the Ribs
Begin by patting the 3 lb boneless country-style pork ribs completely dry with paper towels. This ensures the dry rub adheres properly and promotes better browning during cooking. Trim any visible excess fat from the ribs, as this can prevent the seasoning from penetrating evenly.
In a small bowl, combine the 1.5 tbsp kosher salt, 1 tbsp freshly ground black pepper, 2 tsp smoked paprika, 1 tbsp garlic powder, 1 tbsp onion powder, and 2 tbsp light brown sugar. The brown sugar will caramelize during cooking, creating a flavorful crust. Rub this mixture evenly over all surfaces of the ribs, pressing gently to ensure it adheres. Let the seasoned ribs rest at room temperature for 20 minutes while you preheat the oven.
Step 2: Create the Braising Liquid
In a separate bowl, whisk together the 0.25 cup apple cider vinegar, 1 cup low-sodium chicken broth, 2 tbsp olive oil, 2 tbsp yellow mustard, and 1 tbsp Worcestershire sauce. The vinegar and mustard work together to tenderize the meat while adding depth of flavor. The Worcestershire sauce contributes umami notes that balance the sweetness from the brown sugar.
Pour this liquid into a large Dutch oven or oven-safe pot with a tight-fitting lid. Add the 4 whole fresh thyme sprigs and 2 whole fresh rosemary sprigs to the liquid. These aromatic herbs will infuse the braising liquid with subtle earthy notes. The liquid should come about halfway up the sides of the ribs when placed in the pot.
Step 3: Braise the Ribs to Tender Perfection
Preheat your oven to 325°F. Place the seasoned ribs in the Dutch oven with the braising liquid, arranging them in a single layer. The ribs should be partially submerged but not completely covered. Cover the pot tightly with its lid to trap steam and moisture.
Transfer to the preheated oven and braise for 1 hour 45 minutes. This low-and-slow cooking method breaks down the connective tissue in the ribs, transforming them from tough to fall-off-the-bone tender. About halfway through cooking, carefully rotate the ribs in the liquid to ensure even cooking and flavor distribution.
Step 4: Finish with Butter Baste
After the initial braising time, remove the pot from the oven. Increase the oven temperature to 400°F. Add the 2 tbsp unsalted butter to the braising liquid and stir until melted. This enriches the sauce and adds a silky texture.
Return the uncovered pot to the oven and cook for an additional 15 minutes. This final step allows the liquid to reduce slightly and the ribs to develop a light glaze. The ribs are done when they reach an internal temperature of 195°F and the meat easily pulls apart with a fork. The sauce should be thick enough to coat the back of a spoon but still pourable.
Step 5: Rest and Serve
Remove the rosemary and thyme sprigs from the pot. Transfer the ribs to a serving platter, spooning the reduced braising liquid over them. Let the ribs rest for 10 minutes before serving. This resting period allows the juices to redistribute throughout the meat.
Serve the ribs with additional braising liquid spooned over the top. The meat should be tender enough to cut with a fork, with a slightly sticky glaze from the reduced cooking liquid. The flavor profile balances smoky, sweet, and tangy notes with a rich, meaty depth from the slow braising process.
Common Mistakes When Making This Dish
Overcooking the Ribs
One of the most common mistakes is leaving the ribs in the oven too long. While 195°F is the target internal temperature, exceeding 205°F can cause the meat to dry out and become stringy. I always use a reliable meat thermometer—I recommend the ThermoWorks Thermapen—to monitor progress. Remember, carryover cooking adds about 5°F after removal. 🌡️
Skipping the Resting Time
Cutting into the ribs immediately after cooking causes all those precious juices to spill out onto the cutting board. I enforce a strict 10-minute rest under loose foil—this lets the muscle fibers relax and reabsorb moisture. The difference in tenderness is dramatic, and the ribs will hold together better when served.
Using the Wrong Cut
Not all “country-style ribs” are created equal. For this recipe, you need shoulder-end boneless ribs, not loin-cut. The shoulder has more fat marbling and connective tissue that breaks down beautifully during the 2-hour braise. I’ve found Costco consistently carries the right cut—ask the butcher if you’re unsure.
Neglecting the Braising Liquid
The liquid ratio is critical for both tenderness and flavor. Using less than 1 cup broth risks drying out, while exceeding 1.5 cups prevents proper reduction. I measure precisely and check the liquid level halfway through cooking. If it’s evaporating too quickly, add ¼ cup hot water to maintain the balance.
Inconsistent Seasoning
Simply sprinkling the rub isn’t enough—you need to massage it into every crevice of the meat. I use my hands to work the brown sugar and spices into the surface, creating a uniform crust. This ensures even flavor distribution and better caramelization during cooking. Don’t forget the sides and ends!
Rushing the Process
Trying to speed up the cook by increasing temperature leads to tough, chewy ribs. The 325°F setting is non-negotiable for proper collagen breakdown. I’ve experimented with higher temps, and the texture suffers every time. Patience pays off with that perfect fall-apart tenderness we’re all after. 💪
Nutrition Facts

- 6 Egg Cake Recipe with Oil: Light as Air With Buttery Moisture - October 4, 2026
- 4 Bean Casserole Recipe: One-Pan Heartiness With Smoky Paprika Depth - October 4, 2026
- 3-Ingredient Keto Mug Cake Recipe: Microwave Magic in 2 Minutes - October 4, 2026