
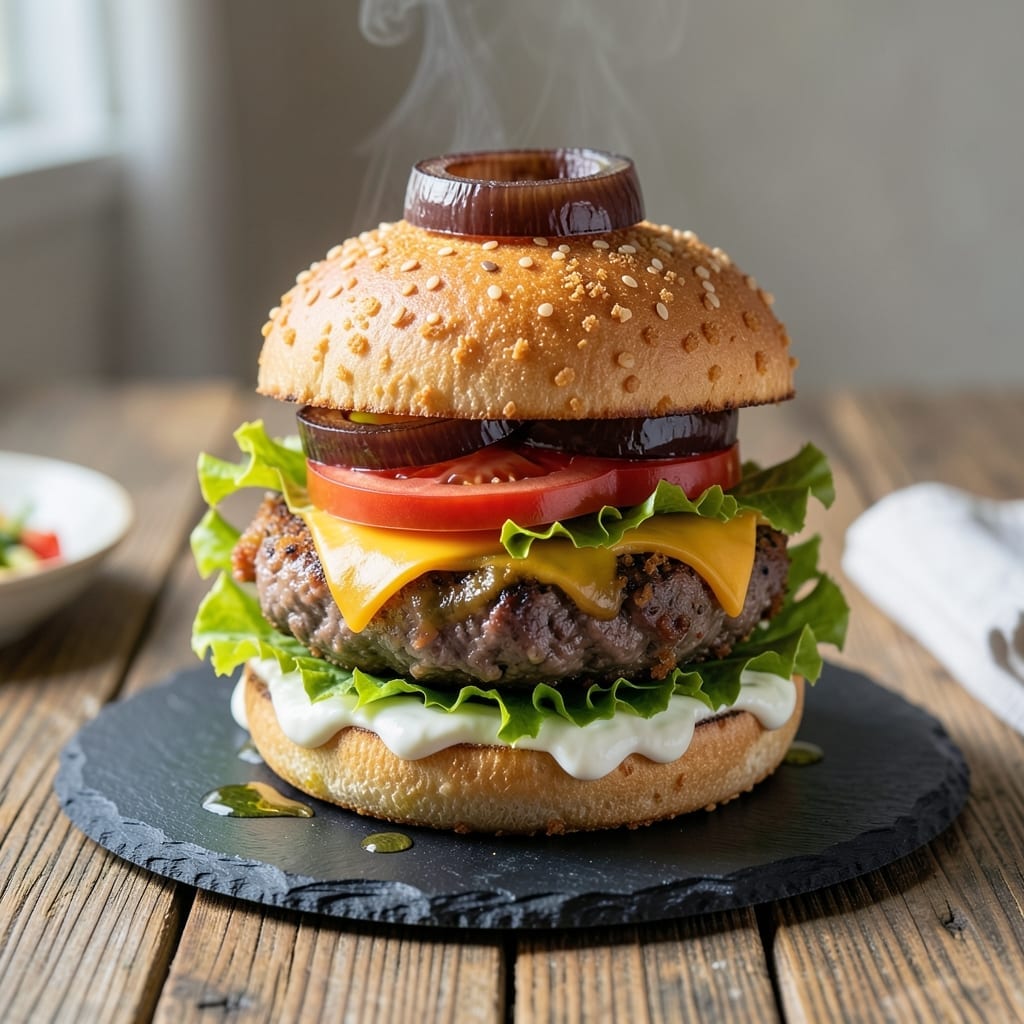
This panko-crusted burger delivers a juicy beef patty encased in a shatteringly crispy coating that stays intact with every bite. The Japanese-style breadcrumbs create an extra-crunchy texture that sets this apart from ordinary burgers.
I developed this method after years of testing to achieve the perfect balance between a moist interior and a golden-brown exterior. The secret lies in pressing the panko firmly onto the patty and chilling before cooking.
What emerges from the pan is a burger with a satisfying crunch that gives way to tender, juicy beef. The contrast between the crispy coating and the succulent center makes each bite unforgettable.
Serve on a toasted bun with your favorite toppings. This technique elevates a classic dish into something extraordinary.
Ingredients for Panko Burger
Nothing exotic here—just good stuff for a burger that crunches then melts in your mouth.
| Ingredient | Amount | Notes |
|---|---|---|
| Ground Beef 🥩 | 1 ½ lb | 80/20 fat ratio for juiciness |
| Panko Breadcrumbs 🍞 | 2 cups | Japanese-style for extra crunch |
| Large Eggs 🥚 | 2 whole | Beaten for binding coating |
| All-Purpose Flour 🌾 | ½ cup | For dredging beef patties |
| Worcestershire Sauce 💧 | 1 tbsp | Adds umami depth to patties |
| Garlic Powder 🧄 | 1 tsp | For seasoning beef mixture |
| Onion Powder 🧅 | 1 tsp | Balances garlic flavor in beef |
| Salt 🧂 | 1 tsp | Kosher or sea salt preferred |
| Black Pepper 🌶️ | ½ tsp | Freshly ground for best flavor |
| Hamburger Buns 🍔 | 4 whole | Toasted before serving |
| Lettuce Leaves 🥬 | 4 whole | Iceberg or butter lettuce |
| Tomato Slices 🍅 | 4 slices | Ripe beefsteak tomatoes ideal |
| Mayonnaise 🥛 | ¼ cup | For bun spreading |
| Vegetable Oil 🫒 | ½ cup | For frying burgers |
The beef is non-negotiable here. 80/20 ground chuck keeps these patties juicy—leaner blends dry out fast. I grab mine from Whole Foods or the butcher counter at Kroger. The panko has to be Japanese-style (the coarse, flaky stuff), not regular breadcrumbs. Kikkoman makes a great one, or check the Asian aisle at any major supermarket.
No Worcestershire? Soy sauce plus a dash of vinegar works in a pinch. Out of panko? Crushed cornflakes at a 1:1 ratio give decent crunch. The egg is for binding, so if you’re out, a couple tablespoons of mayonnaise does the trick. For extra flavor, mix grated onion right into the beef—it disappears but adds depth.
Formed patties keep in the fridge 24 hours before cooking (cover tightly). Cooked burgers reheat okay but best fresh. Panko stays crispy for 1-2 minutes after frying—have your buns toasted and toppings ready to go.
Why You’ll Love This Recipe
- 20-Minute Meal: I can shape, coat, and fry these faster than takeout arrives.
- Umami Bomb: That Worcestershire in the beef plus the crunch of panko makes every bite ridiculous.
- Freezer Friendly: I double the batch, freeze the patties raw, and pull one out whenever cravings hit.
- Stretches Further: Panko and a single egg extend a pound of beef into four hearty burgers without skimping on taste.
Step-by-Step Instructions for Panko Burgers
Here’s the method that delivers crispy coating and juicy centers every time.
Step 1: Season and Shape the Beef Patties
In a bowl, gently combine the 1.5 lb ground beef with 1 tbsp Worcestershire sauce, 1 tsp garlic powder, 1 tsp onion powder, 1 tsp salt, and 0.5 tsp black pepper. I use my hands for this—overmixing makes burgers tough.
Divide into four equal portions and shape into ¾-inch thick patties, slightly wider than your buns (they shrink). Press a shallow dimple in the center with your thumb—this prevents bulging during cooking. Place on a plate and chill for 15 minutes to help them hold their shape.
Step 2: Set Up the Breading Station
Arrange three shallow dishes. Place the 0.5 cup all-purpose flour in the first. In the second, beat the 2 whole large eggs until uniform. In the third, spread the 2 cups panko breadcrumbs in an even layer.
This three-step process creates a crispy crust that stays put. I like to season the flour with a pinch of salt for extra flavor in every layer. The panko’s coarse texture gives that signature crunch you won’t get with regular breadcrumbs.
Step 3: Bread and Fry the Burgers
Dredge each patty in flour, shaking off excess, then dip in beaten egg, letting any extra drip off. Press firmly into panko to create a thick, even coating. I use one hand for wet ingredients and one for dry to avoid clumping.
Heat 0.5 cup vegetable oil in a large skillet over medium heat until shimmering. Fry patties for 4-5 minutes per side until golden brown and internal temperature reaches 160°F. Don’t crowd the pan—this drops the oil temp and makes burgers greasy.
Drain on a wire rack (not paper towels) to keep the coating crisp.
Step 4: Toast Buns and Assemble
Lightly toast the 4 whole hamburger buns in the same skillet or under a broiler for 1-2 minutes until lightly golden. Spread 0.25 cup mayonnaise on both halves—this adds moisture and helps the toppings stick.
Layer each bottom bun with a lettuce leaf, fried patty, tomato slice, and top bun. Press down gently so the crispy coating cracks just right. Serve immediately while the patties are hot and the coating is at its crunchiest.
Pro Tips For Making Panko Burger
- Chill the Patties: After shaping, refrigerate the panko-crusted patties for at least 30 minutes—I learned this the hard way when mine kept falling apart on the grill.
- Use Fresh Panko: Skip the fine breadcrumbs; fresh panko gives that perfect crunchy texture that makes these burgers stand out.
- Don’t Overmix: Combine the ground beef, egg, and Worcestershire just until mixed—overworking it turns the patties dense and tough.
- Press Firmly: When coating the patties in flour and panko, press hard so the crumbs stick—this keeps the crust from flaking off during cooking.
Essential Equipment for panko burger
Skillet Selection
I use a 12-inch cast iron skillet—Lodge makes a great one—that retains heat evenly for consistent frying. The heavy bottom prevents hot spots that can burn the panko before the beef cooks through. A stainless steel skillet works too but requires more oil to prevent sticking.
Thermometer Importance
An instant-read thermometer is non-negotiable for perfect results. I swear by my ThermoWorks Thermapen for its 2-3 second read time. Check the thickest part of each patty to ensure it reaches 160°F internally. 🌡️
Draining Setup
Place a wire rack over a baking sheet to drain the burgers. This allows air circulation underneath, keeping the coating crisp on all sides. Paper towels will steam the bottom and make it soggy. I keep this setup near my stovetop for efficiency.
Breading Tools
Use shallow dishes (I prefer pie plates) for your flour, egg, and panko stations. The wide surface makes dredging easier. Have a bench scraper handy to clean your work surface between batches. This keeps your kitchen tidy during prep.
Oil Temperature
Use a candy thermometer clipped to the pan to monitor oil temperature. Maintain 350-375°F for optimal browning. If the oil smokes, it’s too hot—lower the heat immediately. I adjust my burner between medium and medium-high to keep it steady.
Pressing Tool
For an extra-thick panko crust, I use a meat mallet to gently press the breadcrumbs into the patty after dipping. This ensures maximum adhesion. The flat side works better than the tenderizing side for this technique.
Nutrition Facts
Frequently Asked Questions
Can I bake these instead of frying?
Yes, bake at 400°F for 15-18 minutes, flipping halfway. Use a wire rack on a baking sheet for even crisping. The texture won’t be identical, but still delicious.
Why did my panko coating fall off?
Press the panko firmly into the patty and chill for 15 minutes before frying. Skipping this step causes the coating to detach during cooking.
Can I use a different protein?
Ground chicken or turkey works well. Reduce cooking time to 3-4 minutes per side until 165°F internally.
How do I keep them crispy for a crowd?
Hold in a 200°F oven on a wire rack for up to 20 minutes. Avoid stacking—the steam will soften the coating.

- 6 Egg Cake Recipe with Oil: Light as Air With Buttery Moisture - October 4, 2026
- 4 Bean Casserole Recipe: One-Pan Heartiness With Smoky Paprika Depth - October 4, 2026
- 3-Ingredient Keto Mug Cake Recipe: Microwave Magic in 2 Minutes - October 4, 2026