
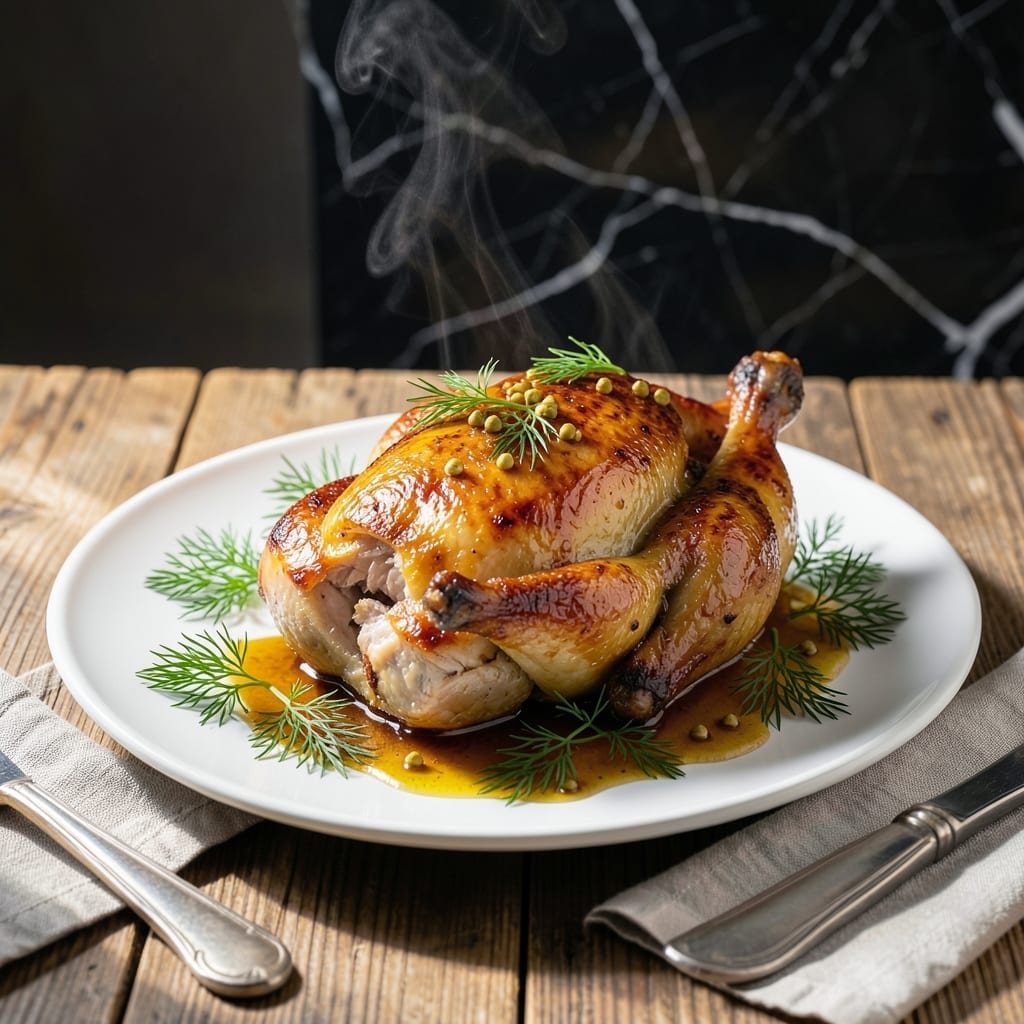
This tangy brine transforms ordinary chicken into juicy, flavor-packed poultry with minimal effort. The secret lies in the perfect balance of vinegar, salt, and aromatic spices that penetrate deep into the meat.
I developed this recipe after years of experimenting with different acid-to-salt ratios. The result is a versatile marinade that works for whole birds, cut-up pieces, or even chicken tenders. It’s foolproof and delivers consistent results every time.
What you’ll get is meat that stays moist during cooking, with a subtle pickle flavor that enhances rather than overpowers. The brine also helps the chicken develop a beautiful golden crust when roasted or grilled.
Use it for meal prep, Sunday roasts, or quick weeknight dinners. The possibilities are endless.
Ingredients for Pickle Brine Recipe for Chicken
Ten simple ingredients create this tangy, aromatic brine that transforms chicken.
| Ingredient | Amount | Notes |
|---|---|---|
| White Vinegar 💧 | 4 cups | Distilled for clean acidity |
| Water 💧 | 4 cups | Filtered or cold tap |
| Kosher Salt 🧂 | ½ cup | Diamond Crystal preferred |
| Granulated Sugar 🍚 | ¼ cup | Balances the acidity |
| Black Peppercorns 🌶️ | 1 tbsp | Lightly crushed |
| Mustard Seeds 🌿 | 1 tbsp | Yellow or brown variety |
| Dried Dill Weed 🍃 | 1 tbsp | Or substitute fresh dill |
| Garlic Cloves 🧄 | 4 cloves | Smashed, peeled |
| Bay Leaves 🌿 | 2 whole | Dried, not fresh |
| Red Pepper Flakes 🌶️ | 1 tsp | Optional for heat |
The vinegar is non-negotiable here—distilled white vinegar gives you that clean, sharp acidity without coloring the meat. For the salt, Diamond Crystal kosher salt is my go-to (it’s less dense than table salt, so you get better distribution in the brine). I grab mine in bulk at Costco, but any grocery store carries it. The peppercorns and mustard seeds should be whole, not pre-ground, so they release their flavors slowly as the brine works its magic.
No mustard seeds? Coriander seeds at the same amount work just as well. Don’t have dill weed? Fresh dill at double the quantity (just tie it in cheesecloth so it doesn’t float everywhere). Short on time? Skip the bay leaves—they add depth but aren’t deal-breakers. If you’re out of sugar, a splash of maple syrup or honey does the trick (though honey’s not vegan, if that matters to you).
Brine keeps for 1 week in the fridge. Don’t reuse it after raw chicken’s been in it—food safety first. Make a double batch and freeze half for next time (thaw in the fridge overnight).
Why You’ll Love This Recipe
- 5-Minute Mix: I just stir vinegar, water, salt, sugar, and peppercorns in a saucepan—no chopping, no fuss.
- Tangy Zing: That sharp vinegar bite mellows into chicken so juicy it makes me grab seconds.
- Meal Prep Hero: I brine a big batch Sunday, then roast or grill all week for dinners that taste brand-new each time.
- Pantry Staples: Between us, I always have these ingredients on hand, so it’s a last-minute flavor lifesaver.
Step-by-Step Instructions for Pickle Brine for Chicken
This method guarantees a flavorful brine that transforms poultry into juicy, tangy perfection every time.
Step 1: Combine Liquids and Dissolve Solids
In a large pot, pour in the 4 cups white vinegar and 4 cups water. Set over medium-high heat and bring to a gentle simmer. You want it hot enough to dissolve the solids but not boiling—boiling can concentrate flavors too aggressively.
Add the 0.5 cup kosher salt and 0.25 cup granulated sugar, stirring until both are completely dissolved. This balance of salt and sugar creates the perfect osmotic environment to season the chicken deeply while keeping it moist. The mixture should look clear with no visible grains.
Step 2: Toast and Bloom the Spices
Lightly crush the 1 tbsp black peppercorns with the flat side of a knife or a mortar and pestle. Add them to the pot along with the 1 tbsp mustard seeds, 1 tbsp dried dill weed, 2 whole bay leaves, and 1 tsp red pepper flakes.
Let the mixture simmer for 3-4 minutes until fragrant. The spices will release their essential oils into the liquid, creating a complex aroma. You’ll notice the dill and peppercorns becoming more pronounced—their scent should fill your kitchen. This step infuses the brine with layers of flavor that will penetrate the chicken.
Step 3: Add Garlic and Cool Completely
Add the 4 cloves garlic cloves (smashed and peeled) to the brine. Simmer for an additional 2 minutes to mellow the garlic’s sharpness while preserving its pungent character. The cloves should soften slightly but not fall apart.
Remove the pot from heat and let the brine cool to room temperature before using. This is crucial—adding hot brine to raw chicken can start cooking the meat unevenly and make it tough. I usually let it sit for 1-2 hours at room temperature, stirring occasionally to speed up cooling. For faster results, you can place the pot in an ice bath.
Step 4: Strain and Use for Chicken
Once cooled, strain the brine through a fine-mesh sieve into a clean container large enough to hold the chicken and liquid. Press the spices gently with a spoon to extract their flavors, but don’t force any solids through—you want a clear brine for the best texture and appearance.
Submerge your chicken completely in the brine. For whole chickens, I recommend brining for 12-24 hours in the refrigerator. For cut pieces like thighs or breasts, 4-6 hours is sufficient. The vinegar will tenderize while the salt seasons deeply, ensuring every bite is juicy and flavorful. Always brine in the refrigerator to prevent bacterial growth.
Pro Tips For Making Pickle Brine Recipe For Chicken
- Heat the Brine: Bring your vinegar, water, salt, and sugar to a gentle boil first—this dissolves the salt and sugar completely and helps the flavors meld before it hits the chicken.
- Crush the Peppercorns: Lightly crack the black peppercorns with a mortar and pestle or the flat side of a knife to release their oils, or they’ll just sink to the bottom and do nothing.
- Don’t Rush the Soak: I learned this the hard way—give the chicken at least 4 hours in the brine, preferably overnight, or the flavor won’t penetrate beyond the surface.
- Use Kosher Salt Only: Skip table salt; its additives can make the brine cloudy and the chicken taste metallic—kosher salt dissolves cleanly and seasons evenly.
Pro Cooking Tips for Perfect Results
Brining Time Matters
For whole chickens, brine for 12-24 hours in the fridge. This gives the vinegar and salt time to penetrate deeply without overpowering the meat. I find 18 hours hits the sweet spot for maximum flavor and tenderness.
Cut Pieces Need Less
Chicken thighs or breasts only need 4-6 hours in the brine. Any longer and the vinegar can start breaking down the meat texture. For tenders, 2-3 hours is plenty to add that zesty kick.
Container Selection
Use a food-safe container that fits your chicken plus brine. I love gallon-sized zip-top bags for smaller pieces—they’re space-efficient and let you easily submerge the meat. For whole birds, a large stockpot works best.
Pro tip: Place the bag in a bowl in case of leaks. 💡
Temperature Control
Always brine in the refrigerator at 40°F or below. Never leave chicken in brine at room temperature, as this creates a breeding ground for bacteria. If your fridge is packed, use an ice bath to keep the temperature safe.
Post-Brining Rinse
After brining, give the chicken a quick rinse under cold water. This removes excess salt from the surface, preventing overly salty skin. Pat dry thoroughly with paper towels for better browning when cooking.
Reusing Brine Safely
Never reuse brine that’s had raw chicken in it. The risk of cross-contamination is too high. However, you can make a double batch and freeze half for next time—it keeps well for 1 month. 🔥
Nutrition Facts
Frequently Asked Questions
How long should I brine chicken pieces?
For thighs or breasts, 4-6 hours is ideal. Tenders need just 2-3 hours to avoid over-softening. Whole chickens benefit from 12-24 hours for deep flavor penetration.
Can I use apple cider vinegar instead?
Yes, but it will impart a milder, fruitier taste. Stick to distilled white vinegar for the classic tangy profile. The acidity level remains effective for tenderizing.
Do I need to rinse the chicken after brining?
A quick cold water rinse removes excess surface salt. Pat dry thoroughly for better browning. Skipping this step may result in overly salty skin.
What’s the best container for brining?
Use gallon-sized zip-top bags for pieces or a large stockpot for whole birds. Always place in a bowl to catch potential leaks.

- 6 Egg Cake Recipe with Oil: Light as Air With Buttery Moisture - October 4, 2026
- 4 Bean Casserole Recipe: One-Pan Heartiness With Smoky Paprika Depth - October 4, 2026
- 3-Ingredient Keto Mug Cake Recipe: Microwave Magic in 2 Minutes - October 4, 2026