
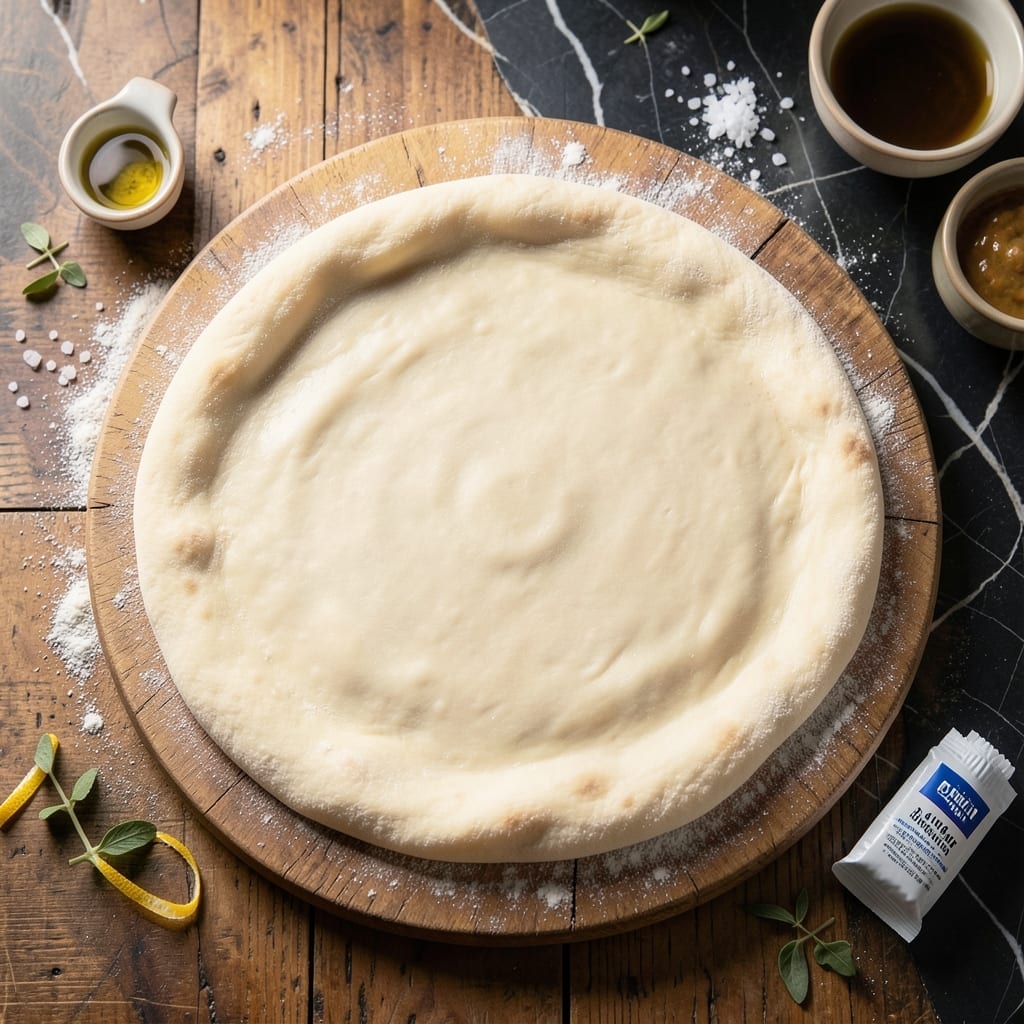
This dough delivers perfect wood-fired pizza with crispy, blistered edges and a tender chew. The high heat of a wood-burning oven requires a specific hydration level to prevent burning while achieving that signature char.
With just 4 ingredients and a 24-hour rest, you’ll create a crust that puffs beautifully and holds up to your favorite toppings. The slow fermentation develops deep flavor that stands out against the smoky oven environment.
Ingredients for Pizza Dough Recipe for Wood Burning Oven
Four simple ingredients transform into wood-fired pizza perfection with crisp, blistered edges.
| Ingredient | Amount | Notes |
|---|---|---|
| Bread Flour 🌾 | 3 ½ cups | High-protein for chewy texture |
| Water 💧 | 1 ½ cups | Room temperature, filtered preferred |
| Active Dry Yeast 🍞 | ¼ tsp | Or 1/4 packet instant yeast |
| Fine Sea Salt 🧂 | 2 tsp | Diamond Crystal preferred for precision |
| Extra-Virgin Olive Oil 🫒 | 1 tbsp | For bowl coating, not in dough |
The flour is everything here. King Arthur Bread Flour is my go-to—consistent protein content (12.7%) for that perfect chew. Water temperature matters less than you think (room temp is fine), but filtered water avoids chlorine killing your yeast. Yeast? Any active dry works, but I keep SAF Red on hand for reliability. Salt is non-negotiable for flavor and structure—Diamond Crystal dissolves beautifully.
No bread flour? All-purpose at a 1:1 ratio works in a pinch (texture will be slightly less chewy). Out of yeast? You’re out of luck—this isn’t a sourdough. Skip the olive oil if you must, but it helps the dough release from the bowl. For a 24-hour rest, a glass bowl with a damp towel keeps it happy in the fridge.
The dough balls keep 3 days in the fridge, or freeze for 1 month (thaw overnight before using). Room temp dough is easier to stretch. Don’t rush the rest—24 hours minimum for that deep, developed flavor.
Why You’ll Love This Recipe
- Five Ingredients: That’s it—flour, water, yeast, salt, olive oil. No fancy additives, just pure simplicity.
- Wood-Fired Crisp: The high heat of the wood oven turns this dough into a chewy, blistered masterpiece with that smoky aroma.
- Endless Toppings: I’ve done everything from classic margherita to wild mushroom and truffle oil on this base.
- Freeze for Later: Honestly, I always make a double batch—dough balls freeze beautifully for last-minute pizza nights.
Step-by-Step Instructions for Pizza Dough for Wood Burning Oven
Here’s the method I’ve perfected for wood-fired pizzas with that signature blistered crust.
Step 1: Activate the Yeast and Begin Hydration
In a large mixing bowl, combine the 1.5 cups water with the 0.25 tsp Active Dry Yeast. Let it sit for 5 minutes until the yeast becomes foamy and active. This visual confirmation tells you the yeast is alive and ready to work its magic.
Add the 3.5 cups Bread Flour and 2 tsp Fine Sea Salt to the bowl. I use bread flour specifically for its high protein content, which develops the gluten structure needed for that perfect chewy texture. The salt not only seasons but also strengthens the gluten network.
Step 2: Develop the Gluten Through Autolyse
Mix the ingredients with a wooden spoon or your hands until just combined into a shaggy mass. Don’t worry about achieving a smooth dough at this stage—you want to see some dry bits still. Cover the bowl with a damp towel and let it rest for 20-30 minutes.
This autolyse period allows the flour to fully hydrate and the gluten to begin developing without any kneading. You’ll notice the dough becomes more elastic and easier to work with after this rest. The texture should be tacky but not sticky when you proceed to kneading.
Step 3: Knead to Smooth Perfection
After the rest, turn the dough out onto a clean surface. Begin kneading by pushing the dough away with the heel of your hand, then folding it back over itself. Rotate the dough 90 degrees after each fold and repeat for 8-10 minutes.
The dough should become smooth and elastic, springing back when gently pressed with your finger. If it feels too sticky, resist the temptation to add more flour—this is a high-hydration dough designed for wood-fired cooking. The tackiness is normal and contributes to the open crumb structure.
Step 4: First Rise for Flavor Development
Lightly coat a clean bowl with the 1 tbsp Extra-Virgin Olive Oil. Place the dough in the bowl and turn it to coat all sides with the oil. Cover with a damp towel and let it rise at room temperature for 1-2 hours, or until doubled in size.
This first rise allows the yeast to ferment and develop complex flavors in the dough. The timing can vary based on your kitchen temperature—look for the dough to have nearly doubled in volume rather than relying solely on the clock. The surface should appear slightly bubbly when ready.
Step 5: Divide, Shape, and Final Proof
Turn the risen dough out onto a lightly floured surface and divide it into 4 equal portions for individual pizzas. Shape each portion into a tight ball by pulling the edges toward the center and pinching them together.
Place the dough balls on a floured surface, cover with a damp towel, and let them proof for another 30-60 minutes. They should spring back slowly when gently pressed. This final proof ensures the dough will stretch easily and develop those characteristic air bubbles in the wood-fired oven. The balls should increase in size by about 50% during this time.
Pro Tips For Making Pizza Dough Recipe For Wood Burning Oven
- Preheat the Stone: Give your wood-fired oven at least 45 minutes to reach 700°F or higher—I learned this the hard way after pulling out half-baked dough more times than I care to admit.
- Use High-Protein Flour: Bread flour with 12-13% protein is non-negotiable here; all-purpose just won’t hold up to the intense heat of a wood oven.
- Skip Cold Water: Warm water (around 110°F) wakes up the yeast faster, and after ruining a batch with icy tap water, I never look back.
- Rest Before Stretching: Let the dough sit at room temp for 30 minutes after shaping—it relaxes the gluten so you can stretch it thin without fighting it.
Make-Ahead Tips for Leftovers
🔥 Week Before
Start by gathering your ingredients and tools. Purchase high-quality flour, yeast, and olive oil, as these are the foundation of a great dough. If you’re using a sourdough starter, ensure it’s active and ready to go. Dedicate 10-15 minutes to organize your pantry and check expiration dates on yeast and other dry goods. This is also a great time to clean and season your wood-fired oven tools, like peels and brushes, so they’re ready for action.
🍳 Day Before
Prepare your dough in advance to let it cold-ferment for deeper flavor. Mix and knead the dough, then place it in an oiled bowl, cover it tightly, and refrigerate for 12-24 hours. This slow fermentation enhances the gluten structure and adds complexity to the crust. If you’re making multiple pizzas, divide the dough into balls and store them in separate containers for easier handling later.
⏰ Day Of
Remove the dough from the fridge 2-3 hours before cooking to let it come to room temperature. This makes stretching easier and ensures even baking. Preheat your wood-burning oven to 700-800°F at least 1 hour before you plan to cook. While the oven heats, shape your dough balls into rounds and let them rest on a floured surface.
🎯 Last-Minute Tasks
Just before sliding the pizza into the oven, add your toppings quickly to avoid overloading the dough. Work fast—wood-fired pizzas cook in 60-90 seconds! Keep a close eye on the crust to prevent burning. A sprinkle of cornmeal or semolina on the peel helps the dough slide off smoothly. Pro tip 💡: Rotate the pizza halfway through for even charring.
Nutrition Facts

- 6 Egg Cake Recipe with Oil: Light as Air With Buttery Moisture - October 4, 2026
- 4 Bean Casserole Recipe: One-Pan Heartiness With Smoky Paprika Depth - October 4, 2026
- 3-Ingredient Keto Mug Cake Recipe: Microwave Magic in 2 Minutes - October 4, 2026