
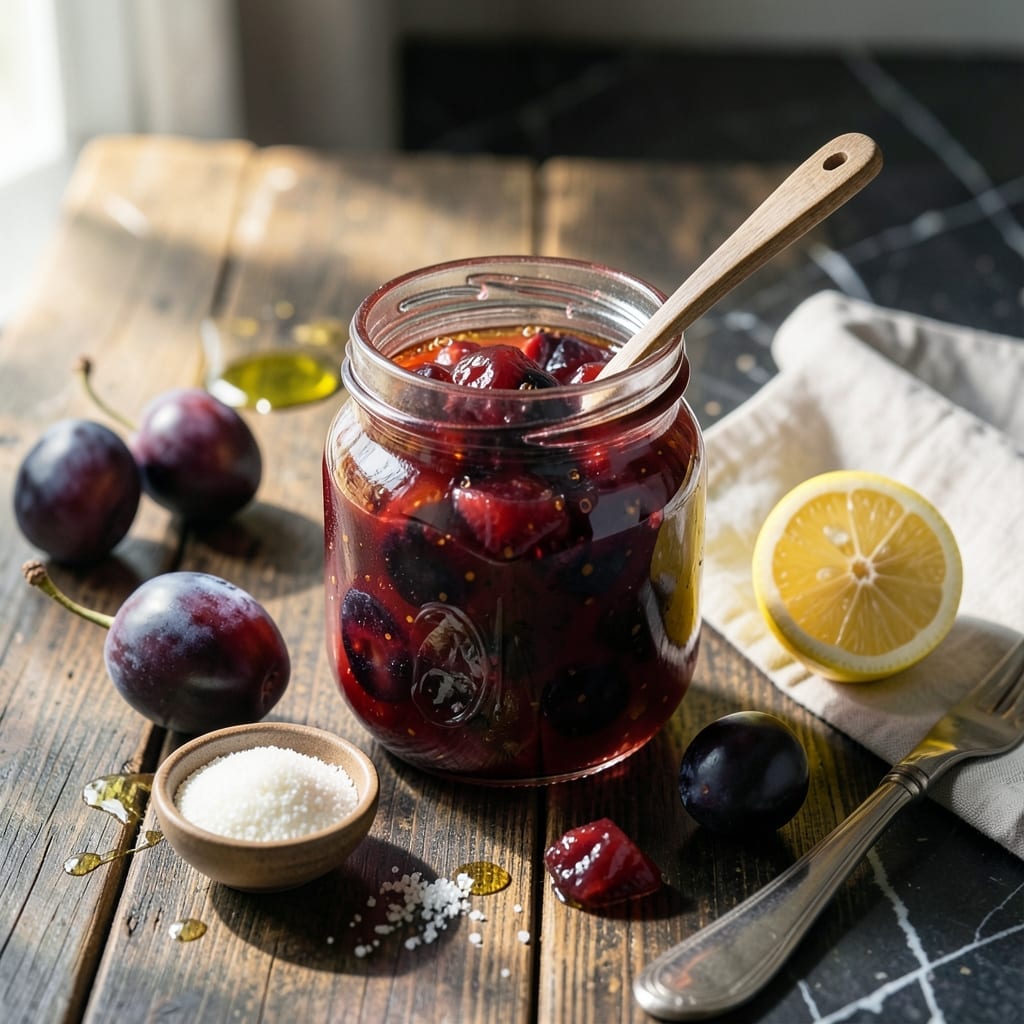
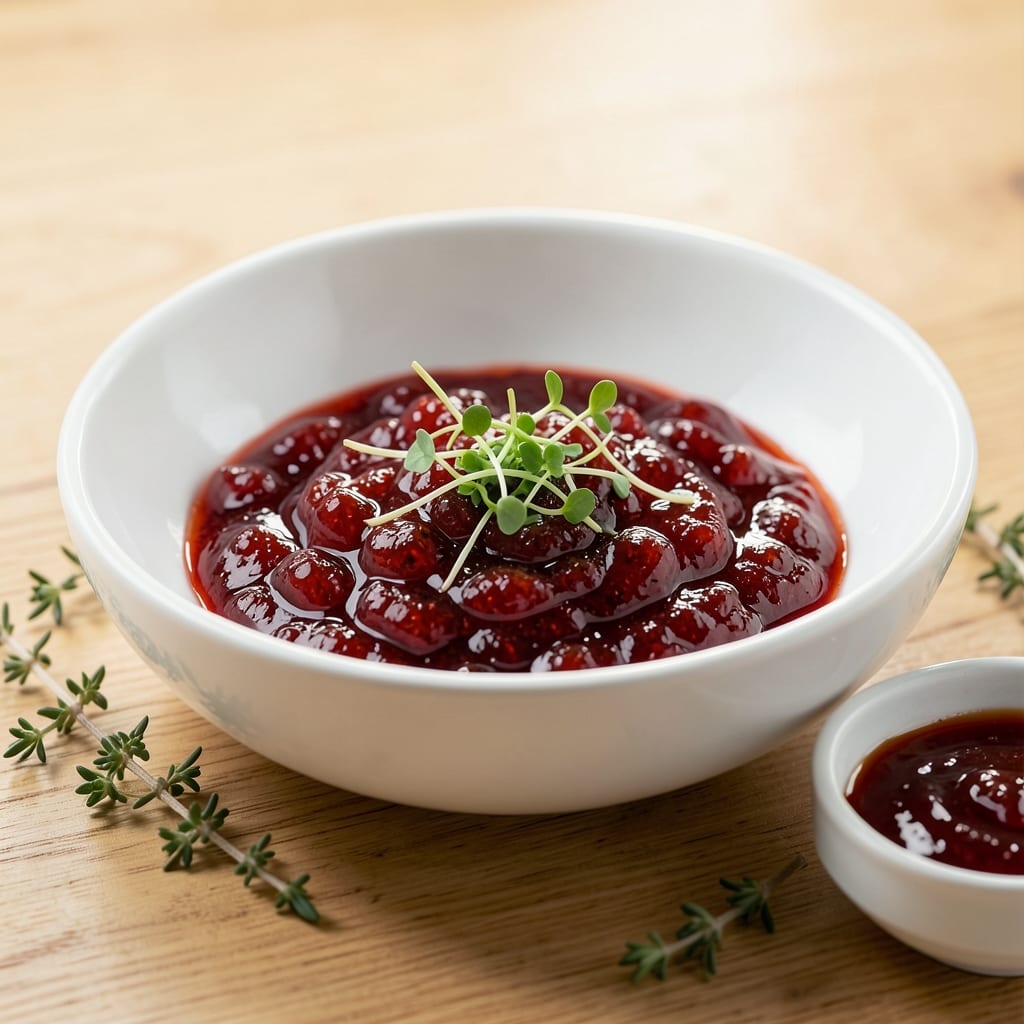
This naturally thick plum jam proves you don’t need pectin to achieve the perfect spreadable consistency. The secret lies in the fruit’s natural pectin, released through careful cooking and the right balance of sugar.
With just 3 ingredients and minimal effort, you’ll have a vibrant, fruity jam that’s ideal for toast, pastries, or gift-giving. The process is straightforward, and the result is a smooth, glossy preserve with no artificial additives.
Ingredients for Plum Jam Recipe Without Pectin
Three simple ingredients make this vibrant, naturally thick jam come alive.
| Ingredient | Amount | Notes |
|---|---|---|
| Fresh Plums 🟣 | 2 lb | Pitted and quartered, ripe but firm |
| Granulated Sugar 🍚 | 1 ½ cups | Adjust based on plum sweetness |
| Lemon Juice 🍋 | 2 tbsp | Freshly squeezed for acidity |
[recipeingredientscaler]
The plums are everything here. Farmers market or a well-stocked Whole Foods will have the best selection—look for varieties like Santa Rosa or Stanley, which pack concentrated flavor. They should yield slightly to pressure but not be mushy. Underripe fruit won’t release enough natural pectin, and overripe will turn to mush. I usually buy a few extra to account for the pits and any bruised spots.
No fresh plums? Frozen works in a pinch—just thaw and drain them well first. Need to cut the sugar? You can reduce it slightly, but sugar isn’t just for sweetness here—it’s key for the jam’s set. Maple syrup or agave can replace half the granulated sugar if you’re avoiding refined sweeteners. The lemon juice is non-negotiable though; it balances sweetness and ensures proper thickening.
This keeps for 1 week in the fridge (if it lasts that long). For longer storage, process in a water bath for 10 minutes and it’ll keep for 6 months. Or freeze in small jars—perfect for gifting.
Why You’ll Love This Recipe
- No Fuss Cooking: I just dump chopped plums, sugar, and a splash of lemon juice in a pot—no special tools or pectin required.
- Sweet-Tart Magic: The plums caramelize into this deep, jammy flavor with just enough zing from the lemon to keep it bright.
- Endless Uses: I slather it on toast, swirl it into yogurt, or gift it in little jars—it’s my secret weapon for quick, thoughtful treats.
- Pantry Hero: A big batch costs pennies with summer plums, and it keeps for months. Honestly, I’ve yet to find a better way to preserve the season.
Step-by-Step Instructions for Plum Jam Without Pectin
Here’s the method that guarantees a thick, luscious spread without any additives.
Step 1: Prepare the Plums for Cooking
Start by pitting and quartering all 2 lb Fresh Plums. I like to use ripe but firm plums for this—they hold their shape better during cooking while still breaking down into that perfect jammy texture. A sharp paring knife makes quick work of the pitting.
As you work, place the quartered plums directly into your cooking pot. No need to peel them—the skins contain natural pectin that helps thicken the jam. This is the secret to achieving that beautiful, spreadable consistency without commercial pectin.
Step 2: Combine Ingredients and Begin Cooking
Add the 1.5 cups Granulated Sugar and 2 tbsp Lemon Juice to the pot with the plums. Stir well to combine, making sure all the fruit pieces are coated with sugar. The lemon juice isn’t just for flavor—it adds acidity that helps extract the natural pectin from the plums.
Place the pot over medium heat and stir frequently with a wooden spoon. You’ll notice the sugar start to dissolve and the plums begin to release their juices after about 5 minutes. Keep stirring to prevent sticking at this stage.
Step 3: Simmer Until Thickened
Once the mixture comes to a full boil, reduce the heat to medium-low and let it simmer. Here’s where patience pays off. You’ll need to cook the jam for 45-60 minutes, stirring occasionally, until it thickens to your desired consistency.
To test for doneness, place a small spoonful on a chilled plate and let it sit for 30 seconds. If it wrinkles slightly when you push it with your finger, it’s ready. The jam should coat the back of a spoon thickly and not run off too quickly.
Step 4: Finish and Store the Jam
Remove the pot from heat and let the jam cool for 5 minutes. During this time, skim off any foam that may have formed on the surface with a clean spoon. This foam is harmless but can affect the jam’s appearance in the jar.
Ladle the hot jam into clean, sterilized jars, leaving ¼ inch headspace at the top. The jam will continue to thicken slightly as it cools. Seal the jars while still warm. Once completely cooled, store in the refrigerator for up to 3 weeks, or process for longer storage.
Pro Tips For Making Plum Jam Recipe Without Pectin
- Test for Ripeness: Press a plum gently—if it gives slightly but isn’t mushy, it’s perfect. Overripe plums will make your jam too soft, and underripe ones won’t break down properly.
- Simmer, Don’t Boil: Keep the heat at a steady simmer, not a rolling boil, or the sugar will crystallize and your jam will turn grainy. I learned this the hard way after ruining two batches.
- Use a Wide Pot: A broad, shallow pan lets the jam reduce faster and more evenly. Sounds weird, but it works: a deep pot just slows everything down.
- Add Lemon Last: Stir in the lemon juice after the plums and sugar have started cooking—adding it too early can make the fruit tough instead of tender. My grandmother swore by this, and she was right.
Pro Cooking Tips for This Recipe
💡 Master the Heat
Low and slow is the secret to perfect plum jam without pectin. Cook the fruit over medium-low heat to gently break down the plums and release their natural pectins. Avoid high heat, which can cause burning or uneven thickening.
🌡️ Test for Doneness
Use the cold plate test to check thickness. Place a spoonful of jam on a chilled plate—if it wrinkles when pushed with a finger, it’s ready. For extra precision, aim for 220°F (105°C) on a candy thermometer.
✨ Boost Natural Pectin
Underripe plums have more natural pectin than fully ripe ones, so mix a few in for better thickening. A squeeze of lemon juice also helps activate pectin and balances sweetness.
🎯 Stir Smartly
Stir frequently with a wooden spoon to prevent sticking, especially as the jam thickens. Scrape the bottom of the pot to avoid scorching. Patience here ensures a smooth, glossy finished product.
Nutrition Facts

- 6 Egg Cake Recipe with Oil: Light as Air With Buttery Moisture - October 4, 2026
- 4 Bean Casserole Recipe: One-Pan Heartiness With Smoky Paprika Depth - October 4, 2026
- 3-Ingredient Keto Mug Cake Recipe: Microwave Magic in 2 Minutes - October 4, 2026