
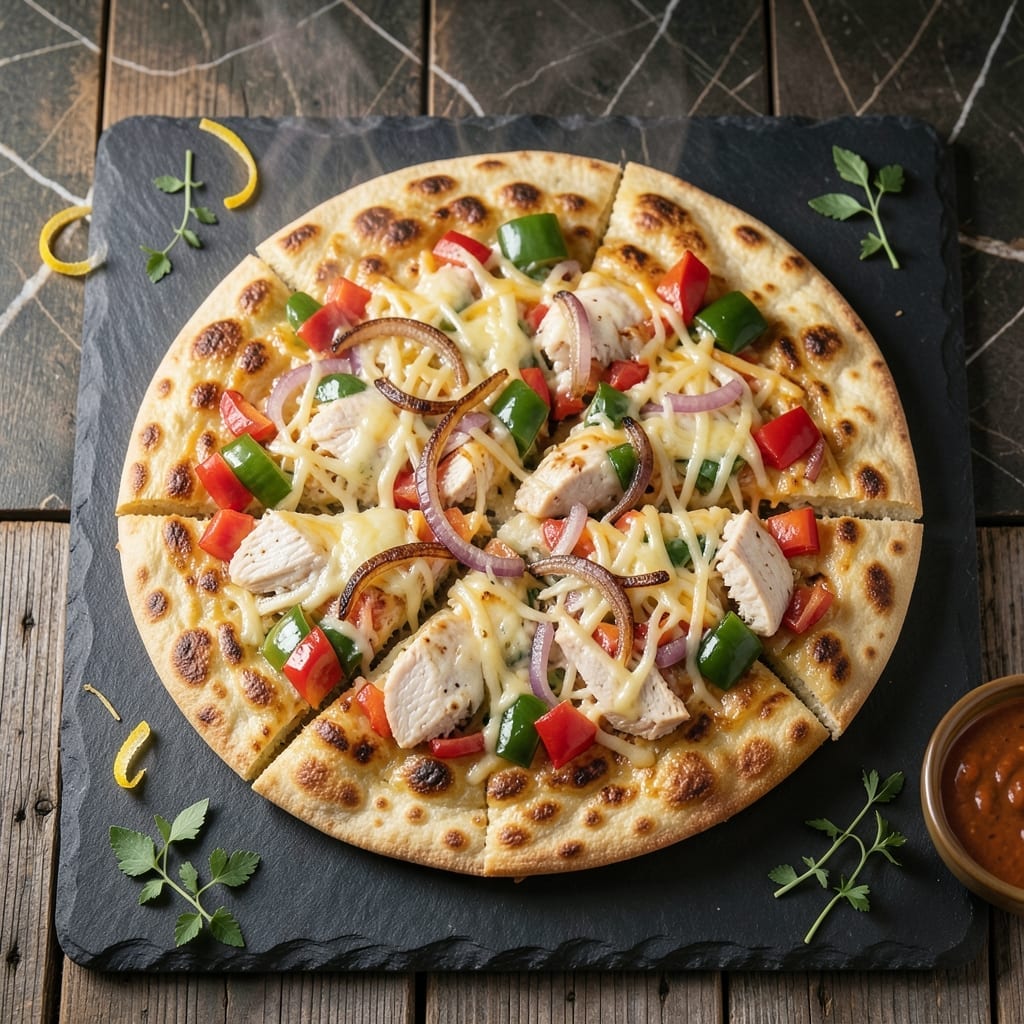
Achieving perfectly crispy quesadillas without babysitting the stove is simpler than you think. This oven method delivers evenly melted cheese and golden-brown tortillas with minimal effort on your part.
The beauty lies in the hands-free approach—layer your fillings, slide the tray into the oven, and let the heat work its magic. In just 10-12 minutes, you’ll have a batch ready to serve, with no flipping required.
Customize with your favorite proteins, veggies, or beans for a versatile meal that satisfies everyone. The oven ensures consistent results, whether you’re making one or a dozen.
No more uneven cooking or cheese spills on the stovetop. This method guarantees restaurant-quality quesadillas every time.
Ingredients for Quesadilla Recipe in Oven
Everything you need for perfectly crispy, golden oven-baked quesadillas with minimum effort.
| Ingredient | Amount | Notes |
|---|---|---|
| Flour Tortillas 🌮 | 8 pieces | Large, burrito-sized preferred |
| Shredded Monterey Jack Cheese 🧀 | 2 cups | Or Mexican cheese blend |
| Shredded Cheddar Cheese 🧀 | 1 cup | Sharp for extra flavor |
| Cooked Chicken Breast 🍗 | 1 lb | Shredded, optional filling |
| Bell Peppers 🌶️ | 1 whole | Any color, diced small |
| Red Onion 🧅 | ½ whole | Thinly sliced for texture |
| Black Beans 🫘 | 1 can | Drained and rinsed well |
| Olive Oil 🫒 | 2 tbsp | For brushing tortillas |
| Fresh Cilantro 🌿 | ¼ cup | Chopped, for garnish |
| Lime 🍈 | 1 whole | Cut into wedges |
| Ground Cumin 🌿 | ½ tsp | For seasoning fillings |
| Chili Powder 🌶️ | ½ tsp | Adjust to taste |
| Salt 🧂 | ½ tsp | Kosher or sea salt |
| Black Pepper 🌶️ | ¼ tsp | Freshly ground preferred |
| Sour Cream 🥣 | ½ cup | For serving, optional |
The tortillas are the foundation here. Burrito-sized flour tortillas hold up best to the oven’s dry heat and won’t crack. Mission or Old El Paso brands are reliable for texture. For the cheese, pre-shredded melts fine (I won’t judge—weeknights are chaotic), but block cheese shredded fresh gives a creamier pull. The chicken? Rotisserie from the grocery store is a shortcut I lean on constantly.
Swapping the chicken for canned black beans (drained well) keeps this vegetarian. No Monterey Jack? Pepper Jack for heat or Oaxaca for stretch. Bell peppers can be swapped for zucchini or mushrooms—just squeeze out excess moisture. If you’re out of cilantro, green onions add a fresh bite. The spices are flexible too—skip the cumin if you’re not a fan.
Assembled quesadillas keep in the fridge for 1 day before baking. Leftovers? Wrap tightly in foil and reheat in the oven at 350°F for 10 minutes. Sour cream and lime wedges stay fresh sealed in the fridge for 1 week.
Why You’ll Love This Recipe
- Hands-Off Cooking: I just layer everything on a sheet pan and let the oven do the work—no flipping, no messing with a skillet.
- Melty Cheese Heaven: That mix of Monterey Jack and cheddar gets so gooey it stretches for miles, and the chicken and peppers add the perfect bite.
- Feeds the Crowd: I make a big batch for game nights or lazy Sundays, and everyone grabs what they want.
- Leftovers for Days: Honestly, they taste just as good reheated the next day, and I love having a quick lunch ready to go.
Step-by-Step Instructions for Quesadillas in the Oven
Here’s the method that delivers perfectly crispy, cheesy results with minimal effort.
Step 1: Prepare the Fillings
Dice the bell peppers into small, even pieces and thinly slice the 0.5 whole red onion. This uniform size ensures even cooking and a consistent texture in every bite. Heat a skillet over medium heat and sauté the bell peppers and red onion for 5-6 minutes until softened.
Drain and rinse the 1 can black beans, then combine them in a bowl with the 1 lb cooked chicken breast, sautéed vegetables, 0.5 tsp ground cumin, 0.5 tsp chili powder, 0.5 tsp salt, and 0.25 tsp black pepper. Mix well to evenly distribute the spices. This step builds layers of flavor that will shine in the final dish.
Step 2: Assemble the Quesadillas
Lay out the 8 pieces flour tortillas on a clean surface. On half of the tortillas, sprinkle an even layer of 2 cups shredded Monterey Jack cheese and 1 cup shredded cheddar cheese, leaving a ½-inch border around the edges. This border prevents cheese from spilling out during baking.
Divide the chicken and vegetable mixture evenly among the cheesy tortillas, spreading it over the cheese. Top each with a second flour tortilla, pressing down gently to encourage the layers to adhere. You should have four complete quesadillas ready for the oven.
Step 3: Brush and Bake to Perfection
Preheat your oven to 400°F and line a large baking sheet with parchment paper. Place the assembled quesadillas on the sheet and lightly brush the tops with 2 tbsp olive oil. This oil helps achieve that coveted golden, crispy finish.
Bake for 8-10 minutes, then carefully flip each quesadilla and brush the second side with the remaining olive oil. Return to the oven and bake for another 5-7 minutes until both sides are golden brown and the cheese is fully melted. Watch closely during the last few minutes to prevent over-browning.
Step 4: Rest and Serve
Remove the quesadillas from the oven and let them rest on the baking sheet for 2-3 minutes. This brief rest allows the cheese to set slightly, making them easier to cut without everything oozing out.
Transfer to a cutting board and slice each quesadilla into wedges. Garnish with 0.25 cup fresh cilantro and serve with lime wedges and 0.5 cup sour cream on the side for dipping. The contrast of the crispy exterior, gooey cheese, and flavorful fillings makes every bite satisfying.
Pro Tips For Making Quesadilla Recipe In Oven
- Preheat the Oven: I learned this the hard way—crank it to 400°F before assembling. Cold ovens turn your tortillas into sad, soggy shells instead of crispy, golden pockets.
- Dry the Peppers: After dicing bell peppers, pat them dry with a paper towel. Sounds tedious, but it prevents excess moisture from making your quesadillas steam instead of crisp.
- Skip the Overfill: Resist the urge to stuff every tortilla to the brim. A generous ½ cup of filling per half-tortilla is plenty—overloading just makes a messy, oozing disaster.
- Broil for Finish: After 8-10 minutes of baking, hit the broiler for 1-2 minutes. This guarantees that perfect, bubbly cheese pull and a lightly charred edge you’d get from a skillet.
Troubleshooting This Recipe
Uneven Browning
If one side browns faster, your oven may have hot spots. Rotate the baking sheet halfway through and switch oven racks if needed. I always bake on the middle rack for the most even heat distribution. 🔥
Soggy Tortillas
This usually means excess moisture in your fillings. Pat dry any veggies and drain beans thoroughly before assembling. Also, don’t overfill—stick to ½ cup filling per quesadilla max. The ½-inch border helps too.
Cheese Leaking Out
Prevent spills by ensuring your cheese layer is fully contained within the tortilla edges. Press down gently before baking to seal the layers. If it still leaks, try using less cheese or a cheese with higher melt point like Colby Jack.
Undercooked Center
Your oven might run cool. Invest in an oven thermometer to verify it’s actually 400°F. If it is, bake for 2-3 extra minutes per side. Thicker fillings like whole beans may need more time to heat through.
Overly Crispy Edges
Brush with olive oil more sparingly next time. The oil helps crisp, but too much can make edges burn before the center cooks. I use a pastry brush for precise control. Try reducing bake time by 1-2 minutes per side.
Sticking to Pan
Always use parchment paper or a silicone baking mat. If you must use bare metal, grease it well with 1 tbsp olive oil first. Let quesadillas cool for 1 minute on the pan before transferring to prevent tearing.
Nutrition Facts
Frequently Asked Questions
What temperature should I use?
Preheat your oven to 400°F for the best results. This ensures even cooking and a crispy exterior while melting the cheese perfectly inside.
How do I prevent them from getting soggy?
Pat dry all veggies and drain beans well before assembling. Also, don’t overfill—use ½ cup filling per quesadilla max. The ½-inch border of cheese helps seal the edges.
Can I make them ahead of time?
Yes! Assemble and refrigerate for up to 1 day before baking. Store in an airtight container to keep tortillas from drying out.
What’s the best way to reheat leftovers?
Wrap tightly in foil and warm in the oven at 350°F for 10 minutes. This keeps them crispy without drying out.

- 6 Egg Cake Recipe with Oil: Light as Air With Buttery Moisture - October 4, 2026
- 4 Bean Casserole Recipe: One-Pan Heartiness With Smoky Paprika Depth - October 4, 2026
- 3-Ingredient Keto Mug Cake Recipe: Microwave Magic in 2 Minutes - October 4, 2026