
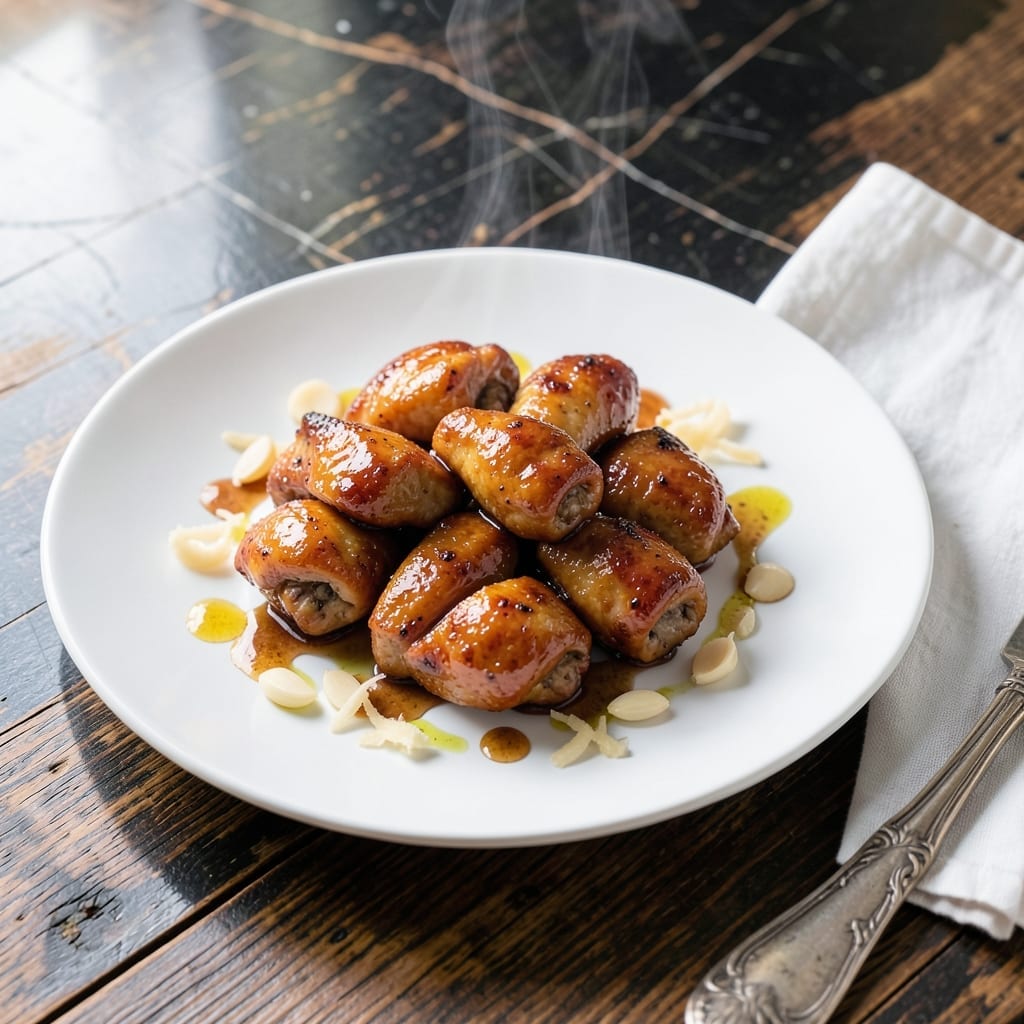
I’ve got your new go-to dinner right here—juicy chicken coated in a sticky-sweet glaze that comes together in 20 minutes. No fancy skills required, just simple ingredients and a hot pan.
This foolproof method skips the marination step, using a quick homemade teriyaki that’s way better than store-bought. The sauce thickens right in the pan, soaking into every bite of tender chicken.
You’ll end up with glossy, caramelized pieces that taste like takeout but cost half the price. Serve over rice or noodles for a meal that’s ready before the delivery guy could even ring your doorbell.
Between you and me, leftovers taste even better the next day.
Ingredients for Teriyaki Chicken Recipe Easy
Simple pantry staples and a hot pan are all you need here.
| Ingredient | Amount | Notes |
|---|---|---|
| Boneless Skinless Chicken Thighs 🍗 | 1 ½ lb | Cut into bite-sized pieces |
| Soy Sauce 🥫 | ½ cup | Low-sodium preferred |
| Brown Sugar 🍚 | ⅓ cup | Packed for sweetness |
| Honey 🍯 | 2 tbsp | For glossy glaze |
| Fresh Garlic Cloves 🧄 | 3 cloves | Minced for depth |
| Fresh Ginger 🌿 | 1 tbsp | Grated for zing |
| Rice Vinegar 🍶 | 2 tbsp | Balances sweetness |
| Cornstarch 🌾 | 1 tbsp | For thickening sauce |
| Sesame Oil 🫒 | 1 tsp | Toasted for aroma |
| Vegetable Oil 🫒 | 2 tbsp | For cooking chicken |
| Green Onions 🧅 | 3 whole | Sliced for garnish |
| Sesame Seeds 🌰 | 1 tsp | Toasted for crunch |
| Water 💧 | ¼ cup | To thin sauce |
The chicken is the star—thighs stay juicier than breasts in this quick cook. Look for boneless, skinless to save time. I grab mine from Costco in bulk (the giant bag freezes beautifully). For soy sauce, Kikkoman low-sodium is my go-to, but any brand works. The fresh ginger and garlic? Non-negotiable for that takeout flavor (the jarred stuff just doesn’t cut it).
No brown sugar? Coconut sugar or maple syrup in a pinch. Out of honey? Agave or light corn syrup gets you close. The rice vinegar can be apple cider vinegar—just avoid balsamic, which is too strong. Cornstarch is key for that glossy sauce, but arrowroot powder works too. Skip the sesame oil if you must, but it adds that little something extra (worth the extra minute to grab).
Sauce thickens as it cools, so don’t panic if it’s thin at first. Keeps 4-5 days in the fridge—leftovers actually taste better. Freeze cooked chicken in sauce for up to 3 months (perfect for busy weeknights).
Why You’ll Love This Recipe
- One Pan Wonder: I toss everything in a skillet and let the soy sauce and honey work their magic while I set the table.
- Sweet & Garlicky: The brown sugar caramelizes with the fresh garlic to create a sticky, finger-licking glaze on the juicy chicken thighs.
- Meal Prep Hero: I make a double batch on Sunday and it reheats beautifully for lunches all week.
- Budget Friendly: Chicken thighs stay affordable, and a little soy sauce and honey go a long way to feed the whole family.
Step-by-Step Instructions for Sweet Glazed Teriyaki Chicken
This foolproof method delivers sticky, savory chicken with minimal effort and cleanup.
Step 1: Sear the Chicken Until Golden
Heat the 2 tbsp Vegetable Oil in a large skillet over medium-high heat. Add the 1.5 lb Boneless Skinless Chicken Thighs (cut into bite-sized pieces) in a single layer, being careful not to overcrowd the pan. Let them cook undisturbed for 4-5 minutes until deep golden brown on the bottom.
Flip the pieces and cook for another 3-4 minutes until they’re nearly cooked through. The chicken should release easily from the pan when it’s ready to turn. Remove the chicken to a plate and set aside—it’ll finish cooking in the sauce later.
Step 2: Build the Teriyaki Sauce
In the same skillet, reduce the heat to medium and add the minced 3 cloves Fresh Garlic Cloves and grated 1 tbsp Fresh Ginger. Sauté for 30 seconds until fragrant, stirring constantly to prevent burning.
Pour in the 0.5 cup Soy Sauce, 0.33 cup Brown Sugar, 2 tbsp Honey, and 2 tbsp Rice Vinegar. Stir well and let the mixture come to a gentle simmer. The sugar will start to dissolve, and the sauce will begin to thicken slightly as it bubbles.
Step 3: Thicken and Finish the Sauce
In a small bowl, whisk together the 1 tbsp Cornstarch and 0.25 cup Water until smooth. Slowly pour this slurry into the simmering sauce while stirring constantly. The sauce will start to thicken almost immediately—keep stirring for 1-2 minutes until it coats the back of a spoon.
Stir in the 1 tsp Sesame Oil for a rich, nutty aroma. Taste and adjust the sweetness or saltiness if needed, though the balance should be just right with these proportions.
Step 4: Coat the Chicken and Serve
Return the chicken to the skillet and toss to coat evenly in the glossy teriyaki sauce. Let it simmer for 2-3 minutes until the chicken is fully cooked through and the sauce clings beautifully to each piece.
Garnish with sliced 3 whole Green Onions and a sprinkle of 1 tsp Sesame Seeds for a pop of color and crunch. Serve immediately over steamed rice or noodles for a satisfying weeknight meal that’s ready in under 30 minutes.
Pro Tips For Making Teriyaki Chicken Recipe Easy
- Sear First, Simmer Later: Start the chicken thighs in a screaming-hot pan for 2-3 minutes per side to lock in flavor, then reduce heat to medium before adding the sauce—I learned this the hard way after ending up with pale, soggy meat.
- Mince the Garlic Fine: Fresh garlic cloves should be minced to almost a paste so they melt into the teriyaki sauce; chunky pieces burn easily and leave bitter bites.
- Skip the Boil: Resist the urge to crank the heat once the soy sauce, brown sugar, and honey go in—medium-low is the sweet spot to prevent the sugar from burning and turning bitter.
- Thicken with Cornstarch: Mix 1 teaspoon cornstarch with 1 tablespoon cold water and stir it into the sauce at the end for that glossy, restaurant-style coating—sounds simple but it actually changes the outcome.
Pro Cooking Tips for This Recipe
Pan Perfection
Use a heavy-bottomed skillet like Lodge cast iron for even heat distribution. The thick base prevents hot spots that can burn your sauce. I avoid non-stick for this recipe—the caramelization needs that direct contact with the pan.
Sauce Control
Don’t rush the slurry step. Whisk cornstarch with cold water until completely smooth to avoid lumps. Pour it into the simmering sauce in a thin stream while stirring constantly. The sauce should coat a spoon but still drip slightly. 💡
Chicken Timing
Pull the chicken at 160°F internal temperature—it’ll hit 165°F while resting in the hot sauce. Use a ThermoWorks instant-read thermometer for accuracy. Overcooked thighs get chewy, and we want that juicy bite.
Ginger-Garlic Trick
Bloom the ginger and garlic in the pan for just 30 seconds. Any longer and they’ll bitter. Fresh is non-negotiable here—jarred minced lacks the bright, sharp flavor that makes this dish sing.
Glossy Finish
For that restaurant shine, let the sauce reduce for 1-2 minutes after adding the chicken back. The glaze will thicken and cling better. Toss everything together right before serving so each piece gets an even coating.
Crunch Factor
Toast your sesame seeds in a dry pan for 30 seconds before garnishing. The nutty aroma and extra crunch elevate the final dish. It’s the little details that make this taste like takeout but better. 🔥
Nutrition Facts
Frequently Asked Questions
Can I use chicken breasts instead of thighs?
Yes, but they dry out faster. Cook for 2-3 minutes less and pull at 160°F internal. Thighs stay juicier and handle the sauce better.
How do I make the sauce thicker?
Simmer the sauce 1-2 minutes longer after adding chicken. For extra thickness, mix 1 tsp cornstarch with 1 tbsp water and stir in.
What can I serve with this?
Steamed rice is classic, but try noodles or stir-fried veggies. The sauce pairs well with broccoli, bell peppers, or snap peas for a complete meal.
Can I make this ahead of time?
Yes! Store cooked chicken and sauce in an airtight container for up to 4-5 days. Reheat gently on the stove to keep the glaze smooth.

- 6 Egg Cake Recipe with Oil: Light as Air With Buttery Moisture - October 4, 2026
- 4 Bean Casserole Recipe: One-Pan Heartiness With Smoky Paprika Depth - October 4, 2026
- 3-Ingredient Keto Mug Cake Recipe: Microwave Magic in 2 Minutes - October 4, 2026