
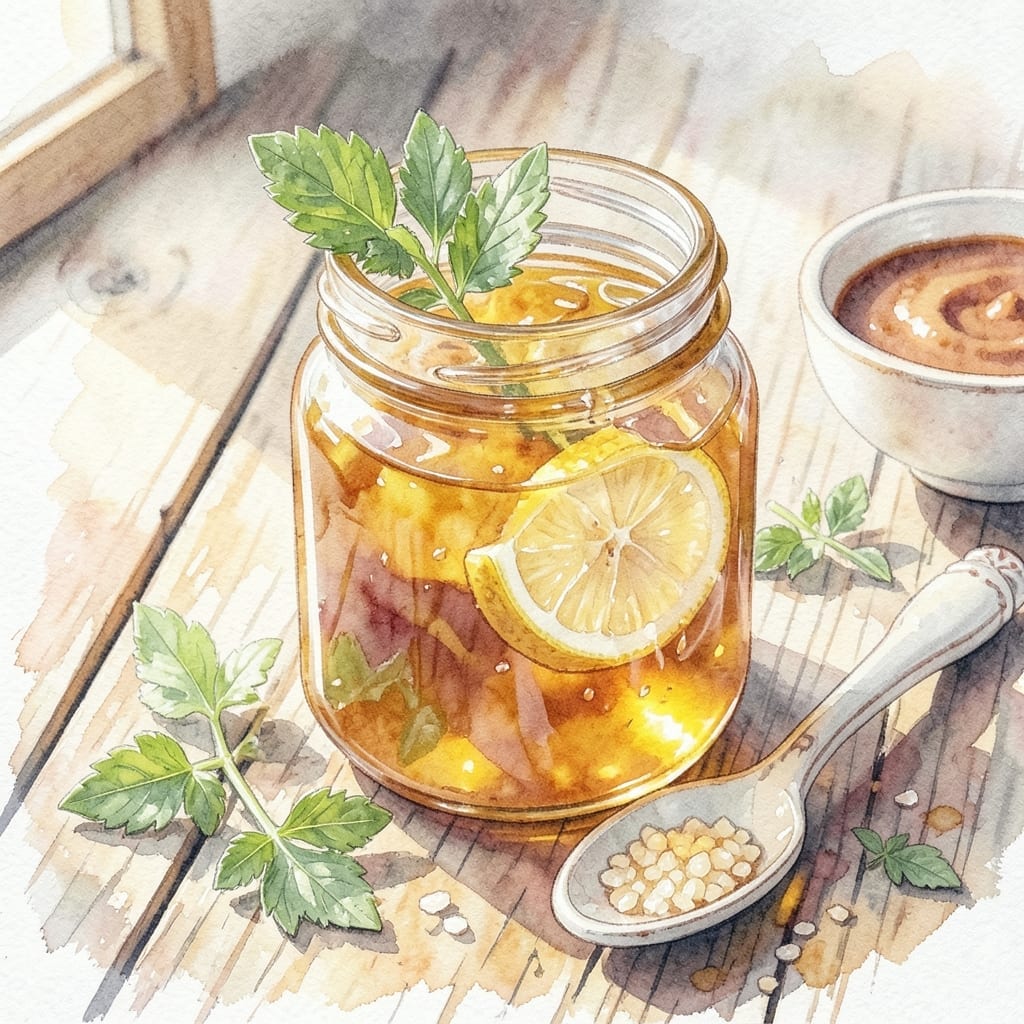
Homemade corn syrup offers a natural alternative to commercial versions with complete control over ingredients and sweetness. This simple recipe delivers the same viscosity and neutral flavor profile essential for baking and cooking applications.
The process requires just a few pantry staples and basic kitchen tools. By carefully monitoring the cooking temperature, you achieve the perfect consistency without crystallization or separation. The result is a clear, golden syrup ready for any recipe calling for this sweetener.
This version maintains the functional properties of store-bought corn syrup while eliminating preservatives. It works beautifully in candies, frostings, and baked goods where texture and moisture retention are critical.
Store in an airtight container for up to one month. The recipe scales easily for larger batches when needed.
Ingredients for Recipe for Corn Syrup
Six pantry staples transform into a clear golden syrup with perfect viscosity and neutral taste.
| Ingredient | Amount | Notes |
|---|---|---|
| Granulated Sugar 🍚 | 2 cups | White cane sugar preferred |
| Water 💧 | ¾ cup | Filtered for clarity |
| Cream of Tartar 🧂 | ¼ tsp | Prevents crystallization |
| Lemon Juice 🍋 | 1 tsp | Freshly squeezed for acidity |
| Vanilla Extract 🌿 | ½ tsp | Optional for neutral flavor |
| Salt 🧂 | 0.125 tsp | Fine grain for even distribution |
The sugar is the foundation here. Domino or C&H brands offer consistent granulation for smooth results. Cream of tartar is non-negotiable—it stabilizes the syrup, preventing graininess. Find it in the baking aisle at any major grocery store. Use filtered water to avoid mineral deposits that could cloud the final product. Vanilla is optional but rounds out the flavor subtly.
No cream of tartar? Corn syrup or lemon juice at double the amount can substitute (though texture may vary slightly). Brown sugar works but imparts color and molasses notes. For a vegan-friendly version, ensure your sugar is organic or certified vegan—some brands use bone char in processing. The acidity from lemon juice is key, so don’t skip it even if using vanilla.
Store in a sterilized glass jar with a tight seal. Keeps at room temperature for 1 month, though refrigeration extends shelf life to 3 months. If crystallization occurs, gently reheat with a splash of water (don’t boil).
Why You’ll Love This Recipe
- 5-Minute Magic: I just stir sugar, water, and a pinch of cream of tartar, then let it bubble away—no fancy steps.
- Sweet Perfection: That vanilla extract at the end turns simple syrup into something rich and complex.
- Baking Starter: I keep a jar in the fridge for pies, cocktails, or even sweetening my morning coffee.
- Pantry Savior: Granulated sugar and a few staples mean I never need to buy store-bought syrup again.
Step-by-Step Instructions for Corn Syrup
This straightforward process transforms simple ingredients into a smooth, golden syrup with minimal effort.
Step 1: Combine Sugar and Water
In a medium saucepan, whisk together the 2 cups Granulated Sugar and 0.75 cup Water until the sugar is fully dissolved. Use a heavy-bottomed pan to prevent hot spots that could cause uneven cooking.
Place the pan over medium-high heat and bring to a gentle boil. Stir occasionally with a silicone spatula to ensure the sugar dissolves completely before increasing the heat. You should see a clear, bubbling liquid with no visible sugar crystals.
Step 2: Add Acidic Components
Once boiling, reduce the heat to medium and stir in the 0.25 tsp Cream of Tartar and 1 tsp Lemon Juice. These ingredients prevent crystallization, ensuring your syrup remains smooth rather than grainy.
Continue cooking at a steady simmer. The mixture will begin to thicken slightly as the water evaporates. Use a candy thermometer if available, but visual cues are sufficient—look for a syrup that coats the back of a spoon.
Step 3: Monitor for Desired Consistency
After 10-12 minutes, the syrup will start to take on a light golden color. This is the critical stage—stir frequently to prevent scorching. The syrup should thicken enough to drip slowly from the spatula in a steady stream.
If using, add the 0.5 tsp Vanilla Extract and 0.125 tsp Salt at this point. The vanilla adds subtle depth, while the salt balances sweetness. Stir well to distribute evenly.
Step 4: Test and Cool
Remove the pan from heat once the syrup reaches your preferred thickness. For a light syrup, stop when it’s slightly thinner than maple syrup; for a richer consistency, cook 1-2 minutes longer until it’s closer to honey-like viscosity.
Let the syrup cool in the pan for 5 minutes before transferring to a heatproof jar. It will thicken further as it cools to room temperature. Store in an airtight container for up to 1 month at room temperature.
Pro Tips For Making Recipe For Corn Syrup
- Monitor the Temperature: Use a candy thermometer and pull it off the heat at exactly 240°F—any higher and it’ll crystallize, any lower and it’ll stay too thin.
- Dissolve Sugar Completely: Stir the sugar and water over medium heat until every grain disappears before adding cream of tartar, or you’ll end up with a grainy mess.
- Skip the Substitutes: Cream of tartar isn’t just for show—it prevents crystallization, so don’t swap it for lemon juice alone unless you want a rocky texture.
- Add Vanilla Last: Stir in the vanilla extract only after removing from heat, or the alcohol will evaporate and leave your syrup flavorless.
Common Mistakes When Making Perfect Results
Overcooking the Syrup
Cooking the syrup past the desired consistency is the most common mistake. Once it reaches a honey-like thickness, remove it from heat immediately. It will continue to thicken as it cools. I use a light-colored saucepan to monitor the color change carefully. 🌡️
Skipping Cream of Tartar
Omitting cream of tartar often leads to crystallization, giving your syrup a grainy texture. This acid stabilizes the sugar solution. If you don’t have it, use ½ tsp lemon juice as a substitute, but expect slightly different results.
Using the Wrong Pan
A thin or non-heavy-bottomed pan causes hot spots that can scorch the syrup. I always use a medium saucepan with a thick base for even heat distribution. Stainless steel works better than nonstick for this process.
Stirring Too Frequently
While you should stir initially to dissolve the sugar, excessive stirring during cooking can cause crystallization. Once boiling, stir only occasionally with a silicone spatula. This prevents sugar crystals from forming on the pan sides.
Not Testing Consistency
Relying solely on time rather than visual cues often leads to under- or overcooked syrup. Test by dipping a spoon in the mixture—it should coat the back smoothly. If it’s too thin, cook 1-2 minutes longer. 💡
Improper Storage
Storing the syrup in a non-airtight container allows moisture absorption, which can thin it out or introduce contaminants. Always use a sterilized glass jar with a tight seal. Room temperature storage lasts 1 month; refrigeration extends this to 3 months.
Nutrition Facts
Frequently Asked Questions
Can I use brown sugar instead of white?
Yes, but it will darken the syrup and add molasses notes. For a neutral flavor, stick with white sugar as specified.
Why is cream of tartar necessary?
It prevents crystallization, ensuring a smooth texture. Without it, your syrup may become grainy. A ½ tsp lemon juice substitute works in a pinch.
How do I know when it’s done?
Test by dipping a spoon in the mixture—it should coat the back smoothly. Cook 1-2 minutes longer if too thin.
Can I double the recipe?
Use a larger pan and monitor closely to prevent scorching. The cooking time may increase slightly.

- 6 Egg Cake Recipe with Oil: Light as Air With Buttery Moisture - October 4, 2026
- 4 Bean Casserole Recipe: One-Pan Heartiness With Smoky Paprika Depth - October 4, 2026
- 3-Ingredient Keto Mug Cake Recipe: Microwave Magic in 2 Minutes - October 4, 2026