
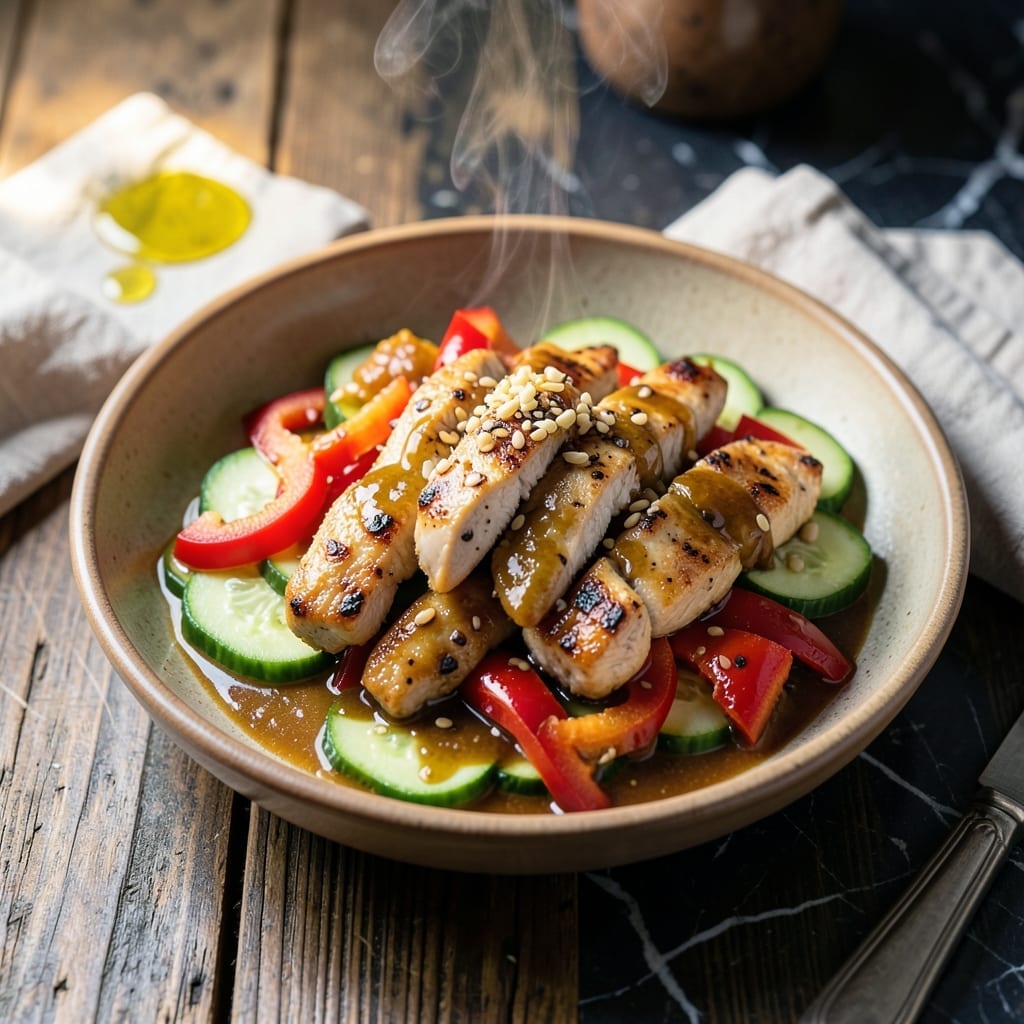
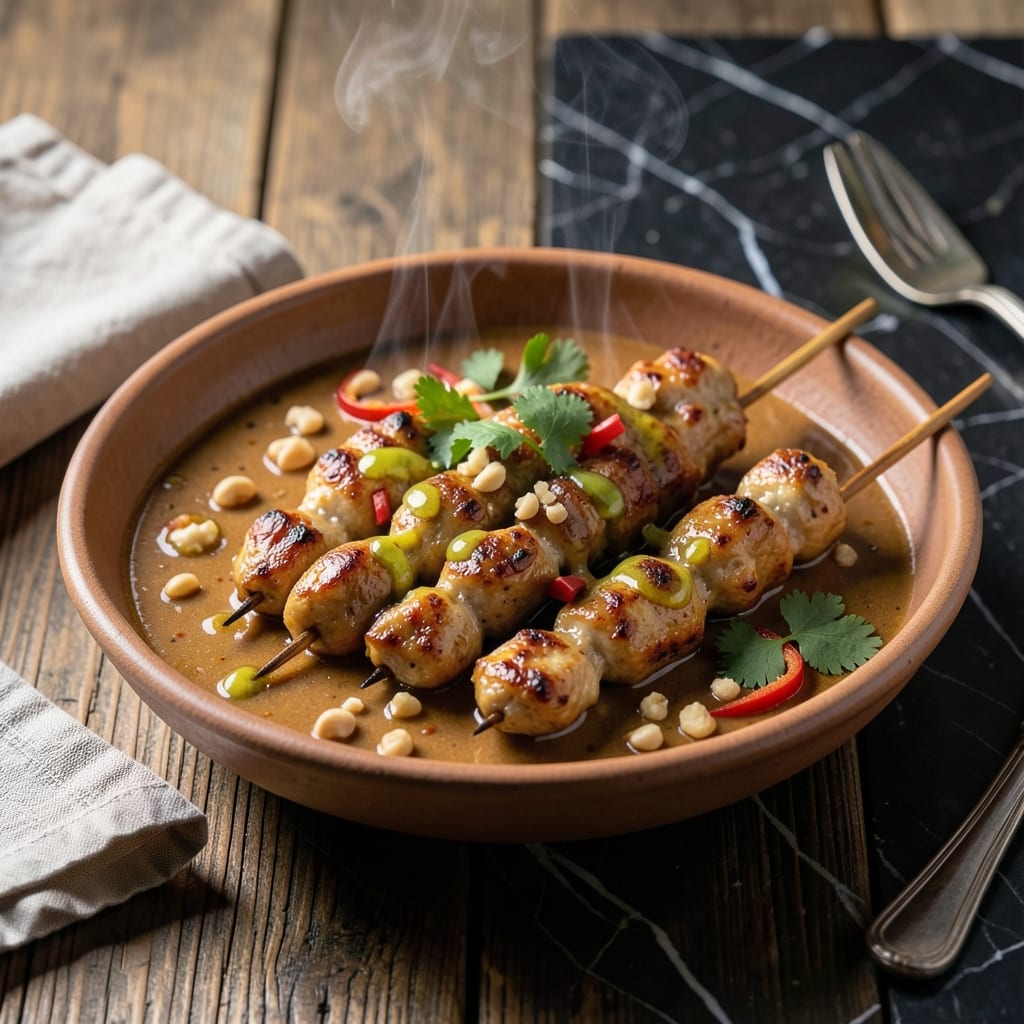
This Thai-inspired peanut satay sauce transforms simple ingredients into a rich, creamy dipping sauce that elevates any dish.
With its balanced sweet, salty, and nutty flavors, this vegan condiment is perfect for spring rolls, grilled meats, or fresh vegetables.
Ingredients for Recipe for Peanut Satay
Nine simple ingredients create this rich, creamy Thai-inspired satay sauce with vibrant flavor.
| Ingredient | Amount | Notes |
|---|---|---|
| Creamy Peanut Butter 🥜 | ¾ cup | Unsweetened, smooth variety |
| Coconut Milk 🥥 | ½ cup | Full-fat, canned preferred |
| Soy Sauce 🫙 | 2 tbsp | Low-sodium for balance |
| Lime Juice 🍈 | 2 tbsp | Freshly squeezed for brightness |
| Maple Syrup 🍁 | 2 tbsp | Grade A for sweetness |
| Fresh Ginger Root 🌿 | 1 tbsp | Peeled and finely grated |
| Garlic Cloves 🧄 | 2 cloves | Peeled and minced |
| Red Curry Paste 🌶️ | 1 tsp | Thai-style for depth |
| Sesame Oil 🫒 | 1 tsp | Toasted for aroma |
Peanut butter quality is paramount here. Natural, unsweetened brands like Crazy Richard’s or Smucker’s Natural work best—avoid hydrogenated oils or added sugars. Coconut milk should be full-fat from a can (Thai Kitchen or Native Forest are reliable) for that signature creaminess. The ginger and garlic must be fresh; pre-minced versions lack the necessary pungency for authentic flavor.
No peanut butter? Cashew or almond butter can substitute, though flavor will differ slightly. Out of coconut milk? Heavy cream works in a pinch (but this won’t be vegan). For sweetness, agave nectar or date syrup can replace maple syrup at a 1:1 ratio. Missing red curry paste? A pinch of cayenne plus paprika adds heat and color.
This sauce keeps well—store in an airtight container in the fridge for up to 5 days. For longer storage, freeze in ice cube trays for 3 months. Stir before using as separation is natural. Always use a clean spoon to prevent contamination.
Why You’ll Love This Recipe
- One-Bowl Wonder: I just dump peanut butter, coconut milk, soy sauce, lime, and maple syrup in a bowl and stir—no fancy steps, no extra dishes.
- Ridiculously Addictive: That mix of creamy peanut, tangy lime, and a hint of sweet maple? I’ve caught my partner sneaking spoonfuls straight from the pot.
- Dinner or Dip: I slather it on noodles for a quick weeknight meal or serve it as a dip with veggies for game day.
- Budget Stretch: A jar of peanut butter and a can of coconut milk feed my whole family for less than a takeout bill.
Step-by-Step Instructions for Peanut Satay
Master this technique-driven sauce with precise timing and temperature control for authentic results.
Step 1: Prepare the Aromatic Base
In a medium saucepan, heat the 1 tsp Sesame Oil over medium-low heat until it shimmers slightly. Add the 2 cloves Garlic Cloves, minced, and 1 tbsp Fresh Ginger Root, finely grated, stirring constantly for 1-2 minutes until fragrant but not browned.
This gentle sauté releases the volatile oils in the aromatics without burning them. The mixture should sizzle softly but not smoke. If the garlic begins to color, reduce heat immediately—burnt garlic will impart a bitter flavor to the finished sauce.
Step 2: Bloom the Curry Paste
Add the 1 tsp Red Curry Paste to the pan and cook for an additional 1 minute, stirring continuously. The paste will darken slightly and become more aromatic. This step, called blooming, intensifies the curry paste’s flavors and eliminates any raw taste.
Watch for the oil to turn a deeper red color as the paste’s spices infuse it. The mixture should resemble a thick, fragrant paste at this stage. If it begins to stick, add a splash of the 0.5 cup Coconut Milk to deglaze.
Step 3: Incorporate the Liquid Ingredients
Pour in the remaining 0.5 cup Coconut Milk, 2 tbsp Soy Sauce, 2 tbsp Lime Juice, and 2 tbsp Maple Syrup. Stir well to combine, then increase heat to medium. Bring the mixture to a gentle simmer, which should take 3-4 minutes.
The sauce will appear thin at first but will thicken as it reduces. The coconut milk may separate slightly—this is normal and will emulsify as you add the peanut butter. Maintain a gentle simmer; vigorous boiling can cause the sauce to break.
Step 4: Emulsify with Peanut Butter
Reduce heat to low and add the 0.75 cup Creamy Peanut Butter. Stir constantly with a whisk or wooden spoon for 2-3 minutes as the peanut butter melts and incorporates into the sauce. The mixture will transform from a separated liquid to a smooth, velvety consistency.
Continue stirring until the sauce is completely homogeneous and has thickened enough to coat the back of a spoon. If it’s too thick, add warm water 1 tablespoon at a time until it reaches your desired dipping consistency. The finished sauce should be glossy and ribbon-like when drizzled.
Step 5: Adjust and Rest
Taste and adjust seasoning if needed. The sauce should balance sweet, salty, tangy, and umami flavors. If it’s too sweet, add a bit more lime juice; if too salty, a touch more maple syrup will help balance it.
Transfer to a serving bowl and let it rest for 10 minutes before serving. This allows the flavors to meld completely. The sauce will thicken slightly as it cools but should still be pourable. Serve warm or at room temperature with skewers, spring rolls, or as a dressing for noodles.
Pro Tips For Making Recipe For Peanut Satay
- Thin the Peanut Butter: Mix the peanut butter with warm coconut milk first—it prevents clumping and makes whisking effortless. I learned this the hard way after wrestling with stubborn lumps in every batch.
- Balance the Sweetness: Taste before adding all the maple syrup; peanut butters vary in sugar. More often than not, I end up using about 20% less than the recipe calls for.
- Skip the Boil: Keep the heat low to medium—boiling the coconut milk can cause the sauce to separate. After burning one batch, I now pull it off the heat as soon as it thickens.
- Finish with Lime: Stir in the lime juice at the very end, off the heat. Sounds weird, but it works: the acid stays bright and doesn’t turn bitter from cooking.
Essential Equipment for Perfect Results
Must-Have Tools
To create the perfect peanut satay, you’ll need a few essential kitchen tools. A blender or food processor is non-negotiable for achieving that smooth, creamy texture. Cuisinart or Ninja models work wonderfully for blending peanuts, coconut milk, and spices into a silky consistency. 🥘
A medium saucepan is also key for gently heating the mixture to blend flavors without scorching. Non-stick options like All-Clad ensure easy stirring and cleanup.
Nice-to-Have
For extra precision, a mortar and pestle can help crush whole spices or garlic for a more authentic taste. A fine-mesh strainer is useful if you prefer an ultra-smooth sauce, removing any stubborn peanut bits.
If you love gadgets, an immersion blender lets you blend directly in the saucepan, saving time and reducing dishes. Breville’s model is a fan favorite for its power and ease of use. ✨
Budget Alternatives
No high-end blender? A hand mixer or even a whisk can work in a pinch, though it’ll require more elbow grease. For heating, any sturdy pot will do—just keep the heat low to avoid burning.
If you’re missing a food processor, a manual peanut grinder or rolling pin can crush peanuts, though the texture may be slightly grainier. Creativity in the kitchen often leads to delicious results! 💡
Nutrition Facts

- 6 Egg Cake Recipe with Oil: Light as Air With Buttery Moisture - October 4, 2026
- 4 Bean Casserole Recipe: One-Pan Heartiness With Smoky Paprika Depth - October 4, 2026
- 3-Ingredient Keto Mug Cake Recipe: Microwave Magic in 2 Minutes - October 4, 2026