
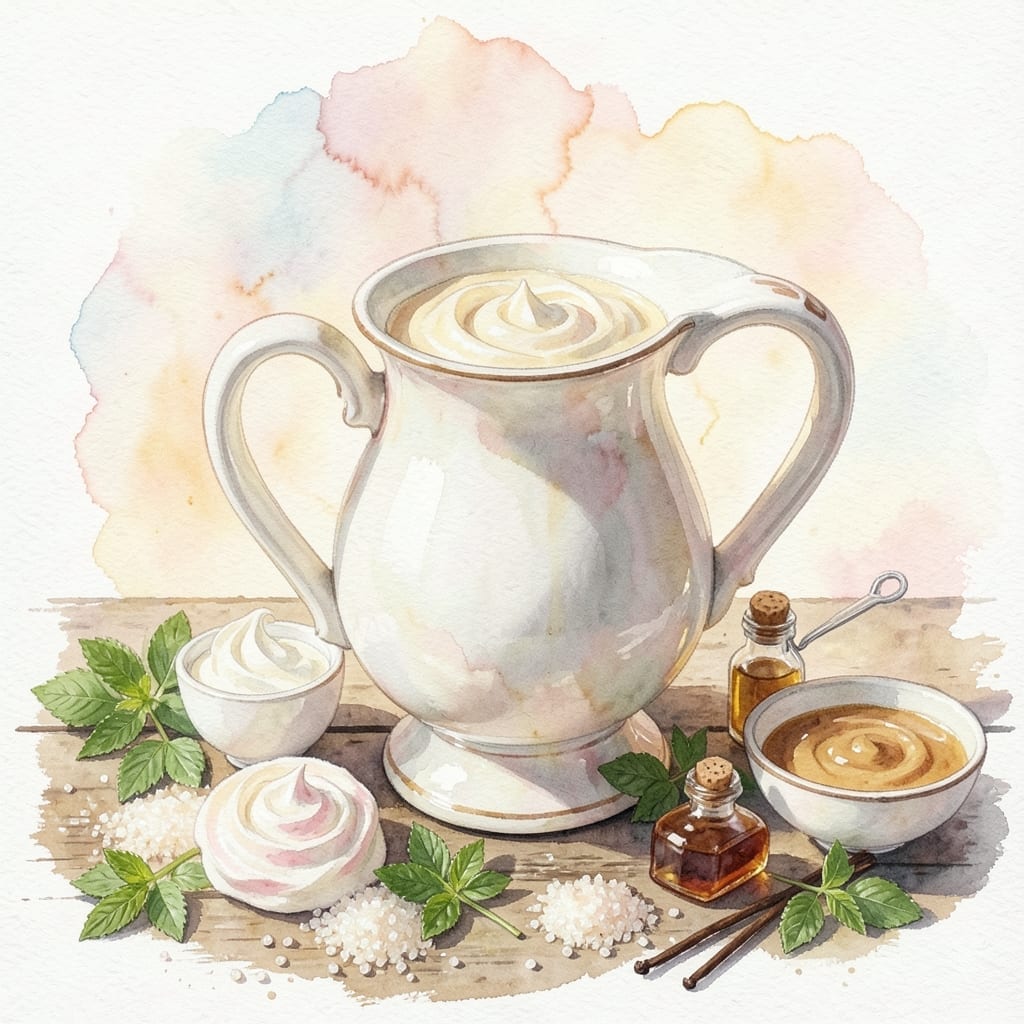
This homemade creamer delivers the barista-level smoothness your morning coffee deserves. No artificial additives—just real ingredients that blend seamlessly into every cup.
I developed this recipe after tiring of store-bought versions that separated or left an odd aftertaste. The secret is balancing cream and milk for the perfect consistency without compromising richness.
You’ll achieve a velvety texture that enhances rather than overpowers your coffee. The subtle sweetness complements both bold and light roasts without masking their natural flavors.
Make a batch on Sunday and enjoy fresh creamer all week. It keeps beautifully in the fridge for up to 10 days.
Ingredients for Recipe for Sweet Cream Coffee Creamer
Eight simple ingredients blend into silky, barista-quality creamer for your daily cup.
| Ingredient | Amount | Notes |
|---|---|---|
| Heavy Whipping Cream 🥛 | 1 cup | Full-fat for richness |
| Whole Milk 🥛 | 1 cup | Or substitute 2% for lighter texture |
| Granulated Sugar 🍚 | ¼ cup | Adjust to taste preference |
| Vanilla Extract 🌿 | 2 tsp | Pure extract for best flavor |
| Pure Maple Syrup 🍁 | 2 tbsp | Adds natural sweetness |
| Condensed Milk 🥛 | ½ cup | Sweetened for creaminess |
| Almond Extract 🌰 | ¼ tsp | Optional for depth |
| Salt 🧂 | 0.125 tsp | Balances sweetness |
The cream is non-negotiable here. Heavy whipping cream (at least 36% fat) gives you that ultra-rich mouthfeel—anything lighter just won’t cut it. Whole Foods 365 or Organic Valley are solid store-bought options. I always grab mine from Costco when I’m making a big batch. Look for cream without added thickeners or stabilizers, which can make your creamer separate.
No maple syrup? Agave nectar or honey works at a 1:1 ratio. Want it richer? Half-and-half instead of milk deepens the flavor. The vanilla can be swapped for other extracts—hazelnut or coconut at half the amount for variety. If you’re avoiding refined sugar, coconut sugar substitutes well but may darken the color slightly.
This keeps for 10 days in a sealed jar in the fridge. Shake before each use—natural separation is normal. For longer storage, freeze in ice cube trays for up to 3 months (thaw overnight before using).
Why You’ll Love This Recipe
- One Pot Wonder: I mix everything in a saucepan—no fancy gadgets, just heavy cream, milk, and sugar heating up together.
- Vanilla Maple Magic: The vanilla extract and pure maple syrup make it taste like a cozy café drink at home.
- Weekly Staple: I make a big batch Sunday night and my coffee tastes luxurious all week long.
- Pantry Friendly: Between us, I always have these ingredients on hand, so it’s cheaper than store-bought.
Step-by-Step Instructions for Sweet Cream Coffee Creamer
Here’s the method that delivers that velvety, barista-quality richness you’re after.
Step 1: Combine the Dairy Base
In a medium saucepan, pour in the 1 cup Heavy Whipping Cream and 1 cup Whole Milk. I always use full-fat dairy here—the richness is non-negotiable for that authentic coffee shop experience.
Heat over medium-low heat until you see tiny bubbles forming around the edges and the mixture reaches 180°F on a kitchen thermometer. Don’t let it boil—you want gentle warmth, not a rolling simmer. This slow heating prevents scorching and ensures the fats and proteins blend smoothly.
Step 2: Sweeten and Flavor the Mixture
Once warmed, whisk in the 0.25 cup Granulated Sugar until completely dissolved. The sugar should disappear into the liquid without any gritty texture—this usually takes 1-2 minutes of constant stirring.
Add the 2 tbsp Pure Maple Syrup, 0.5 cup Condensed Milk, 2 tsp Vanilla Extract, 0.25 tsp Almond Extract, and 0.125 tsp Salt. Stir for another 30 seconds until everything is fully incorporated. The almond extract might seem subtle, but it adds a depth that elevates the flavor profile significantly.
Step 3: Simmer and Thicken Slightly
Reduce the heat to low and let the mixture simmer gently for 5-7 minutes. You’ll notice it starts to coat the back of a spoon slightly—this indicates the sugars are fully dissolved and the mixture is beginning to thicken just enough to cling to your coffee.
Keep an eye on it and stir occasionally to prevent a skin from forming on the surface. The goal isn’t to reduce it dramatically, just to create a silky consistency that blends effortlessly into hot coffee. If it starts to steam heavily, lower the heat further.
Step 4: Cool and Store Properly
Remove the saucepan from heat and let the creamer cool to room temperature, which takes about 30-45 minutes. I like to stir it occasionally during this time to help it cool evenly and prevent separation.
Once cooled, pour the creamer into a clean glass jar or bottle with a tight-fitting lid. It will keep in the refrigerator for up to 2 weeks. Before each use, give it a good shake—the natural ingredients may settle slightly over time, and this ensures a consistent texture and flavor in every cup.
Pro Tips For Making Recipe For Sweet Cream Coffee Creamer
- Warm the Cream Slowly: Heat the heavy whipping cream on low-medium heat—too high and it’ll scorch, ruining the smooth texture. I learned this the hard way after my first batch tasted burnt.
- Dissolve Sugar First: Mix granulated sugar into the warm cream before adding milk to guarantee it fully dissolves—no one wants grainy creamer in their coffee.
- Skip Cheap Vanilla: Use real vanilla extract, not imitation; it actually changes the outcome. The cheap stuff leaves a harsh aftertaste that overpowers the sweetness.
- Strain for Silkiness: After mixing, strain the creamer through a fine-mesh sieve to remove any undissolved sugar or vanilla specks. Sounds weird, but it works—your coffee will look as good as it tastes.
Storing and Reheating This recipe for sweet cream coffee creamer
Fridge Storage
Let your creamer cool completely before transferring to a clean glass jar or bottle. I use Ball Mason jars with airtight lids. Store in the fridge at 40°F or below for up to 10 days for peak freshness. 🥛
Prevent Separation
Natural separation is normal with homemade creamer. Always give it a good shake for 10-15 seconds before each use. If separation bothers you, store it in a blender bottle with a whisk ball for easy mixing.
Freezing Method
For longer storage, freeze in silicone ice cube trays for up to 3 months. Once frozen, transfer cubes to a freezer bag. Thaw overnight in the fridge before using. Each cube equals about 1 oz of creamer.
Reheating Option
If your creamer thickens in the fridge, warm it gently. Pour desired amount into a small saucepan and heat over low heat for 1-2 minutes, stirring constantly. Avoid microwaving as it can cause uneven heating.
Signs of Spoilage
Discard if you notice sour smell, mold, or curdled texture. Fresh creamer should have a consistent color and pleasant vanilla aroma. When in doubt, trust your senses.
Portioning Tip
For daily use, pour 4-5 oz into a small cream pitcher. This prevents frequent opening of your main storage container, keeping the rest fresher longer. I find this system keeps my morning routine smooth. ❄️
Nutrition Facts
Frequently Asked Questions
Can I use half-and-half instead of whole milk?
Yes! Substituting half-and-half for the whole milk creates an even richer, creamier texture. Your morning brew will taste extra decadent. Just note this version may thicken slightly more in the fridge.
Why does my creamer separate in the fridge?
Natural separation occurs because there are no artificial emulsifiers. Shake for 10-15 seconds before each use to recombine. Store in a blender bottle for easier mixing.
Can I make this dairy-free?
Use full-fat coconut milk and almond milk as substitutes. The texture will be slightly thinner but still delicious. Adjust sweetness to taste.
How can I adjust the sweetness level?
Start with 2 tablespoons sugar instead of 1/4 cup for a milder taste. You can always add more later. Maple syrup can also be increased for natural sweetness.

- 6 Egg Cake Recipe with Oil: Light as Air With Buttery Moisture - October 4, 2026
- 4 Bean Casserole Recipe: One-Pan Heartiness With Smoky Paprika Depth - October 4, 2026
- 3-Ingredient Keto Mug Cake Recipe: Microwave Magic in 2 Minutes - October 4, 2026