
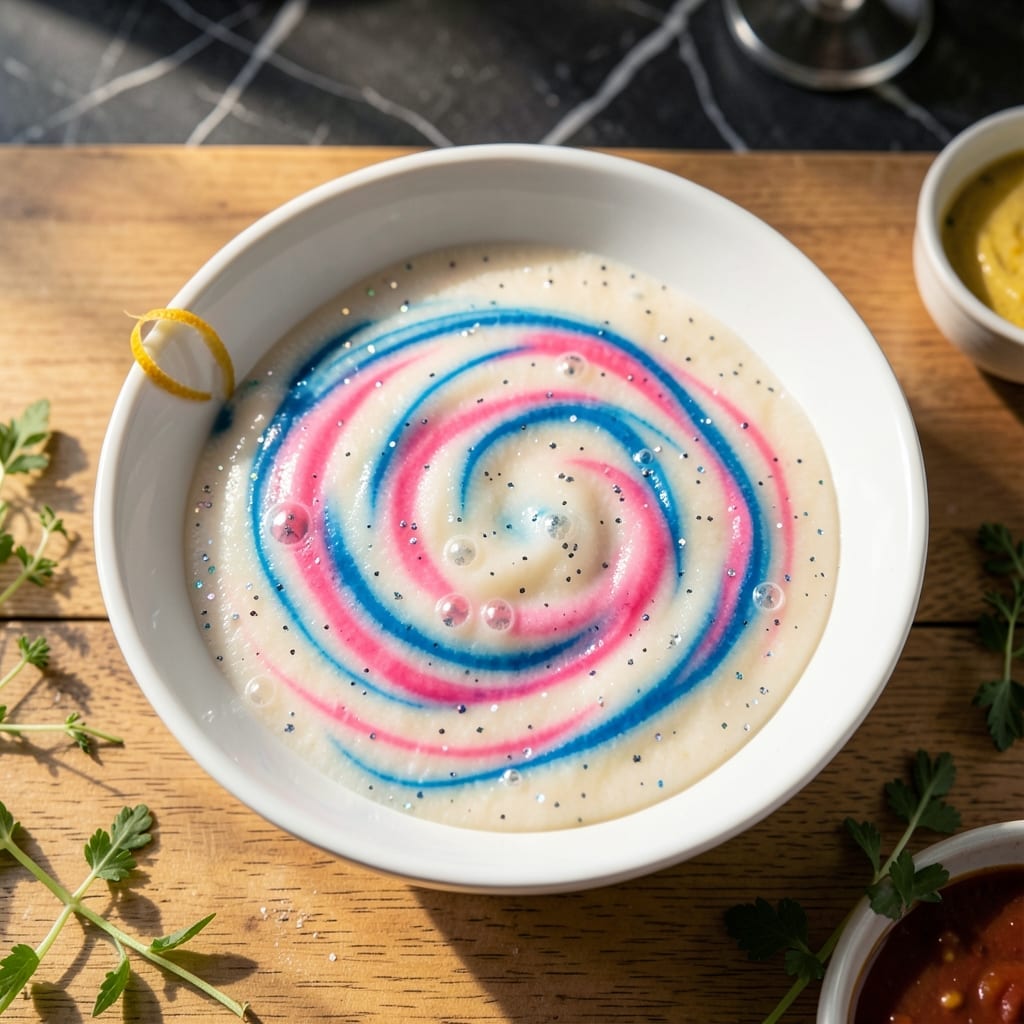
Making slime with cornstarch creates a fascinating non-Newtonian fluid that behaves like both a solid and a liquid. This hands-on activity demonstrates scientific principles while providing hours of sensory fun for children.
The process requires only a few simple kitchen ingredients and takes less than 10 minutes to prepare. Kids can customize their slime with food coloring or glitter for added excitement and personalization.
What results is a stretchy, gooey substance that hardens under pressure but flows when left alone. The texture is endlessly entertaining and encourages exploration of states of matter.
Cleanup is easy, and the materials are safe and non-toxic. This project combines education with entertainment in the most engaging way.
Ingredients for Slime Recipe Using Cornstarch
Transform simple kitchen staples into this fascinating non-Newtonian experiment for endless sensory play.
| Ingredient | Amount | Notes |
|---|---|---|
| Cornstarch 🌾 | 1 cup | Primary thickening agent for slime |
| Water 💧 | ¾ cup | Room temperature preferred |
| Food Coloring 🎨 | 5 drops | Optional for custom colors |
| Glitter ✨ | 1 tsp | Non-toxic, optional for sparkle |
| Dish Soap 🧼 | 1 tbsp | Mild, clear variety preferred |
| Baking Soda 🧂 | ½ tsp | Acts as a stabilizer |
| Contact Lens Solution 👁️ | 1 tbsp | Must contain boric acid |
| Lotion 🧴 | 1 tbsp | Optional for softer texture |
The cornstarch is non-negotiable—any brand works but ensure it’s pure, unmodified starch. Argo or Clabber Girl are reliable grocery store options. Water should be room temperature to prevent clumping. For food coloring, gel-based types (like Americolor) yield more vibrant results than liquid. The dish soap acts as a binder—Dawn Original is a safe, tested choice.
No food coloring? Skip it entirely—the slime will be white but just as fun. Replace glitter with biodegradable confetti if preferred. No contact lens solution? Use equal parts baking soda and saline solution (but test first). For a thicker slime, reduce water by 1-2 tablespoons. If it’s too stiff, add water a teaspoon at a time.
Store in an airtight container at room temperature for up to 1 week. Slime dries out over time, so revive with a few drops of water and knead. Discard if it develops an odor or mold. Supervise children during play and storage.
Why You’ll Love This Recipe
- 5-Minute Fun: I mix cornstarch, water, and a drop of food coloring in a bowl—no cooking, no waiting, just instant slimy satisfaction.
- Sensory Play: Honestly, the way it oozes and snaps back between your fingers is weirdly satisfying, and the glitter adds that extra sparkle kids love.
- Endless Customization: I can make it neon green for St. Patrick’s Day or pastel pink for a party, and dish soap keeps it stretchy for days.
Step-by-Step Instructions for Slime Using Cornstarch
This method ensures perfect non-Newtonian properties with a satisfying, stretchy texture every time.
Step 1: Create the Cornstarch Base
In a medium mixing bowl, combine the 1 cup Cornstarch with the 0.75 cup Water at room temperature. I recommend using a whisk to thoroughly incorporate the two until no lumps remain. The mixture should resemble thick, smooth pancake batter at this stage.
This initial combination forms the foundation of your slime. The cornstarch begins absorbing the water immediately, creating a suspension that will eventually transform into that signature gooey consistency you’re after. Stir for at least 2 minutes to ensure complete hydration of the cornstarch particles.
Step 2: Add Color and Sparkle Elements
Once your cornstarch base is smooth, introduce the 5 drops Food Coloring and 1 tsp Glitter. Stir these in completely – you’ll notice the color dispersing evenly while the glitter remains suspended throughout the mixture.
The food coloring will give your creation vibrant hues, while the non-toxic glitter adds that magical shimmer children love. For best results, use gel-based food coloring rather than liquid, as it provides more intense color without altering the slime’s consistency. Continue mixing until the color is uniform with no streaks.
Step 3: Incorporate the Activating Ingredients
Add the 1 tbsp Dish Soap, 0.5 tsp Baking Soda, and 1 tbsp Contact Lens Solution to your colored mixture. The dish soap helps create that perfect stretchy texture, while the baking soda acts as a stabilizer to prevent separation.
The contact lens solution, which must contain boric acid, serves as the primary activator that transforms your mixture from a liquid to a slime. Stir vigorously for 3-4 minutes until the mixture begins to pull away from the sides of the bowl and develops that characteristic slimy consistency. You’ll know it’s working when it starts to form strings as you lift the spoon.
Step 4: Adjust Texture and Finalize
At this point, your slime should be coming together but might still feel slightly sticky. Add the 1 tbsp Lotion to soften the texture and reduce tackiness. Knead the mixture with your hands for 2-3 minutes – this is where the real transformation happens.
The lotion not only improves the feel but also makes the slime more pliable and less likely to stick to surfaces. Continue working it until it reaches your desired consistency – it should stretch easily when pulled and return to its original shape when released. If it’s still too sticky, add a tiny bit more contact lens solution, 1/2 tsp at a time, until perfect.
Pro Tips For Making Slime Recipe Using Cornstarch
- Mix Gradually: Add cornstarch to water slowly while stirring—I learned this the hard way after ending up with a lumpy mess.
- Use Warm Water: Hot or cold water won’t dissolve the cornstarch as well; lukewarm is the sweet spot for smooth slime.
- Skip Extra Dish Soap: A little soap goes a long way; too much makes the slime sticky instead of stretchy.
- Knead Thoroughly: After mixing, work the slime with your hands for 2-3 minutes to get the perfect texture—it’ll feel wrong at first, but it comes together.
Troubleshooting This Recipe
Too Runny Slime
If your mixture feels more like soup than slime, you likely need more cornstarch. Add 1-2 tablespoons at a time, mixing thoroughly between additions. The ideal ratio is about 1.5 parts cornstarch to 1 part water. 💡
Too Stiff Slime
When it’s too thick to stretch, add warm water a teaspoon at a time. Knead with your hands until it reaches that perfect gooey consistency. Remember, it should flow when left alone but firm up when squeezed.
Sticky Texture
Stickiness usually means you need more contact lens solution. Add ½ tsp at a time, working it in completely. Alternatively, a small amount of baby oil can help reduce tackiness without altering the properties.
Separating Mixture
If your slime starts to separate, it often needs more dish soap or baking soda. Add ½ tsp dish soap first, then ¼ tsp baking soda if needed. Stir vigorously for 2-3 minutes to reintegrate.
Color Bleeding
When food coloring stains hands or surfaces, switch to gel-based coloring like Americolor. It’s more concentrated and less likely to bleed. Also, wear gloves during mixing to protect your hands. 🎨
Short Shelf Life
To extend playtime, store in an airtight container at room temperature. If it dries out, add a few drops of water and knead. Discard after 1 week or if it develops an odor.
Nutrition Facts
Frequently Asked Questions
Why does cornstarch work for making slime?
Cornstarch creates a non-Newtonian fluid that acts like both a liquid and solid. When mixed with water, it forms a suspension that thickens under pressure but flows when left alone. This unique property makes it perfect for gooey slime.
Can I make this without contact lens solution?
Yes! Use 1 tbsp saline solution mixed with ½ tsp baking soda as a substitute. The boric acid in both solutions activates the slime. Test small batches first.
How do I fix slime that’s too sticky?
Add more contact lens solution ½ tsp at a time. Knead thoroughly between additions. Alternatively, a few drops of baby oil can reduce tackiness.
How long does homemade slime last?
Stored in an airtight container at room temperature, it lasts about 1 week. Revive dried slime with a few drops of water and kneading. Discard if moldy.

- 6 Egg Cake Recipe with Oil: Light as Air With Buttery Moisture - October 4, 2026
- 4 Bean Casserole Recipe: One-Pan Heartiness With Smoky Paprika Depth - October 4, 2026
- 3-Ingredient Keto Mug Cake Recipe: Microwave Magic in 2 Minutes - October 4, 2026