
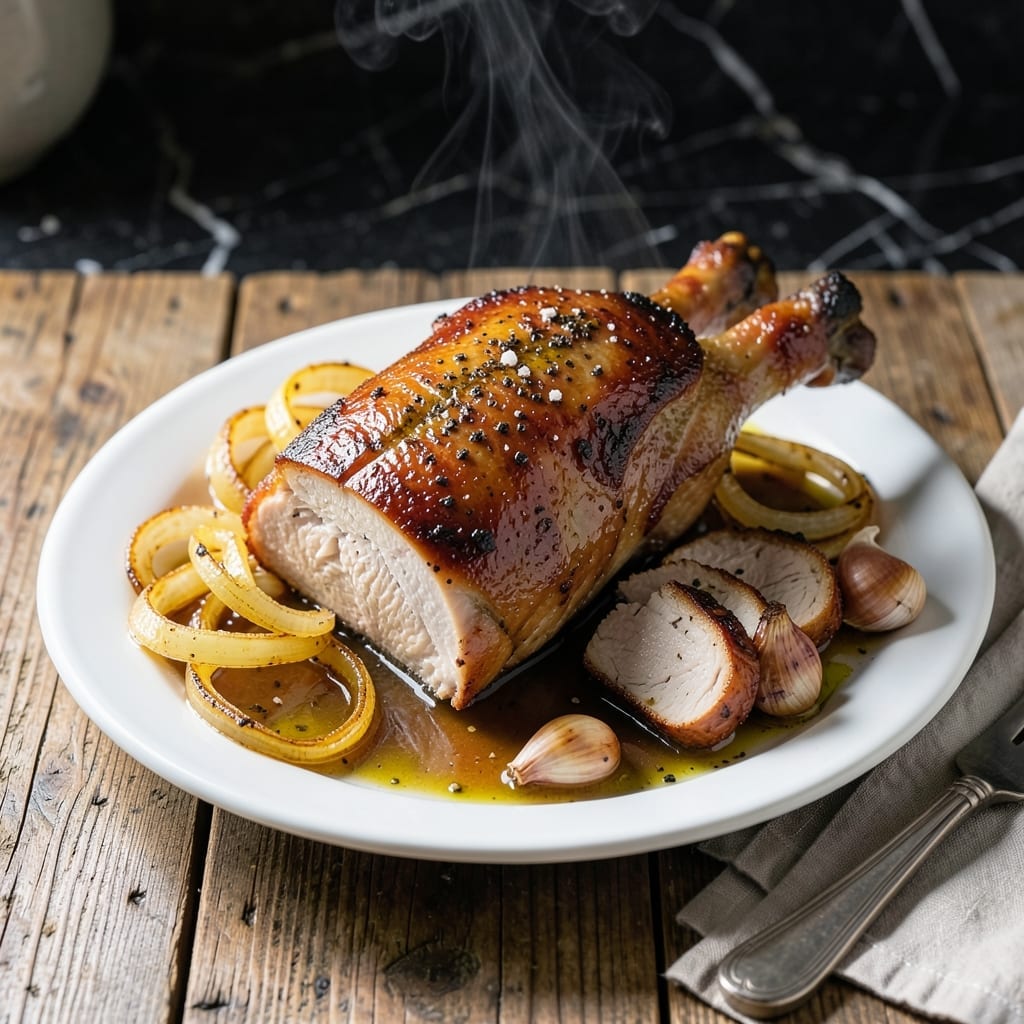
Achieving melt-in-your-mouth beef without constant attention is exactly what this slow cooker method delivers. The arm roast, with its rich marbling, transforms into tender perfection through low, steady heat.
This approach requires minimal prep—just sear the beef, add aromatic vegetables and liquid, then let the appliance work its magic for 8 hours. The result is meat so tender it falls apart at the touch of a fork.
You’ll end up with a deeply flavorful dish where the beef absorbs the savory notes of onions, garlic, and herbs. The natural juices create a built-in gravy that’s ideal for serving over mashed potatoes.
Perfect for a Sunday supper, this method guarantees restaurant-quality results with almost no effort. The slow cooker does all the heavy lifting for you.
Ingredients for Slow Cooker Arm Roast
Rich, tender beef plus aromatic vegetables create this hands-off masterpiece.
| Ingredient | Amount | Notes |
|---|---|---|
| Arm Roast 🥩 | 3 lb | Well-marbled, patted dry |
| Olive Oil 🫒 | 2 tbsp | For searing beef |
| Kosher Salt 🧂 | 1 ½ tsp | Divided for seasoning |
| Black Pepper 🌶️ | 1 tsp | Freshly ground preferred |
| Yellow Onion 🧅 | 1 whole | Large, roughly chopped |
| Garlic Cloves 🧄 | 6 cloves | Peeled, smashed |
| Carrots 🥕 | 3 whole | Peeled, cut into chunks |
| Celery Stalks 🌿 | 3 whole | Cut into large pieces |
| Dried Thyme 🍃 | 1 tsp | Crushed between fingers |
| Dried Rosemary 🌿 | 1 tsp | Crushed between fingers |
| Bay Leaves 🍃 | 2 whole | For aromatic depth |
| Beef Broth 🥣 | 2 cups | Low-sodium preferred |
| Worcestershire Sauce 💧 | 1 tbsp | For umami richness |
| Tomato Paste 🍅 | 2 tbsp | For depth of flavor |
The arm roast is key here. Look for good marbling—that fat melts into the meat, keeping it juicy. Costco or Whole Foods usually have well-marbled cuts. Don’t trim the fat off; it’s doing important work. I always buy a little extra so I can sear a test piece to taste for seasoning. The beef broth matters too—low-sodium lets you control the salt level.
No arm roast? Chuck roast works nearly as well. Out of Worcestershire? Soy sauce plus a pinch of sugar gets you close. Fresh herbs can replace dried at three times the amount, but dried is honestly easier here. The tomato paste adds depth—those squeeze tubes at Trader Joe’s are perfect for this. Skip the pre-chopped veggies; they get mushy.
Leftovers taste even better the next day. Store in the fridge for up to 4 days or freeze for 3 months. The gravy thickens as it cools—just reheat with a splash of water or broth. Always let the beef rest 10 minutes before shredding (worth the extra minute).
Why You’ll Love This Recipe
- Set It and Forget: I toss the arm roast, onion, and a few shakes of salt and pepper in the slow cooker before work—comes home fall-apart tender.
- Feeds the Gang: One roast, a handful of ingredients, and suddenly I’ve got sandwiches for days or a hearty dinner for six.
- Budget Hero: Arm roast is cheap, and this turns it into something that tastes like it simmered all day at a fancy restaurant.
Step-by-Step Instructions for Slow Cooker Arm Roast
Here’s my no-fuss method that delivers fall-apart tender beef with minimal effort.
Step 1: Sear the Arm Roast for Maximum Flavor
Pat the 3 lb Arm Roast completely dry with paper towels—this ensures a proper sear instead of steaming. Season generously with 1.5 tsp Kosher Salt and 1 tsp Black Pepper, pressing the spices into the meat so they adhere well.
Heat 2 tbsp Olive Oil in a large skillet over medium-high heat until shimmering. Add the roast and sear for 3-4 minutes per side until deeply browned. You’re looking for a rich, caramelized crust that’ll form the flavor foundation of your dish. Don’t rush this step—proper searing makes all the difference.
Step 2: Prepare the Aromatic Base
While the roast sears, roughly chop the 1 whole Yellow Onion, peel and smash the 6 cloves Garlic Cloves, and cut the 3 whole Carrots and 3 whole Celery Stalks into large chunks. These will infuse the dish with sweetness and depth as they cook down.
Crush the 1 tsp Dried Thyme and 1 tsp Dried Rosemary between your fingers to release their oils. In your slow cooker, combine the chopped vegetables, crushed herbs, 2 whole Bay Leaves, 2 tbsp Tomato Paste, 1 tbsp Worcestershire Sauce, and 2 cups Beef Broth. Stir to blend the flavors.
Step 3: Slow Cook to Tender Perfection
Place the seared roast on top of the vegetable mixture in the slow cooker. Spoon some of the liquid over the meat to ensure it’s partially submerged. Cover and cook on low for 8-10 hours or high for 5-6 hours.
You’ll know it’s done when the meat shreds easily with a fork and reaches an internal temperature of 195-200°F. The beef should be so tender it nearly falls apart when touched. Resist the urge to peek too often—every time you lift the lid, you add 15-20 minutes to the cooking time.
Step 4: Rest and Serve with the Cooking Liquid
Carefully transfer the roast to a cutting board and tent loosely with foil. Let it rest for 10-15 minutes—this allows the juices to redistribute, ensuring every bite is moist and flavorful. Skim any excess fat from the cooking liquid if desired.
Slice the roast against the grain into thick pieces or pull it apart into chunks. Serve with the vegetables and a generous ladle of the rich cooking liquid spooned over the top. The sauce should be thick enough to cling to the beef but still have a velvety texture. This is your reward for the hands-off cooking process.
Pro Tips For Making Slow Cooker Arm Roast
- Sear the Roast: I learned this the hard way—browning the arm roast in olive oil before slow cooking adds depth that skipping this step just can’t match. About 3-4 minutes per side in a screaming hot pan does the trick.
- Chop Onions Large: After ending up with mushy onion paste too many times, I now cut yellow onions into thick wedges. They hold up better over 6-8 hours and give you actual texture to bite into.
- Skip the Overcrowding: Resist the urge to stuff the slow cooker with extra veggies or liquid—arm roast needs space to cook evenly. I stick to just the roast, onions, and maybe a cup of broth max.
- Rest Before Serving: Sounds weird, but it works: let the roast sit under foil for 10-15 minutes after slow cooking. It reabsorbs the juices and stays moist when you slice it—I was skeptical until I tried it.
Storing and Reheating slow cooker arm roast
Refrigerator Storage
Let your arm roast cool for no more than 2 hours before transferring to airtight containers—I use glass Pyrex with snap-on lids. Store at 40°F or below for up to 4 days. The flavors actually deepen as the meat rests in the gravy. ❄️
Freezer Storage
This dish freezes beautifully for up to 3 months without quality loss. I recommend quart-size freezer bags because they lay flat and thaw faster. Leave 1 inch headspace for expansion and squeeze out excess air to prevent freezer burn.
Stovetop Reheating
My preferred method: pour chili into a heavy pot, add ¼ cup beef broth to prevent sticking, and heat over medium-low for 10-15 minutes. Stir occasionally and taste—you may need to adjust seasonings after freezing. 🔥
Microwave Reheating
For quick meals, microwave individual portions covered with a damp paper towel. Use 70% power for 2-3 minutes, stir, then continue in 1-minute intervals until reaching 165°F. Add a splash of water if it looks dry.
Gravy Thickening Tip
If the gravy seems thin after reheating, mix 1 tbsp cornstarch with 1 tbsp cold water and stir into the simmering liquid. It’ll thicken in about 2 minutes. This works great for both stovetop and microwave methods.
Nutrition Facts
Frequently Asked Questions
Can I use a different cut of beef?
Yes! Chuck roast works just as well with the same cooking time. Avoid leaner cuts like round—they won’t get as tender.
Do I need to sear the meat first?
Highly recommended! Searing creates a flavorful crust and deepens the taste. Skip it only if you’re in a rush, but expect less complexity.
How do I know when it’s done?
The beef should reach 195-200°F internally and shred easily with a fork. On low this takes 8-10 hours.
Can I add potatoes to the slow cooker?
Add them during the last 3-4 hours so they don’t turn to mush. Use waxy varieties like Yukon Gold for best texture.

- 6 Egg Cake Recipe with Oil: Light as Air With Buttery Moisture - October 4, 2026
- 4 Bean Casserole Recipe: One-Pan Heartiness With Smoky Paprika Depth - October 4, 2026
- 3-Ingredient Keto Mug Cake Recipe: Microwave Magic in 2 Minutes - October 4, 2026