
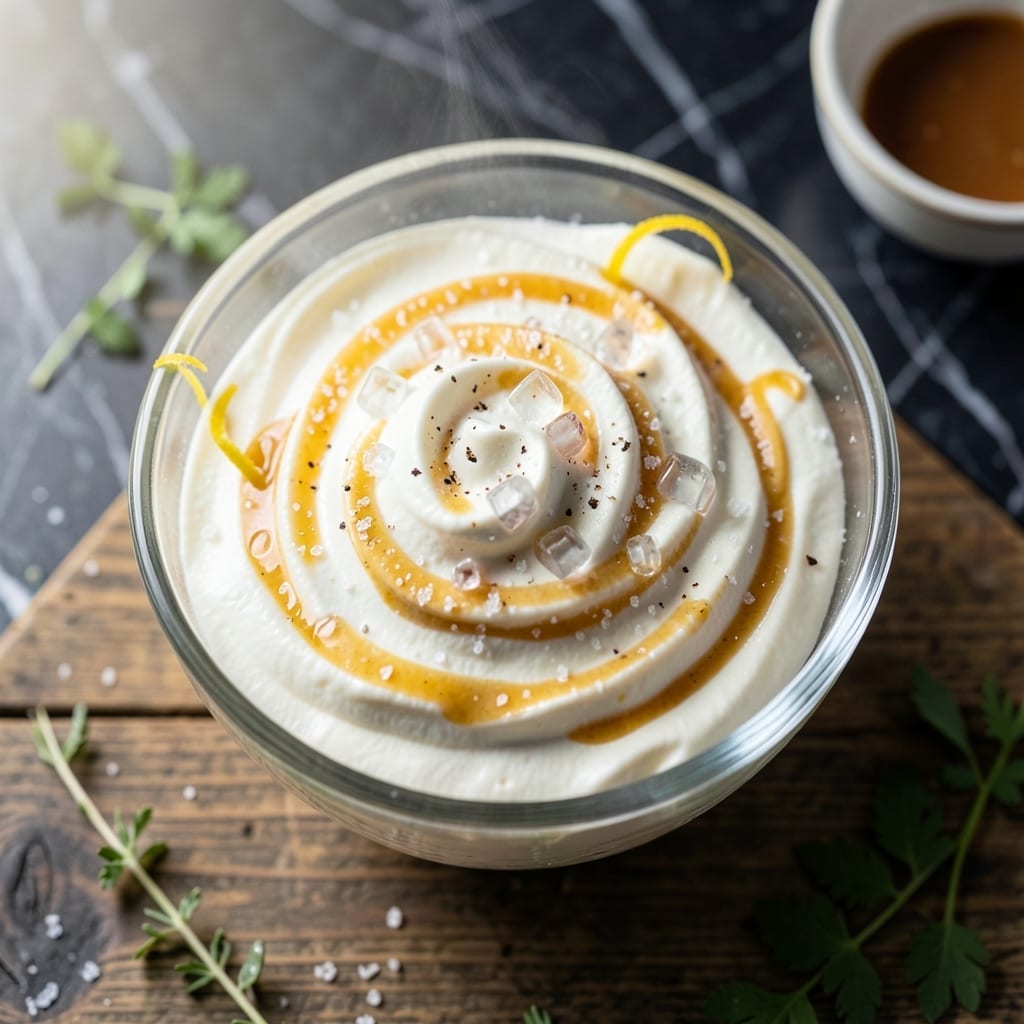
There’s no need to wait for a winter storm to enjoy snow cream. This clever recipe recreates that nostalgic texture using just milk, sugar, and a simple freezing technique.
The process is surprisingly straightforward: whip cold milk with sugar until light and fluffy, then freeze it in thin layers. The result mimics fresh snow’s delicate, melt-in-your-mouth consistency without any weather dependencies.
This treat delivers the same creamy sweetness as traditional snow cream, with the added benefit of customizable flavors. Vanilla, cocoa powder, or fruit extracts can transform it into a personalized dessert.
Perfect for summer days or whenever a cold, sweet craving strikes. The texture holds well for scooping and serving immediately after freezing.
Ingredients for Snow Cream Recipe Without Snow
Milk, sugar, and a few clever additions recreate that nostalgic snow cream texture anytime.
| Ingredient | Amount | Notes |
|---|---|---|
| Whole Milk 🥛 | 4 cups | Cold, full-fat preferred |
| Granulated Sugar 🧈 | 1 cup | White sugar for sweetness |
| Vanilla Extract 🌿 | 2 tsp | Pure extract for best flavor |
| Heavy Whipping Cream 🥛 | 1 cup | Cold, for fluffier texture |
| Sea Salt 🧂 | ¼ tsp | Fine grain preferred |
| Ice Cubes ❄️ | 2 cups | For chilling mixing bowl |
| Cocoa Powder 🍫 | 2 tbsp | Optional, for chocolate variation |
| Fresh Strawberries 🍓 | ½ cup | Optional, for fruit variation |
| Lemon Juice 🍋 | 1 tsp | Optional, for brightness |
| Peppermint Extract 🌿 | ½ tsp | Optional, for holiday flavor |
The milk is critical here—whole, full-fat milk yields the creamiest result. Avoid low-fat varieties as they produce a grainier texture. Organic Valley or Horizon are reliable brands for consistently high quality. Heavy cream is non-negotiable for stability; Darigold or Land O’Lakes perform well. Ensure all dairy is ice-cold before beginning for optimal volume.
No vanilla extract? Vanilla bean paste adds beautiful speckles and deeper flavor. For a dairy-free version, coconut milk works but alters the taste. Swap granulated sugar for powdered sugar if you prefer a smoother texture. The cocoa powder should be unsweetened—Hershey’s Special Dark is a solid choice for chocolate lovers.
Store leftovers in an airtight container with parchment pressed directly on the surface to prevent ice crystals. Keeps for 1 week in the freezer. Best served immediately after freezing for that authentic snow cream experience.
Why You’ll Love This Recipe
- No Fuss Mixing: I just whisk milk, cream, sugar, and vanilla—no special tools, no snow required.
- Velvety Sweetness: The heavy cream and whole milk blend into this ridiculously smooth, sweet base that tastes like childhood nostalgia.
- Last-Minute Dessert: Between us, this saves me every time the kids beg for ice cream after dinner.
- Budget-Friendly Treat: Honestly, five pantry staples and I’ve got a crowd-pleaser without a last-minute store run.
Step-by-Step Instructions for Snow Cream Without Snow
This method transforms simple dairy into a frozen delight using standard kitchen tools.
Step 1: Chill the Mixing Bowl and Ingredients
Begin by placing your mixing bowl and beaters in the freezer for 15-20 minutes alongside the 2 cups Ice Cubes. This critical step ensures your base starts at the optimal temperature for rapid freezing.
While the equipment chills, measure out the 4 cups Whole Milk and 1 cup Heavy Whipping Cream. I recommend using full-fat dairy for the creamiest texture, as the higher fat content resists forming ice crystals. The cold starting temperature of these liquids is non-negotiable for proper aeration.
Step 2: Whip the Base to Soft Peaks
Remove the chilled bowl and beaters from the freezer and immediately add the Whole Milk, Heavy Whipping Cream, 1 cup Granulated Sugar, 2 tsp Vanilla Extract, and 0.25 tsp Sea Salt. Beat on medium-high speed for 3-5 minutes until the mixture reaches soft peak stage.
The mixture should hold its shape briefly when the beaters are lifted, then gently collapse. This incorporation of air creates the light, fluffy texture essential for this frozen treat. The sugar should be fully dissolved—taste to confirm no grittiness remains.
Step 3: Add Flavor Variations (Optional)
For a chocolate version, gently fold in the 2 tbsp Cocoa Powder with a spatula until fully incorporated. The mixture should turn a uniform chocolate color without any visible streaks. Cocoa powder can be slightly clumpy, so sift it first if needed.
For fruity variations, blend the 0.5 cup Fresh Strawberries with 1 tsp Lemon Juice until smooth, then fold into the base. For a holiday twist, add the 0.5 tsp Peppermint Extract at this stage. Avoid overmixing after adding these variations to maintain the air you’ve incorporated.
Step 4: Freeze to Perfection
Transfer the mixture to a shallow, freezer-safe container. The wider surface area promotes faster, more even freezing. Smooth the top with a spatula for an even texture throughout.
Freeze uncovered for 1 hour, then stir vigorously with a fork to break up any ice crystals that have formed. Repeat this process every 30 minutes for the next 2-3 hours until the mixture reaches your desired consistency. This technique prevents the formation of large ice crystals, resulting in a smooth, creamy texture.
Step 5: Serve Immediately or Store
Once fully frozen, the texture should resemble soft-serve ice cream. For firmer results, freeze for an additional 1-2 hours. Serve immediately in bowls or cones for the best texture.
If storing, press plastic wrap directly against the surface to prevent ice crystals from forming. This creation keeps well in an airtight container for up to 1 week, though it’s best enjoyed fresh within the first 2-3 days for optimal texture.
Pro Tips For Making Snow Cream Recipe Without Snow
- Freeze the Bowl: Pop your mixing bowl and beaters in the freezer for 15 minutes before whipping—cold tools help the cream fluff up faster and hold its shape longer.
- Chill the Milk: Use ice-cold whole milk straight from the fridge; warm milk makes the mixture soupy instead of creamy.
- Skip the Overmixing: I learned this the hard way—stop whipping as soon as soft peaks form, or you’ll end up with butter instead of light, fluffy snow cream.
- Add Sugar Slowly: Sprinkle in the granulated sugar a little at a time while mixing—it dissolves better and keeps the texture smooth, not grainy.
Make-Ahead Tips for This Dish
Prep Ahead Strategy
Mix your base ingredients the night before and store in the fridge. The cold mixture will whip faster, saving 5-10 minutes of chilling time. I always prep mine before bed so it’s ready for breakfast treats. ❄️
Flavor Infusions
Steep vanilla bean in warm milk for 30 minutes before chilling, then strain out the pod. This intensifies the vanilla flavor. For chocolate versions, bloom cocoa powder in 2 tbsp hot milk first to eliminate clumps.
Equipment Prep
Place your mixing bowl, beaters, and storage container in the freezer while prepping ingredients. This ensures everything stays ice-cold. I use a stainless steel bowl for best heat transfer. Keep a backup bowl chilling in case of spills.
Portion Control
Divide the mixture into single-serving portions before freezing for easy grab-and-go treats. Use silicone molds or small airtight containers. Portioning prevents the need to thaw the entire batch each time.
Freezer Space
Clear a flat shelf in your freezer for the shallow container. This allows even freezing and easy stirring access. I recommend a 9×13-inch baking dish for the 4-cup batch. Avoid overcrowding the freezer during the process.
Quick Thaw Method
For last-minute cravings, make the base and freeze in an ice cube tray. Transfer cubes to a bag and store for up to 1 month. Blend 4-5 cubes with ¼ cup milk for instant snow cream. 💡
Nutrition Facts
Frequently Asked Questions
Can I use a different type of milk?
Whole milk works best for creaminess, but you can use 2%. Avoid skim milk as it creates a grainy texture. For dairy-free, try full-fat coconut milk with added sugar to taste.
How long does it take to freeze?
Plan for 3-4 hours total, stirring every 30 minutes. The first hour is critical for setting the base. For quicker results, use a shallow pan to increase surface area.
Why does my mixture turn icy?
Ice crystals form from temperature fluctuations. Ensure your freezer stays at 0°F or below. Stirring frequently breaks up crystals, and adding 1 tbsp corn syrup helps prevent iciness.
Can I make this in an ice cream maker?
Churn the base for 20-25 minutes until thick. This method eliminates the need for stirring and produces a smoother texture.

- 6 Egg Cake Recipe with Oil: Light as Air With Buttery Moisture - October 4, 2026
- 4 Bean Casserole Recipe: One-Pan Heartiness With Smoky Paprika Depth - October 4, 2026
- 3-Ingredient Keto Mug Cake Recipe: Microwave Magic in 2 Minutes - October 4, 2026