
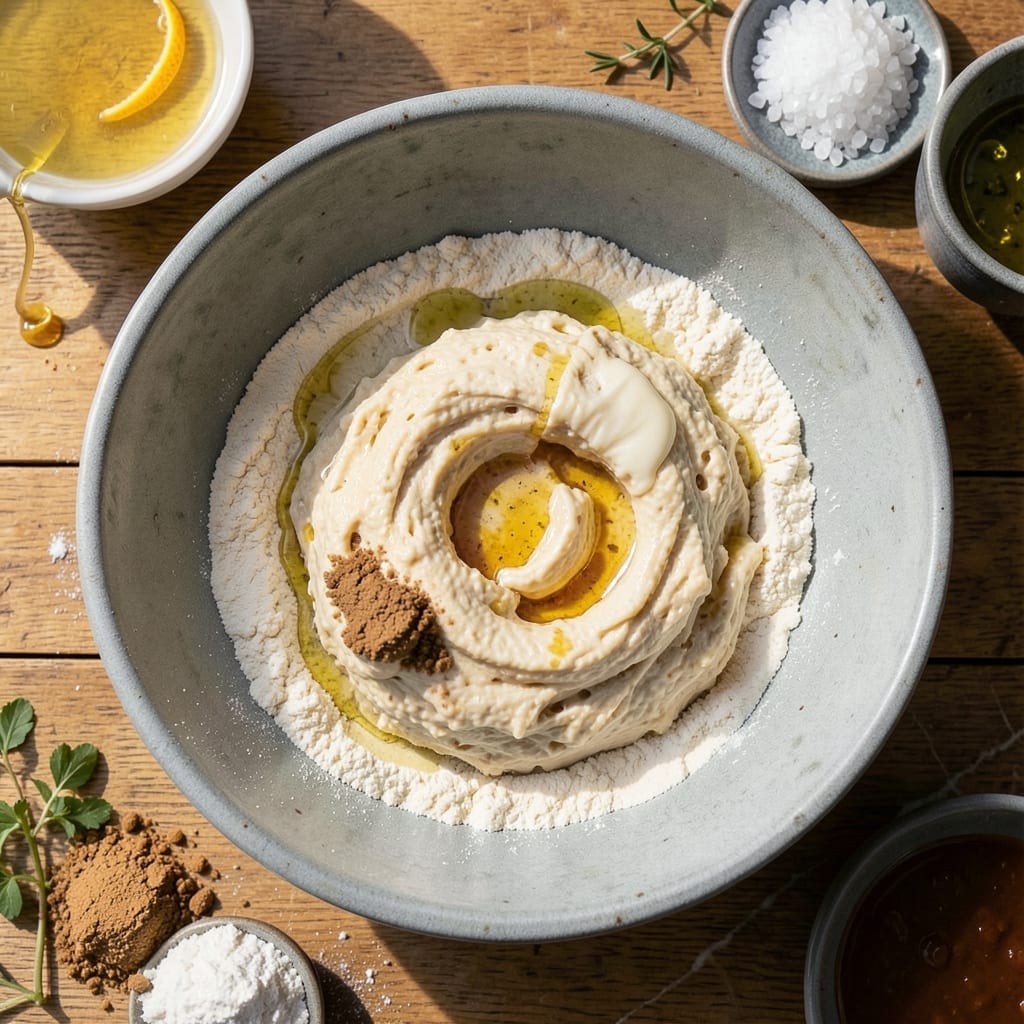
This no-knead sourdough recipe uses simple cup measurements for an artisan loaf with professional results.
With minimal effort and volume-based ingredients, you’ll achieve a crusty exterior and open crumb structure at home.
Ingredients for Sourdough Recipe in Cups
Volume-based ingredients for an artisan loaf with professional results at home.
| Ingredient | Amount | Notes |
|---|---|---|
| Bread Flour 🌾 | 3 ½ cups | All-purpose flour works too |
| Active Sourdough Starter 🍞 | ¾ cup | Fed and bubbly, at peak |
| Lukewarm Water 💧 | 1 ½ cups | About 85-90°F for activation |
| Fine Sea Salt 🧂 | 1 ½ tsp | Diamond Crystal preferred for consistency |
| Olive Oil 🫒 | 1 tbsp | For greasing the bowl |
| Rice Flour 🌾 | ¼ cup | For dusting the proofing basket |
| Cornmeal 🌽 | 2 tbsp | For dusting the baking surface |
| Honey 🍯 | 1 tsp | Optional for enhanced browning |
| White Whole Wheat Flour 🌾 | ½ cup | Optional for added depth |
| Vital Wheat Gluten 🌾 | 1 tbsp | Optional for stronger structure |
The flour choice impacts texture significantly. King Arthur Bread Flour delivers consistent protein content for optimal gluten development. Sourdough starter must be at peak activity—look for a bubbly surface and domed top (the float test in water confirms readiness). Water temperature is critical; use a thermometer for precision. Diamond Crystal sea salt dissolves uniformly, avoiding dense pockets in the crumb.
Substitutions require careful adjustment. All-purpose flour at a 1:1 ratio works but yields a slightly denser loaf. No sourdough starter? A poolish or biga can substitute, though flavor complexity will differ. For a tangier loaf, extend the cold proof overnight. Rice flour or all-purpose can replace cornmeal for dusting if needed. The honey is purely optional—omit for a strictly vegetarian version.
Store bread flour in an airtight container to prevent rancidity. Sourdough starter requires daily feedings at room temperature or weekly maintenance in the fridge. Baked loaves keep fresh for 2-3 days in a bread box or wrapped in linen. For longer storage, slice and freeze for up to 3 months.
Why You’ll Love This Recipe
- No Fuss Measuring: I love that I can skip the scale—just cups for everything, and it still turns out perfect every time.
- That Sourdough Tang: The active starter gives it that signature bite, and the olive oil adds a subtle richness that’s just right.
- Weekend Project: This is my Saturday ritual now—mix it up, let it rise, and fill the house with that warm, yeasty smell.
- Budget Bake: Bread flour and a maintained starter are all I need to make loaves that cost pennies compared to store-bought.
Step-by-Step Instructions for Sourdough in Cups
This no-knead method delivers professional results with volume measurements for precision.
Step 1: Mix and Autolyse the Dough
In a large mixing bowl, combine the 3.5 cups Bread Flour, 0.5 cup White Whole Wheat Flour, and 1 tbsp Vital Wheat Gluten. Add the 1.5 cups Lukewarm Water and 0.75 cup Active Sourdough Starter, mixing with a wooden spoon or your hands until no dry bits remain.
The dough will appear shaggy and sticky—this is normal. Cover the bowl with a damp towel and let it rest for 30 minutes. This autolyse period allows the flour to fully hydrate, initiating gluten development without kneading.
Step 2: Incorporate Salt and Optional Honey
After the autolyse, sprinkle the 1.5 tsp Fine Sea Salt evenly over the dough. If using, add the 1 tsp Honey at this stage. Use wet hands to dimple the dough and incorporate these ingredients thoroughly through a series of stretch-and-fold motions.
Perform 4-5 sets of stretch-and-folds, spaced 15 minutes apart. Each set involves grabbing one side of the dough, stretching it upward, and folding it over itself. Rotate the bowl and repeat on all sides. You’ll notice the dough strengthening and gaining structure with each set.
Step 3: Bulk Ferment and Develop Flavor
Once the stretch-and-folds are complete, cover the bowl and let the dough ferment at room temperature for 4-6 hours. The ideal temperature is around 75-78°F. The dough should rise by about 50-75% and exhibit bubbles on the surface and at the edges.
If your kitchen is cooler, extend the fermentation time. Watch for visual cues rather than relying solely on the clock—the dough should look puffy and jiggle slightly when the bowl is gently shaken.
Step 4: Shape and Proof the Loaf
Lightly dust your work surface with the 0.25 cup Rice Flour. Turn out the dough and shape it into a tight boule or batard by folding the edges toward the center and rolling it gently to create surface tension. Place the shaped dough seam-side up in a proofing basket dusted with the remaining rice flour.
Cover and refrigerate for 12-18 hours for cold proofing. This extended, slow fermentation develops complex flavors and improves the crumb structure. Alternatively, you can proof at room temperature for 1-2 hours if you’re short on time, though the flavor will be less developed.
Step 5: Score and Bake to Perfection
Preheat your oven to 450°F with a Dutch oven inside for 1 hour. Turn the cold dough onto a piece of parchment paper, then carefully transfer it to the preheated Dutch oven. Use a lame or sharp knife to score the dough in your desired pattern.
Bake covered for 20 minutes, then remove the lid and bake for another 20-25 minutes until the loaf is deep golden brown and the internal temperature reaches 205-210°F. Sprinkle the 2 tbsp Cornmeal on the baking surface before baking for added texture.
Cool on a wire rack for at least 1 hour before slicing. The 1 tbsp Olive Oil can be used to lightly grease the bowl during the initial mix to prevent sticking.
Pro Tips For Making Sourdough Recipe In Cups
- Test Starter First: I learned this the hard way—float a spoonful of your active starter in water before mixing. If it sinks, it’s not ready, and your bread won’t rise.
- Autolyse the Flour: Mix the bread flour and lukewarm water first, then let it sit for 30 minutes before adding starter and salt. Sounds weird, but it works: the dough becomes smoother and easier to handle.
- Skip Cold Water: Use water around 80-85°F—too cold and the fermentation slows to a crawl, too hot and you’ll kill the starter. A quick wrist test (should feel neither hot nor cold) is all you need.
- Oil the Bowl: Coat your rising bowl with about 1 teaspoon of olive oil before the first bulk ferment. It prevents sticking and makes transferring the dough a breeze—no more scraping or tearing.
Perfect Pairings for This Recipe
Side Dishes
Pair your freshly baked sourdough loaf with simple yet satisfying sides. A warm bowl of tomato basil soup 🥘 is a classic match, letting the bread soak up rich flavors. For a heartier option, try a charcuterie board with cured meats, cheeses, and olives—perfect for sharing!
Drink Pairings
Enhance your meal with the right beverages. A bold red wine like Cabernet Sauvignon complements sourdough’s tangy notes, while a crisp sparkling water with lemon 🍋 cleanses the palate. For breakfast, a steaming cup of black coffee or chai tea adds warmth.
Complementary Flavors
Boost your bread’s taste with flavorful pairings. Spread on whipped honey butter or garlic herb cream cheese ✨ for a sweet or savory twist. For a Mediterranean flair, drizzle with olive oil and balsamic vinegar—simple yet unforgettable.
Nutrition Facts

- 6 Egg Cake Recipe with Oil: Light as Air With Buttery Moisture - October 4, 2026
- 4 Bean Casserole Recipe: One-Pan Heartiness With Smoky Paprika Depth - October 4, 2026
- 3-Ingredient Keto Mug Cake Recipe: Microwave Magic in 2 Minutes - October 4, 2026