
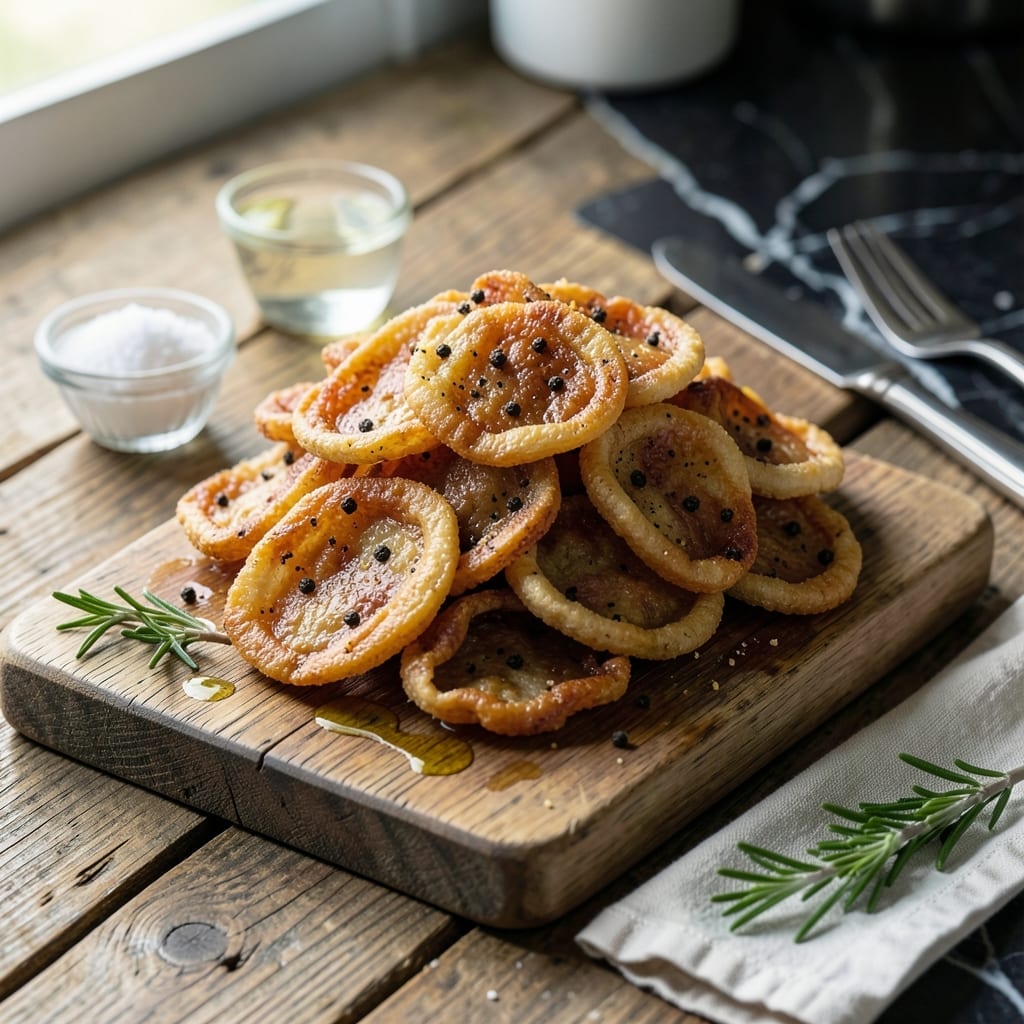
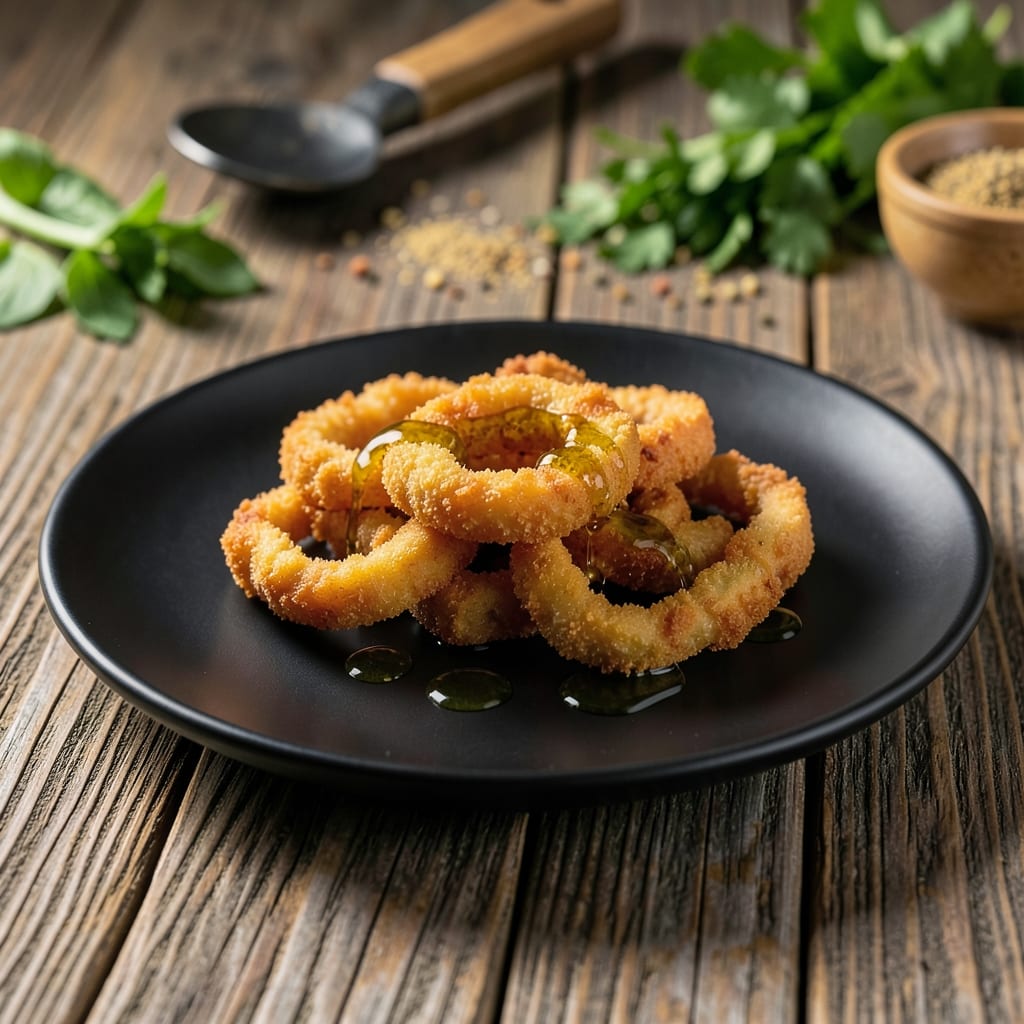
Achieving perfectly crispy pork rinds at home requires patience and the right technique. This traditional Southern method transforms pork skin into light, airy bites with unmatched flavor and texture.
The process involves slow cooking followed by high-heat frying or baking to create that signature crunch. These make an irresistible snack or garnish for soups and salads.
Ingredients for Southern Recipe Pork Rinds
Transform pork skin into Southern-style crispy rinds with these traditional ingredients.
| Ingredient | Amount | Notes |
|---|---|---|
| Pork Skin 🐷 | 2 lb | Fresh, uncooked, with fat removed |
| Kosher Salt 🧂 | ½ cup | Diamond Crystal preferred for curing |
| Water 💧 | 8 cups | For initial soaking and rinsing |
| White Vinegar 🍶 | 2 tbsp | For acidity in curing brine |
| Black Peppercorns 🌶️ | 1 tbsp | Lightly crushed for flavor |
| Garlic Powder 🧄 | 1 tbsp | For seasoning depth |
| Onion Powder 🧅 | 1 tbsp | Balances savory profile |
| Smoked Paprika 🌶️ | 1 tsp | Adds traditional Southern smokiness |
| Cayenne Pepper 🔥 | ½ tsp | Adjust for heat preference |
| Vegetable Oil 🫒 | 4 cups | For deep frying, high smoke point |
| Baking Powder 🧂 | 1 tsp | Ensures crispiness during baking |
[recipeingredientscaler]
The pork skin is everything here. Source fresh, uncooked skin from a trusted butcher—supermarkets rarely carry it raw. Look for thick, even pieces with minimal fat (trim any remaining). Ask for skin-on pork belly if whole skin isn’t available, then remove the fat layer yourself. Diamond Crystal kosher salt is ideal for curing due to its coarse texture and pure flavor.
No pork skin? There’s no true substitute—this is the star. But if you’re experimenting, chicken skin (rendered and fried) offers a similar texture. For seasoning swaps, freshly ground black pepper works if you lack peppercorns. Skip the cayenne if heat isn’t your thing. The vinegar in the brine isn’t negotiable—it tenderizes and prevents toughness during cooking.
Store raw pork skin in the fridge for up to 2 days before curing, or freeze for 1 month. Finished rinds keep in an airtight container at room temperature for 1 week—if they last that long. Re-crisp in a 300°F oven for 5 minutes if they soften.
Why You’ll Love This Recipe
- One Pot Wonder: I just toss the pork skin with water, vinegar, salt, and peppercorns, then let the oven do the work.
- Crispy Perfection: The vinegar gives it that tangy kick while the salt and peppercorns pack every bite with bold flavor.
- Snack or Topping: I keep a batch in the pantry for munching or crushing over salads and soups for extra crunch.
- Pennywise Crunch: A whole pork skin costs pennies and turns into a mountain of rinds—way cheaper than store-bought.
Step-by-Step Instructions for Southern Pork Rinds
This method delivers maximum crispiness with that signature Southern kick you expect.
Step 1: Prepare and Cure the Pork Skin
Begin by cutting the 2 lb Pork Skin into 1-inch wide strips. Rinse them thoroughly under cold water to remove any residue, then pat dry with paper towels. This step ensures even curing and proper texture development.
In a large bowl, combine the 8 cups Water, 0.5 cup Kosher Salt, 2 tbsp White Vinegar, 1 tbsp Black Peppercorns, 1 tbsp Garlic Powder, 1 tbsp Onion Powder, 1 tsp Smoked Paprika, and 0.5 tsp Cayenne Pepper. Stir until the salt completely dissolves. Submerge the pork skin strips in this curing brine and refrigerate for 12-24 hours.
Step 2: Rinse, Dry, and Season the Rinds
After curing, drain the pork skin and rinse thoroughly under cold water to remove excess salt. Pat the strips extremely dry with clean towels—this is critical for achieving maximum crispiness.
Lightly dust the strips with 1 tsp Baking Powder. This step might seem unusual, but it creates micro-bubbles during cooking that contribute to the characteristic puff and crunch of proper pork rinds.
Step 3: First Cooking Phase – Drying
Arrange the seasoned pork skin strips on a wire rack set over a baking sheet, ensuring they don’t touch each other. Place in a 200°F oven for 2-3 hours until the strips are completely dry to the touch and slightly leathery.
This low-and-slow drying phase is essential—it removes moisture gradually without cooking the skin, setting the stage for the final crisping step. The strips should feel like stiff leather when properly dried.
Step 4: Final Crisping in Hot Oil
Heat the 4 cups Vegetable Oil in a deep, heavy pot to 375°F. Use a candy thermometer for accuracy. Working in batches to avoid overcrowding, carefully add the dried pork skin strips to the hot oil.
Fry for 2-3 minutes until the rinds puff dramatically and turn golden brown. They’ll float to the surface when done. Remove with a slotted spoon and drain on a paper towel-lined plate. The transformation from leathery strip to crispy puff is dramatic and happens quickly—stay attentive.
Step 5: Cool and Store
Allow the pork rinds to cool completely at room temperature. They’ll become even crispier as they cool. Once fully cooled, store in an airtight container at room temperature for up to 1 week.
The finished rinds should shatter when bitten, with a light, airy texture and the deep, smoky-savory flavor profile that defines authentic Southern-style pork rinds. Any remaining oil can be cooled, strained, and reused for future batches.
Pro Tips For Making Southern Recipe Pork Rinds
- Dry the Skin Well: Pat the pork skin completely dry after boiling—any moisture left will steam instead of crisp. I learned this the hard way with a batch that stayed chewy.
- Boil with Vinegar: Add 1/4 cup white vinegar to the water when boiling the skin—it softens the collagen just enough without making it mushy.
- Skip the Overcrowding: Spread the skin pieces in a single layer when baking or frying, or they’ll stick together and crisp unevenly. Yes, it takes more time, but it’s worth the effort.
- Season While Hot: Toss the rinds with kosher salt and crushed black peppercorns right after they come out of the oil or oven—the heat makes the seasoning stick better.
Storing and Reheating This Recipe
🍳 Refrigerator Storage
To keep your southern recipe pork rinds fresh and crispy, store them in an airtight container or resealable bag. They’ll stay at peak quality in the fridge for 3-4 days.
❄️ Freezer Storage
For longer storage, freeze your pork rinds in a vacuum-sealed bag or tightly wrapped in aluminum foil. Properly stored, they’ll maintain their texture and flavor for 2-3 months. Label the package with the date to keep track of freshness.
🔥 Reheating Methods
To revive pork rinds, reheat them in the oven at 350°F for 5-10 minutes until crispy. For a quicker option, use the microwave in 15-20 second bursts, checking frequently to avoid overcooking. Smoker enthusiasts can reheat them at 225°F for 10-15 minutes to infuse extra smoky flavor.
💡 Quality Preservation
Moisture is the enemy of crispy pork rinds! Always ensure they’re completely cooled before storing. When thawing frozen rinds, do so in the fridge overnight for even results. For best texture, avoid microwaving directly from frozen—let them thaw first. ✨
Nutrition Facts

- 6 Egg Cake Recipe with Oil: Light as Air With Buttery Moisture - October 4, 2026
- 4 Bean Casserole Recipe: One-Pan Heartiness With Smoky Paprika Depth - October 4, 2026
- 3-Ingredient Keto Mug Cake Recipe: Microwave Magic in 2 Minutes - October 4, 2026