
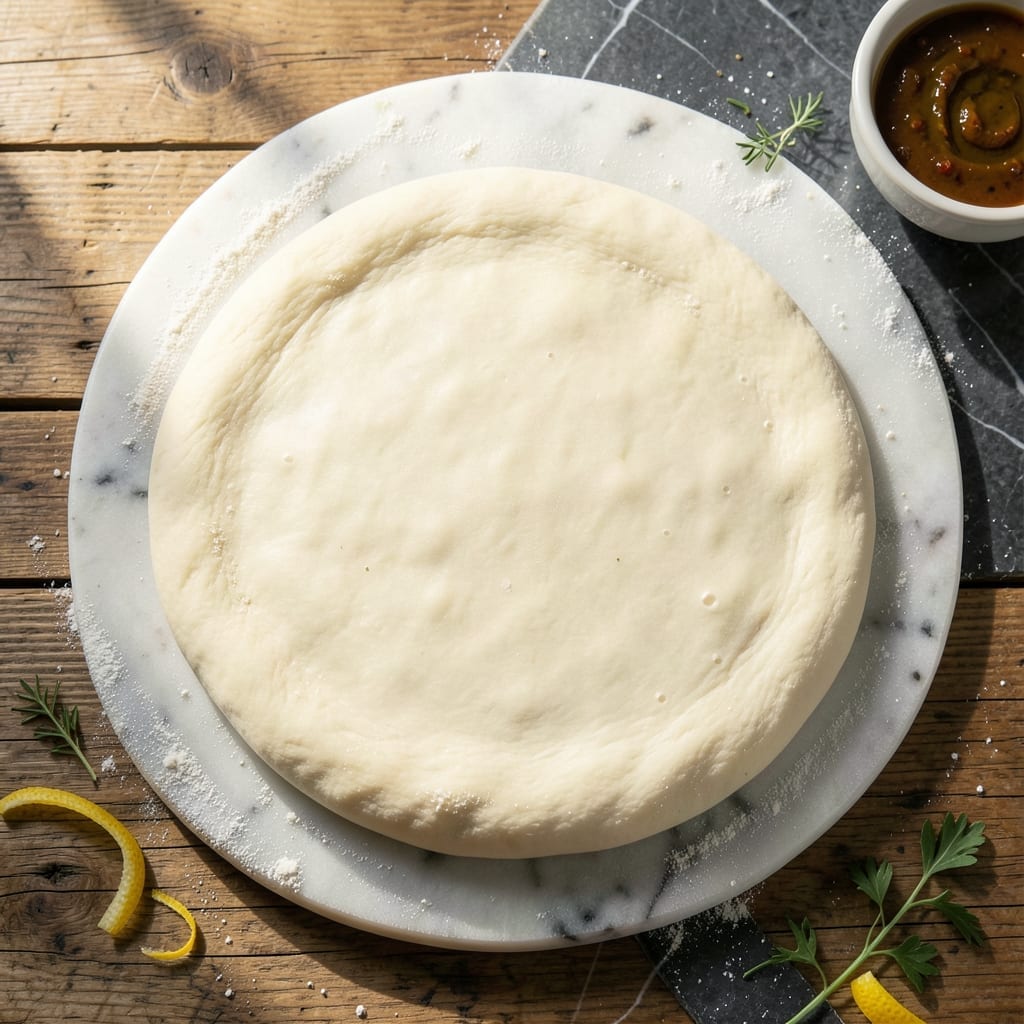
Achieving authentic wood-fired pizza at home starts with the right dough foundation. This recipe delivers a crisp, thin base with the signature char you expect from professional pizzerias.
The secret lies in high-protein flour and a 24-hour cold fermentation, which develops complex flavors while creating the perfect texture. The dough stretches thin without tearing, holding up to intense oven heat.
Proper technique ensures the crust bakes to a golden finish with those coveted leopard spots. The result is a base that’s sturdy enough to support toppings yet delicate enough to shatter with each bite.
Wood-fired cooking transforms this dough into something extraordinary, with a smoky aroma and perfectly blistered edges. The process respects tradition while making it accessible for home cooks.
Ingredients for Thin Crust Wood Fired Pizza Dough
High-protein flour and minimal ingredients create this professional-quality pizza base with authentic texture.
| Ingredient | Amount | Notes |
|---|---|---|
| Bread Flour 🌾 | 3 ½ cups | High-protein, 12-14% preferred |
| Active Dry Yeast 🍞 | 1 tsp | Instant or active dry works |
| Fine Sea Salt 🧂 | 1 ½ tsp | Diamond Crystal preferred |
| Granulated Sugar 🍚 | ½ tsp | Feeds yeast for activation |
| Extra-Virgin Olive Oil 🫒 | 2 tbsp | For dough elasticity |
| Warm Water 💧 | 1 ¼ cups | 110-115°F for yeast |
| Semolina Flour 🌾 | ½ cup | For dusting work surface |
| Cornmeal 🌽 | ¼ cup | For pizza peel transfer |
| All-Purpose Flour 🌾 | ½ cup | For adjusting dough consistency |
| Honey 🍯 | ½ tsp | Optional for yeast activation |
The flour is non-negotiable here. King Arthur Bread Flour or Caputo Tipo 00 (for true Neapolitan style) deliver the 12-14% protein content essential for that crisp yet chewy texture. Bulk bins at Whole Foods let you buy just what you need. Yeast freshness matters—check the expiration date on the packet. I always keep a jar of Diamond Crystal kosher salt on hand; its coarser grain dissolves perfectly during fermentation.
No bread flour? All-purpose with 1 tbsp vital wheat gluten per cup gets you close. Out of semolina? Fine cornmeal works for dusting, though it lacks that authentic Italian bite. Instant yeast can replace active dry at 25% less quantity. For a slightly sweeter crust, the honey is optional but traditional—agave or sugar work too. Water temperature is critical: too hot kills yeast, too cold slows activation.
Dough ferments best in the fridge for 24 hours—this develops those complex flavors mentioned in the intro. Portion and freeze extras for up to 3 months. Bring to room temperature before stretching. Store flour in airtight containers to prevent moisture absorption, which can affect protein performance in future batches.
Why You’ll Love This Recipe
- Minimal Effort: Honestly, mixing these five ingredients takes less time than waiting for delivery.
- Crispy Perfection: That thin crust gets blistery and chewy with just bread flour and olive oil—no fancy tricks.
- Weeknight Hero: I’ve used this dough for impromptu dinner parties and lazy Tuesday suppers alike.
- Budget Friendly: A pound of bread flour and yeast makes four pizzas for the price of one takeout.
Step-by-Step Instructions for Thin Crust Wood Fired Pizza Dough
Master the authentic technique for a crisp, charred base that rivals Neapolitan pizzerias.
Step 1: Activate Yeast with Warm Water and Sweetener
In a small bowl, combine the 1.25 cups Warm Water (verified at 110-115°F), 1 tsp Active Dry Yeast, 0.5 tsp Granulated Sugar, and 0.5 tsp Honey. The sugar and honey provide immediate food for the yeast, jumpstarting fermentation. Stir gently and let stand for 5-7 minutes until the surface becomes foamy and frothy.
This visual confirmation indicates active yeast. If no foam appears, your yeast may be expired—start over with fresh yeast. The warm water temperature is critical; too hot kills the yeast, too cool slows activation.
Step 2: Form and Knead the Dough
In a stand mixer with a dough hook, combine the 3.5 cups Bread Flour and 1.5 tsp Fine Sea Salt. Create a well and pour in the activated yeast mixture and 2 tbsp Extra-Virgin Olive Oil. Mix on low until the dough comes together, then increase to medium speed for 8-10 minutes.
The dough should pull away from the bowl and become smooth and elastic. Bread flour’s high protein content develops the gluten structure necessary for that thin, crisp crust. If the dough feels too sticky, add 1-2 tablespoons of the 0.5 cup All-Purpose Flour reserved for adjustments—just enough to achieve the right consistency.
Step 3: First Rise for Flavor Development
Transfer the dough to a lightly oiled bowl, turning to coat all sides. Cover with a damp towel and let rise in a warm, draft-free place for 1.5-2 hours, or until doubled in volume. This first rise allows the yeast to ferment the sugars, creating complex flavors and a light, airy texture.
For best results, I recommend a proofing box or turned-off oven with the light on, maintaining a consistent 75-80°F. The dough is ready when it springs back slowly when poked with a finger, leaving a slight indentation. Overproofing can lead to a sour taste and collapsed structure.
Step 4: Divide, Shape, and Second Rise
Turn the risen dough onto a surface dusted with 0.5 cup Semolina Flour. Divide into 4 equal portions (about 250g each) for individual pizzas. Shape each piece into a tight ball by tucking the edges underneath, creating surface tension. This step ensures even cooking and a consistent crust.
Place the dough balls on a tray dusted with 0.25 cup Cornmeal to prevent sticking. Cover and let rest for 30-45 minutes at room temperature. The cornmeal adds texture and prevents the dough from sticking during the transfer to the pizza peel. The dough balls should puff slightly but not double in size.
Step 5: Stretch and Prepare for Wood Fired Cooking
Preheat your wood fired oven to 700-900°F. While heating, stretch one dough ball on a surface dusted with semolina flour. Work from the center outward, using your fingertips to press and stretch the dough into a 10-12 inch round, leaving a slightly thicker ½-inch border for the crust.
Avoid using a rolling pin, which compresses the air bubbles needed for a light texture. The dough should be thin enough to see slight transparency when held to light. Transfer the stretched dough to a pizza peel dusted with cornmeal, ready for topping and cooking in the wood fired oven for that signature charred, crisp finish.
Pro Tips For Making Thin Crust Wood Fired Pizza Dough
- Warm Your Flour: Take the chill off your bread flour by letting it sit out for 30 minutes before mixing—I learned this the hard way after my dough took forever to rise in a cold kitchen.
- Proof in the Fridge: After the initial rise, move the dough to the fridge for 24-48 hours. Sounds weird, but it works: the slow ferment builds deeper flavor and a crispier crust.
- Skip the Over-Oiling: Use just 1 tablespoon of extra-virgin olive oil in the dough—more than that makes it too soft and hard to stretch thin. I was skeptical until I tried it.
- Roll, Don’t Stretch: For a truly thin crust, roll the dough with a pin instead of hand-stretching. It’s the thing that matters most for even thickness, especially when cooking in high wood-fired heat.
Make-Ahead Tips for thin crust wood fired pizza dough
Cold Fermentation
After the first rise, transfer dough balls to an airtight container and refrigerate for 24 hours. This slow fermentation develops deep, complex flavors and improves texture. I always use glass containers to monitor the rise.
Portion and Freeze
For longer storage, portion the dough into balls, wrap individually in plastic wrap, then place in a freezer-safe bag for up to 3 months. This preserves freshness and makes weekend pizza nights effortless. 💡
Room Temperature Rest
Before stretching, let refrigerated dough rest at room temperature for 2-3 hours. This relaxes the gluten, making it easier to stretch thin without tearing. Cold dough resists stretching and can spring back.
Pre-Stretch Prep
Dust your work surface with semolina flour and your peel with cornmeal to prevent sticking during transfer. This step ensures a smooth launch into your wood-fired oven for even cooking.
Overnight Convenience
Prepare dough the night before for fresh pizza the next day. The 24-hour cold proof means you can shape and bake straight from the fridge after the rest period. Perfect for busy schedules.
Reviving Frozen Dough
Thaw frozen dough overnight in the fridge, then let it sit at room temperature for 4-6 hours before shaping. This gradual thaw prevents texture changes, ensuring a crisp, thin crust every time. ⏰
Nutrition Facts
Frequently Asked Questions
Why use bread flour instead of all-purpose?
Bread flour has 12-14% protein, creating strong gluten networks for crisp, chewy texture. All-purpose lacks this structure, resulting in a softer, less stable crust.
Can I skip the cold fermentation?
Skipping the 24-hour cold proof sacrifices flavor depth and texture. The slow fermentation develops complex notes and improves stretchability.
How thin should I stretch the dough?
Aim for 10-12 inch rounds with a ½-inch border. The center should be thin enough to see slight transparency when held to light.
What if my dough tears while stretching?
Let it rest at room temperature for 20-30 minutes to relax the gluten. Patch small tears with extra dough, avoiding overworking.

- 6 Egg Cake Recipe with Oil: Light as Air With Buttery Moisture - October 4, 2026
- 4 Bean Casserole Recipe: One-Pan Heartiness With Smoky Paprika Depth - October 4, 2026
- 3-Ingredient Keto Mug Cake Recipe: Microwave Magic in 2 Minutes - October 4, 2026