
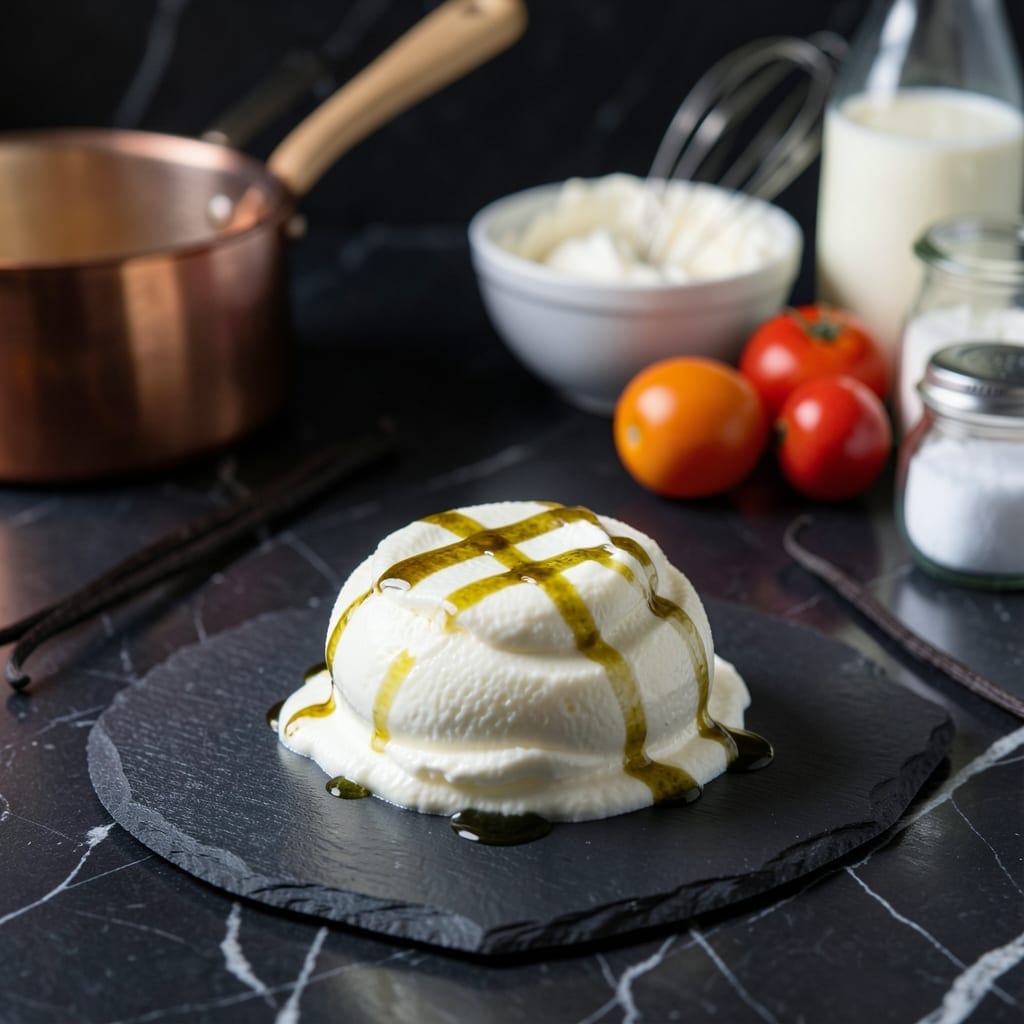
There’s nothing quite like homemade vanilla ice cream—rich, velvety, and infinitely better than store-bought. This recipe delivers ultra creamy results with a few simple ingredients and proper technique.
By controlling the custard base and churning process, you’ll achieve that perfect smooth texture and pure vanilla flavor that defines exceptional ice cream. No shortcuts, just real homemade quality.
Ingredients for Vanilla Ice Cream Recipe from Scratch
Nine simple ingredients transform into ultra creamy homemade vanilla ice cream from scratch.
| Ingredient | Amount | Notes |
|---|---|---|
| Heavy Cream 🥛 | 2 cups | Full-fat, cold for best texture |
| Whole Milk 🥛 | 1 cup | Full-fat preferred for richness |
| Granulated Sugar 🍚 | ¾ cup | Fine white sugar for smoothness |
| Large Egg Yolks 🥚 | 6 pieces | Fresh, room temperature for custard |
| Pure Vanilla Extract 🌿 | 1 tbsp | Madagascar bourbon vanilla preferred |
| Vanilla Bean 🌿 | 1 whole | Split and scraped for seeds |
| Table Salt 🧂 | ¼ tsp | Enhances all flavors in custard |
| Unsalted Butter 🧈 | 2 tbsp | High-quality for richness |
| Heavy Pinch of Fine Sea Salt 🧂 | 1 pinch | For finishing touch |
The dairy base is non-negotiable here. Whole milk and heavy cream with at least 36% fat deliver that velvety texture. I source mine from Organic Valley or local dairies when available. The egg yolks—use the freshest you can find (farmers market eggs have richer color and flavor). For vanilla, Nielsen-Massey extract is worth the splurge for that deep, complex flavor profile.
No vanilla bean? Double the extract to 2 tbsp but know it won’t have those beautiful specks. Short on yolks? Whole eggs at a 1:1 ratio work in a pinch, but the texture won’t be as rich. For a lighter version, half-and-half can replace the cream, though you’ll sacrifice some creaminess. The sugar can be swapped for super-fine baker’s sugar if you want an even smoother result.
The custard base keeps in the fridge for 24 hours before churning—actually improves the flavor. Churned ice cream stores in an airtight container for 1 week (if it lasts that long). Freeze with parchment pressed directly on the surface to prevent ice crystals from forming.
Why You’ll Love This Recipe
- One Bowl Magic: I just whisk the yolks, sugar, and creamy dairy together—no fancy gadgets, just my trusty bowl and a spoon.
- Pure Vanilla Luxury: The real vanilla extract gives it that warm, deep flavor that makes store-bought taste flat by comparison.
- Crowd Pleaser: Honestly, everyone from my picky nephew to my coffee-snob friend asks for seconds.
- Freezer Stash: I always double the batch so there’s a pint ready for unexpected guests or midnight cravings.
Step-by-Step Instructions for Vanilla Ice Cream From Scratch
Achieve ultra-creamy results with this precise method for homemade custard-based ice cream.
Step 1: Infuse Cream and Milk with Vanilla
In a medium saucepan, combine the 2 cups Heavy Cream and 1 cup Whole Milk over medium heat. Split the 1 whole Vanilla Bean lengthwise, scrape the seeds into the mixture, and add the pod as well.
Heat until the liquid just begins to simmer—look for tiny bubbles forming at the edges and a temperature of 180°F. Remove from heat, cover, and let steep for 15 minutes to fully infuse the vanilla flavor. This slow infusion extracts maximum aromatic compounds from both the seeds and pod.
Step 2: Temper Egg Yolks with Sweetened Cream
In a separate bowl, whisk together the 6 pieces Large Egg Yolks and 0.75 cup Granulated Sugar until the mixture turns pale yellow and slightly thickened, about 2-3 minutes of vigorous whisking. This ribbon stage ensures proper aeration for a smooth custard.
Slowly pour about 1 cup of the warm cream mixture into the egg yolk mixture while constantly whisking. This tempering process prevents the eggs from curdling when exposed to heat. Once fully incorporated, pour the tempered mixture back into the saucepan with the remaining cream.
Step 3: Cook Custard to Perfect Thickness
Return the saucepan to medium-low heat and add the 0.25 tsp Table Salt and 2 tbsp Unsalted Butter. Stir constantly with a wooden spoon, making sure to reach all corners of the pan, until the custard thickens enough to coat the back of the spoon.
The custard is ready when it reaches 170-175°F on an instant-read thermometer and leaves a clear path when you run your finger through it on the spoon. This typically takes 5-8 minutes. Do not let it boil, or the eggs will scramble.
Step 4: Chill Custard and Add Vanilla Extract
Strain the custard through a fine-mesh sieve into a clean bowl to remove the vanilla pod and any potentially cooked egg bits. Stir in the 1 tbsp Pure Vanilla Extract. This double vanilla approach—both bean and extract—creates an intensely aromatic base.
Press plastic wrap directly onto the surface of the custard to prevent a skin from forming. Refrigerate for at least 4 hours, or preferably overnight, until completely chilled to 40°F or below. Proper chilling is crucial for smooth texture and easy churning.
Step 5: Churn and Finish with Sea Salt
Pour the chilled custard into your ice cream maker and churn according to the manufacturer’s instructions, typically 20-25 minutes. The ice cream is ready when it reaches the consistency of soft-serve and holds its shape when scooped.
Transfer to a lidded container, sprinkle with the 1 pinch Heavy Pinch of Fine Sea Salt to enhance all the vanilla and dairy flavors, then press parchment paper directly on the surface. Freeze for at least 4 hours until firm. The result should be luxuriously creamy with a perfect balance of sweetness and vanilla depth.
Pro Tips For Making Vanilla Ice Cream Recipe From Scratch
- Temper the Yolks: Slowly whisk about 1 cup of the hot cream mixture into the egg yolks before combining everything—this prevents scrambled eggs in your custard. I learned this the hard way after ruining two batches.
- Use Full-Fat Dairy: Skip the low-fat milk or half-and-half; the high butterfat in whole milk and heavy cream is what gives your ice cream that rich, velvety texture.
- Chill Thoroughly: After cooking the custard, refrigerate it for at least 4 hours (overnight is even better) before churning—this guarantees a smoother, creamier result.
- Add Vanilla Last: Stir in the vanilla extract only after the custard has cooled slightly off the heat, so the alcohol doesn’t evaporate and the flavor stays bold.
Wine and Beer Pairings for This Recipe
Beer Pairings
A creamy scoop of homemade vanilla ice cream pairs beautifully with beer styles that balance its richness. Try a stout like Guinness or Founders KBS—their dark, roasted malt notes and subtle coffee or chocolate undertones complement the sweetness of the ice cream. For a lighter option, a Belgian tripel such as Westmalle Tripel offers fruity, spicy notes that contrast nicely with the smooth vanilla.
Wine Pairings
Wine lovers will enjoy pairing vanilla ice cream with a Moscato d’Asti like Saracco, as its light effervescence and peach or apricot flavors enhance the dessert’s creaminess. For a bolder choice, a late-harvest Riesling such as Dr. Loosen provides a honeyed sweetness and bright acidity that cuts through the richness, creating a harmonious balance.
Non-Alcoholic Options
If you prefer non-alcoholic pairings, a sparkling apple cider like Martinelli’s adds a crisp, fruity contrast to the vanilla’s smoothness. For a cozy touch, a warm cup of chai tea with its spiced notes of cinnamon and cardamom can elevate the ice cream into a comforting treat.
Nutrition Facts

- 6 Egg Cake Recipe with Oil: Light as Air With Buttery Moisture - October 4, 2026
- 4 Bean Casserole Recipe: One-Pan Heartiness With Smoky Paprika Depth - October 4, 2026
- 3-Ingredient Keto Mug Cake Recipe: Microwave Magic in 2 Minutes - October 4, 2026