
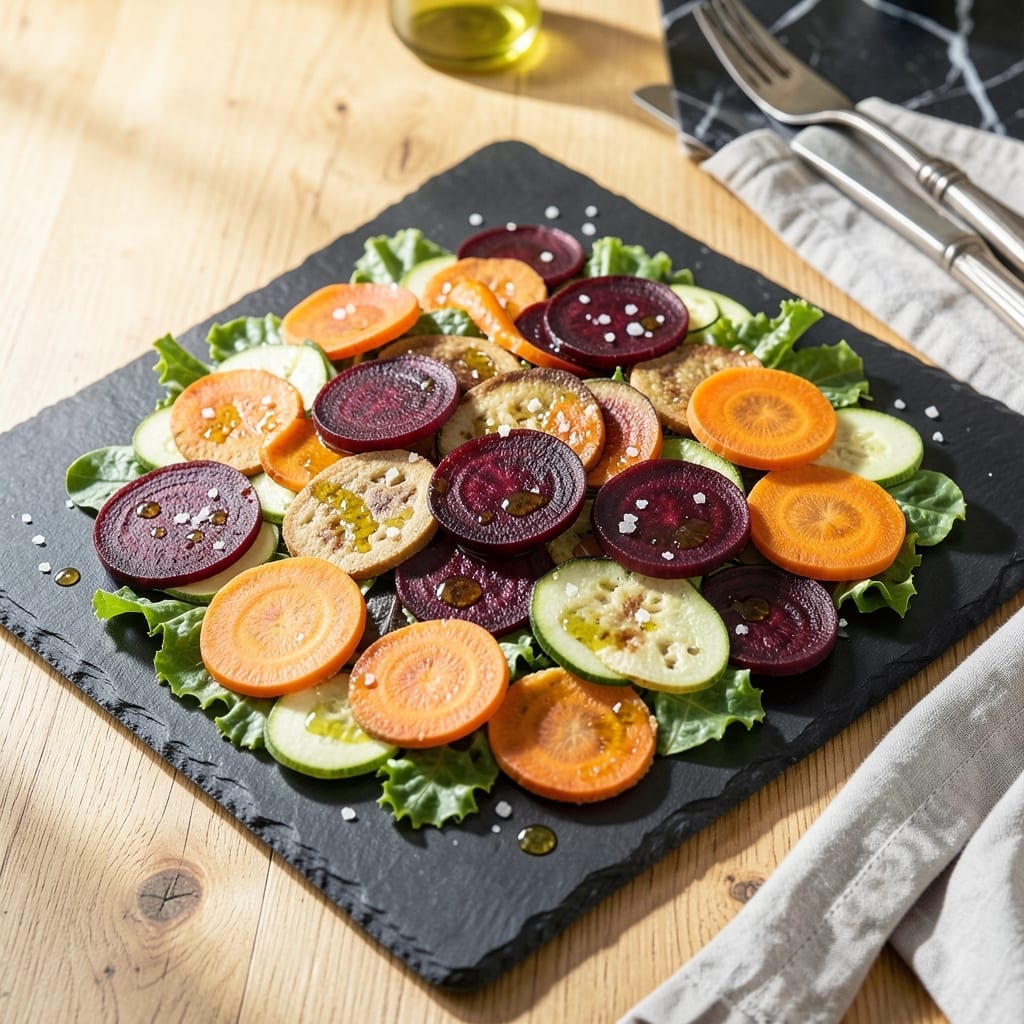
These garden-fresh crackers deliver crispy perfection in every bite, transforming simple vegetables into an elegant snack or appetizer. The secret lies in thinly slicing seasonal produce and baking it low and slow.
I developed this method to capture the natural sweetness of root vegetables and greens while achieving that satisfying crunch. A light brushing of oil and a sprinkle of salt enhance their flavor without overpowering.
What emerges from the oven is a colorful array of crispy crackers with concentrated vegetable flavors and delicate textures. They’re perfect for dips, cheese boards, or enjoying straight from the cooling rack.
This technique works with beets, carrots, zucchini, or even kale. The possibilities are as endless as your garden harvest.
Ingredients for Vegetable Crackers
Fresh garden vegetables transform into crisp, elegant bites with just a few pantry staples.
| Ingredient | Amount | Notes |
|---|---|---|
| Beets 🟣 | 2 whole | Medium, peeled and thinly sliced |
| Carrots 🥕 | 2 whole | Large, peeled and thinly sliced |
| Zucchini 🥒 | 1 whole | Large, thinly sliced lengthwise |
| Kale Leaves 🥬 | 4 whole | Stems removed, torn into pieces |
| Extra-Virgin Olive Oil 🫒 | 2 tbsp | For brushing slices |
| Flaky Sea Salt 🧂 | 1 tsp | Fine or coarse grind |
| Black Pepper 🌶️ | ½ tsp | Freshly ground preferred |
| Smoked Paprika 🌶️ | ½ tsp | Optional for depth of flavor |
| Garlic Powder 🧄 | ¼ tsp | Enhances savory notes |
| Dried Thyme 🌿 | ¼ tsp | Crushed between fingers |
| Nutritional Yeast 🧀 | 1 tbsp | For cheesy flavor option |
The produce is everything here. Farmers markets or your own garden yield the most flavorful beets and carrots—look for firm, vibrant specimens. Zucchini should feel heavy for its size, and kale leaves should be deep green without yellowing. For even baking, a mandoline slicer is ideal (use the guard—safety first). Whole Foods often carries pre-sliced root veggies if you’re short on time.
No beets? Sweet potatoes or parsnips work beautifully. Swap kale for spinach or Swiss chard—just remove thick stems. Missing smoked paprika? Regular paprika plus a pinch of cumin mimics the depth. The olive oil can be any neutral oil, but extra-virgin adds a fruity note that complements the vegetables. Nutritional yeast is optional but adds a subtle cheese-like flavor.
Store sliced veggies in cold water in the fridge for up to 24 hours if prepping ahead. Baked crackers keep in an airtight container for 1 week at room temperature. They lose crispness in humidity, so add a silica packet if you’re in a damp climate.
Why You’ll Love This Recipe
- One Pan Wonder: I just toss the beets, carrots, zucchini, and kale with olive oil, spread them out, and let the oven do the work.
- Crispy & Earthy: The beets and carrots caramelize while the kale gets perfectly crispy—honestly, it’s my new favorite snack.
- Meal Prep Star: I make a double batch on Sunday and they last all week for lunches or after-school munching.
- Budget Friendly: Five simple ingredients I already have on hand, and it costs pennies compared to store-bought crackers.
Step-by-Step Instructions for Vegetable Crackers
Master these steps for perfectly crisp, garden-fresh crackers with vibrant color and flavor.
Step 1: Prepare and Slice the Vegetables
Begin by preheating your oven to 300°F. This low temperature ensures even cooking and prevents burning before the crackers crisp up. Meanwhile, peel the 2 whole Beets and 2 whole Carrots, then slice them thinly using a mandoline or sharp knife—aim for ⅛-inch thickness for optimal crispiness.
Slice the 1 whole Zucchini lengthwise into similarly thin strips, and tear the 4 whole Kale Leaves into bite-sized pieces, removing any tough stems. Uniform thickness is critical here—thicker pieces won’t crisp properly, while thinner ones may burn.
Step 2: Season and Arrange on Baking Sheets
In a small bowl, combine the 1 tsp Flaky Sea Salt, 0.5 tsp Black Pepper, 0.5 tsp Smoked Paprika, 0.25 tsp Garlic Powder, and 0.25 tsp Dried Thyme. Crush the dried thyme between your fingers to release its aroma before mixing.
Brush both sides of the vegetable slices lightly with 2 tbsp Extra-Virgin Olive Oil, then sprinkle evenly with the spice mixture. Arrange the slices in a single layer on parchment-lined baking sheets, ensuring no overlap—this allows hot air to circulate and crisp all surfaces.
Step 3: Bake Until Crisp and Golden
Place the baking sheets in the preheated oven and bake for 1 hour, then check for doneness. The crackers should be deep golden at the edges and dry to the touch. If needed, rotate the trays and bake for an additional 15-30 minutes until fully crisp.
Watch closely during the final stretch—vegetable crackers can go from perfectly crisp to burnt quickly. The beets may take slightly longer than the zucchini or kale, so remove pieces as they finish to avoid overcooking.
Step 4: Add Finishing Touches and Cool
Once all crackers are crisp, remove them from the oven and immediately sprinkle with 1 tbsp Nutritional Yeast for a cheesy, umami depth. The residual heat will help it adhere to the warm crackers.
Transfer the crackers to a wire rack and let them cool completely. They’ll continue to crisp up as they cool, so resist the urge to taste-test too soon. Once fully cooled, store in an airtight container for up to 5 days, though they’re best enjoyed fresh.
Pro Tips For Making Vegetable Crackers
- Thin Slices Only: Use a mandoline or sharp knife to get paper-thin slices—any thicker and your crackers won’t crisp up, no matter how long you bake them. I learned this the hard way after pulling multiple chewy batches out of the oven.
- Pat Dry Veggies: After slicing, blot all vegetables (especially zucchini) with a clean towel to remove excess moisture. Sounds tedious, but it prevents soggy crackers and speeds up the crisping process.
- Low and Slow: Bake at 200°F (95°C) for 1.5-2 hours, flipping halfway. High heat burns the edges before the center dries out, and nobody wants bitter, blackened kale crackers.
- Oil Lightly: Brush a thin layer of extra-virgin olive oil on both sides—about 1 teaspoon per batch. Too much oil makes them greasy; too little and they’ll stick or dry unevenly.
Common Mistakes When Making Great vegetable crackers
Uneven Slicing
Thickness is everything with these crackers. If your slices aren’t ⅛-inch thick, they won’t crisp evenly. I learned this the hard way with my first batch of beets—some pieces were crisp while others stayed chewy. Use a mandoline for consistency. 🌟
Overcrowding Trays
Arrange slices in a single layer with space between each piece. Overlapping causes steaming instead of crisping. I recommend using 2-3 baking sheets for one batch to give each cracker room to dry out properly.
Skipping the Parchment
Baking directly on metal pans leads to sticking and uneven browning. Always line your trays with parchment paper or silicone mats. The non-stick surface allows hot air to circulate while preventing the crackers from fusing to the pan.
High Temperature Shortcut
Resist the urge to crank up the oven. 300°F is ideal—higher temps burn the outside before the inside crisps. I tried 375°F once and ended up with bitter, charred edges and soft centers.
Early Cooling
The crisping process continues as they cool. Removing crackers from the oven too soon results in limp, bendy pieces. Let them cool completely on a wire rack—this final step locks in the texture.
Ignoring Moisture
Pat zucchini slices dry before seasoning. Their high water content can prevent crisping. I use paper towels to blot both sides, which makes a noticeable difference in the final crunch.
Nutrition Facts
Frequently Asked Questions
Do I need a mandoline for even slices?
A mandoline ensures ⅛-inch thickness for consistent crisping, but a sharp knife works too. Just focus on keeping all pieces uniformly thin.
Can I use frozen vegetables instead?
Fresh is best for texture, but thawed frozen veggies can work if patted completely dry. Expect slightly less crispness due to moisture content.
Why did my crackers turn out soggy?
Overcrowding or insufficient baking time are likely culprits. Ensure single-layer spacing and bake until deep golden and fully dry to the touch.
How do I store leftovers?
Keep in an airtight container at room temperature for up to 5 days. Add a silica packet if your climate is humid.

- 2-Medium Pizza Dough Recipe: Chewy Crust With Zero Gluten Guilt - October 4, 2026
- 12 Lb Rib Roast Recipe: Low-and-Slow Mastery for Showstopping Taste - October 4, 2026
- 5-Gallon Apple Mash Recipe: Slow-Simmered Spice Infusion for Crowds - October 4, 2026