
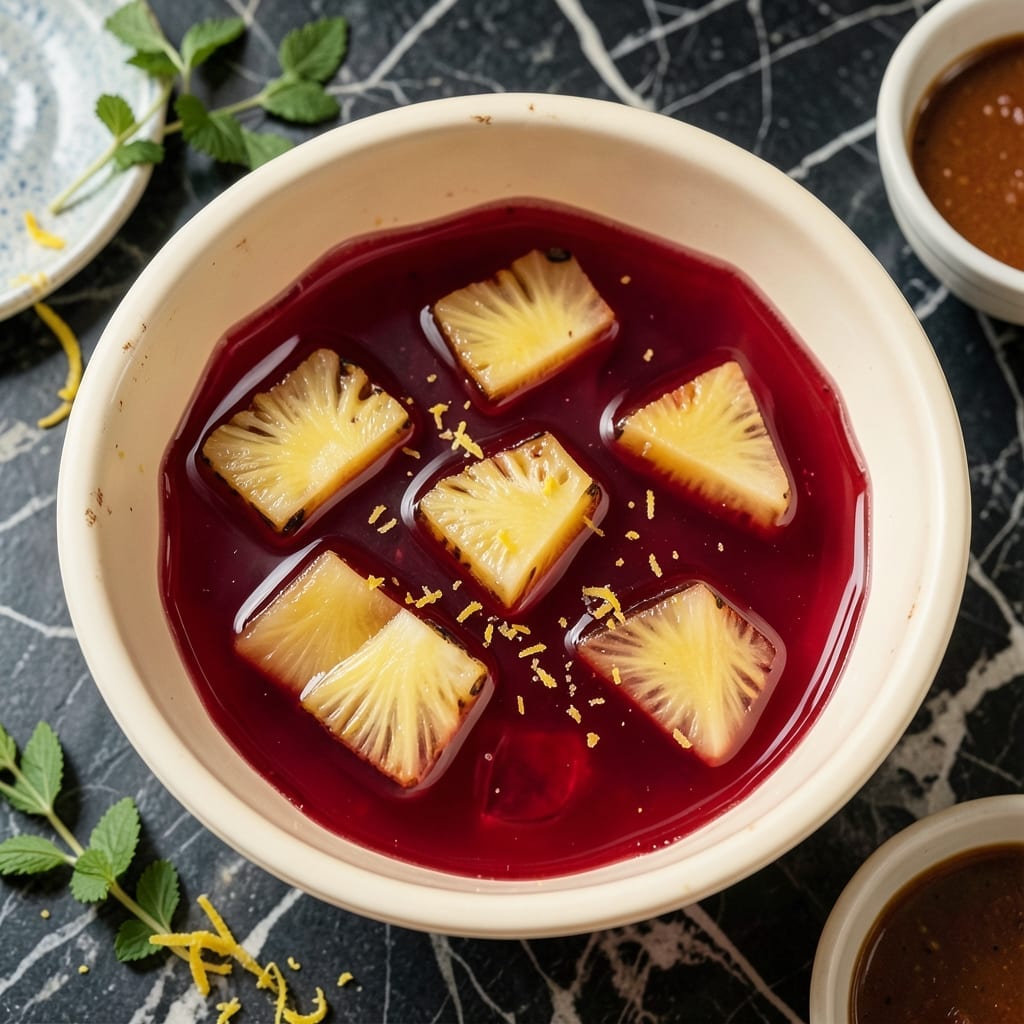
There’s something nostalgic about a perfectly set Jello mold, its glossy surface hiding a surprise within. This recipe brings back the charm of vintage Tupperware creations with a modern twist—layers of fruit suspended in vibrant, wobbling perfection.
Using a classic Tupperware mold ensures the right shape and easy release, while fresh fruit adds natural sweetness and texture. The process is simple: layer, chill, and let time work its magic. No advanced techniques required, just patience and a love for retro flair.
The result is a show-stopping centerpiece that’s as fun to make as it is to serve. Its bright colors and playful wiggle will transport you straight to a mid-century dinner party, but with today’s convenience.
Ideal for potlucks, holidays, or whenever you want to surprise your guests. Here’s how to create this edible time capsule.
Ingredients for Vintage Tupperware Jello Mold
Bright, wiggly, and packed with fruity layers. Just like grandma used to make.
| Ingredient | Amount | Notes |
|---|---|---|
| Unflavored Gelatin 💧 | 2 tbsp | Or 4 packets powdered |
| Cold Water 💧 | ½ cup | For gelatin bloom |
| Boiling Water ☕ | 1 ½ cups | For dissolving gelatin |
| Granulated Sugar 🍚 | ½ cup | Adjust to taste |
| Lemon Juice 🍋 | 2 tbsp | Freshly squeezed preferred |
| Canned Pineapple Chunks 🍍 | 1 cup | Drained, reserve juice |
| Fresh Strawberries 🍓 | 1 cup | Hulled and sliced |
| Green Grapes 🍇 | ½ cup | Halved, seedless |
| Mandarin Orange Segments 🍊 | ¾ cup | Drained, canned or fresh |
| Sweetened Condensed Milk 🥛 | ½ cup | For creamy layer |
| Vanilla Extract 🌿 | 1 tsp | Pure extract preferred |
| Vintage Tupperware Mold 🍱 | 1 whole | Classic shape for release |
The gelatin is the backbone here. Knox unflavored gelatin is the gold standard—look for it in the baking aisle at Walmart or any major grocery store. The Tupperware mold matters too; vintage ones from eBay or your grandma’s attic have that perfect retro shape. If you’re using fresh fruit, make sure it’s ripe but firm so it holds its shape in the layers.
No unflavored gelatin? Agar-agar works at a 1:1 ratio but sets firmer (and it’s vegan). Out of condensed milk? Evaporated milk plus sugar gets you close. Canned fruit in heavy syrup? Drain it well or your mold will slide apart. The lemon juice isn’t just for flavor—it balances sweetness and keeps the fruit vibrant.
This keeps 5 days in the fridge, covered tightly. For longer storage, portion into small containers and freeze for up to 2 months. Thaw overnight in the fridge before serving. The wobble is best fresh, though—don’t let it sit too long after un molding.
Why You’ll Love This Recipe
- No-Fuss Mixing: I just bloom the gelatin in cold water, add sugar and lemon, then pour in boiling water—done in five minutes flat.
- Bright Tangy Bite: The lemon juice cuts through the sweetness so it’s refreshing, not cloying, with that classic wobble we all remember.
- Potluck MVP: I bring this to every picnic and it’s always the first thing gone, plus it travels perfectly in its own vintage mold.
- Pennies Per Serving: Honestly, a box of gelatin and pantry staples make this cheaper than any store-bought dessert, and it stretches to feed a crowd.
Step-by-Step Instructions for Vintage Tupperware Jello Mold
This method ensures perfect layers and that classic wiggle every time you unmold.
Step 1: Bloom and Dissolve the Gelatin Base
Sprinkle the 2 tbsp unflavored gelatin evenly over the 0.5 cup cold water in a heatproof bowl. Let it stand for 5 minutes until the gelatin absorbs all the water and resembles wet sand—this is called blooming and it’s essential for proper setting.
Once bloomed, pour the 1.5 cups boiling water over the gelatin mixture while whisking vigorously. Continue whisking for 2 minutes until the gelatin dissolves completely and the liquid becomes clear with no visible granules.
Step 2: Create the Sweet-Tart Gelatin Foundation
Stir in the 0.5 cup granulated sugar and 2 tbsp lemon juice into the dissolved gelatin. Whisk until the sugar dissolves completely and the mixture becomes smooth. Taste and adjust sweetness if needed, though the fruit will add natural sweetness in later layers.
This base mixture should have a pale golden color and a slightly tart flavor from the lemon. The sugar not only sweetens but helps create that signature jiggly texture we all love in vintage molds.
Step 3: Prepare and Layer the Fruit
Drain the 1 cup canned pineapple chunks thoroughly and arrange half in the bottom of the vintage tupperware mold. Press them gently into the mold to create an even layer. Follow with half of the 1 cup fresh strawberries, 0.5 cup green grapes, and 0.75 cup mandarin orange segments.
I like to arrange the fruit in a decorative pattern for that classic vintage look. Make sure to leave small gaps between pieces so the gelatin can flow around and suspend them properly. The fruit should be snug but not packed too tightly.
Step 4: Add the Creamy Layer and Remaining Fruit
In a separate bowl, combine the 0.5 cup sweetened condensed milk and 1 tsp vanilla extract. Slowly whisk in 1 cup of the prepared gelatin mixture to temper it. Then pour this creamy layer over the first fruit layer in the mold.
Add the remaining fruit on top of the creamy layer, again arranging it attractively. This creates the surprise element when you unmold. The condensed milk layer will set slightly denser than the clear gelatin, creating beautiful visual contrast.
Step 5: Chill and Unmold with Care
Pour the remaining gelatin mixture over the fruit to fill the vintage tupperware mold completely. Gently tap the mold on the counter to remove any air bubbles. Cover with plastic wrap and refrigerate for at least 6 hours or overnight.
To unmold, dip the bottom of the mold in warm water for 10-15 seconds, then run a thin knife around the edges. Place your serving plate over the mold and invert with a quick, confident motion. The jello should release cleanly with all layers intact, ready to wow your guests with its retro charm.
Pro Tips For Making Vintage Tupperware Jello Mold
- Bloom the Gelatin: Always let the unflavored gelatin sit in cold water for 5-10 minutes before adding boiling water—I learned this the hard way when my first mold refused to set.
- Use Fresh Lemon: Bottled lemon juice works in a pinch, but fresh lemon juice makes a real difference in brightness and flavor.
- Avoid Boiling Vigorously: Pour the boiling water slowly over the gelatin mixture to prevent creating air bubbles that will cloud your finished mold.
- Chill Between Layers: If making a layered mold, give each layer a solid 30 minutes in the fridge before adding the next—yes, even if you’re impatient like me.
Pro Cooking Tips for This Dish
Perfect Gelatin Bloom
Always sprinkle 2 tbsp unflavored gelatin over 0.5 cup cold water first—never hot. Let it sit 5 minutes until it looks like wet sand. This blooming step is non-negotiable for that perfect vintage wiggle. I learned this the hard way with lumpy molds. 💡
Layering Technique
Arrange fruit in the vintage Tupperware mold with small gaps between pieces. The gelatin needs room to flow around each piece. Press gently but don’t pack tightly—this ensures even suspension as it sets overnight.
Creamy Layer Secret
Temper the 0.5 cup sweetened condensed milk by slowly whisking in 1 cup warm gelatin. This prevents curdling and creates that beautiful opaque band. The vanilla extract adds depth—don’t skip it.
Unmolding Success
Dip the mold bottom in warm water for 10-15 seconds only. Too long and you’ll melt the edges. Use a quick, confident flip onto your plate. The vintage Tupperware shape releases beautifully when done right.
Chilling Time
Refrigerate for at least 6 hours, but overnight is ideal. This gives the layers time to set completely. I always make mine the night before—patience is key for that perfect jiggle.
Air Bubble Fix
After pouring each gelatin layer, gently tap the mold on the counter. This releases trapped air that could create unsightly holes. A quick tap takes 10 seconds and makes all the difference in your final presentation.
Nutrition Facts
Frequently Asked Questions
How do I prevent fruit from sinking to the bottom?
Chill each layer for 30-45 minutes before adding the next. This partial setting keeps fruit suspended. Use firm fruit and drain canned pieces well.
Can I use fresh pineapple instead of canned?
No, fresh pineapple contains enzymes that prevent gelatin from setting. Canned pineapple is heat-treated, making it safe. Stick to the 1 cup canned chunks for best results.
Why did my mold not release cleanly?
You may have skipped the warm water dip or didn’t chill long enough. Always refrigerate for at least 6 hours and dip the mold bottom for 10-15 seconds only.
Can I make this with sugar substitutes?
Yes, but texture may differ. Use a 1:1 sugar substitute like Splenda, but avoid liquid sweeteners. The 0.5 cup measurement remains the same.

- 6 Egg Cake Recipe with Oil: Light as Air With Buttery Moisture - October 4, 2026
- 4 Bean Casserole Recipe: One-Pan Heartiness With Smoky Paprika Depth - October 4, 2026
- 3-Ingredient Keto Mug Cake Recipe: Microwave Magic in 2 Minutes - October 4, 2026