
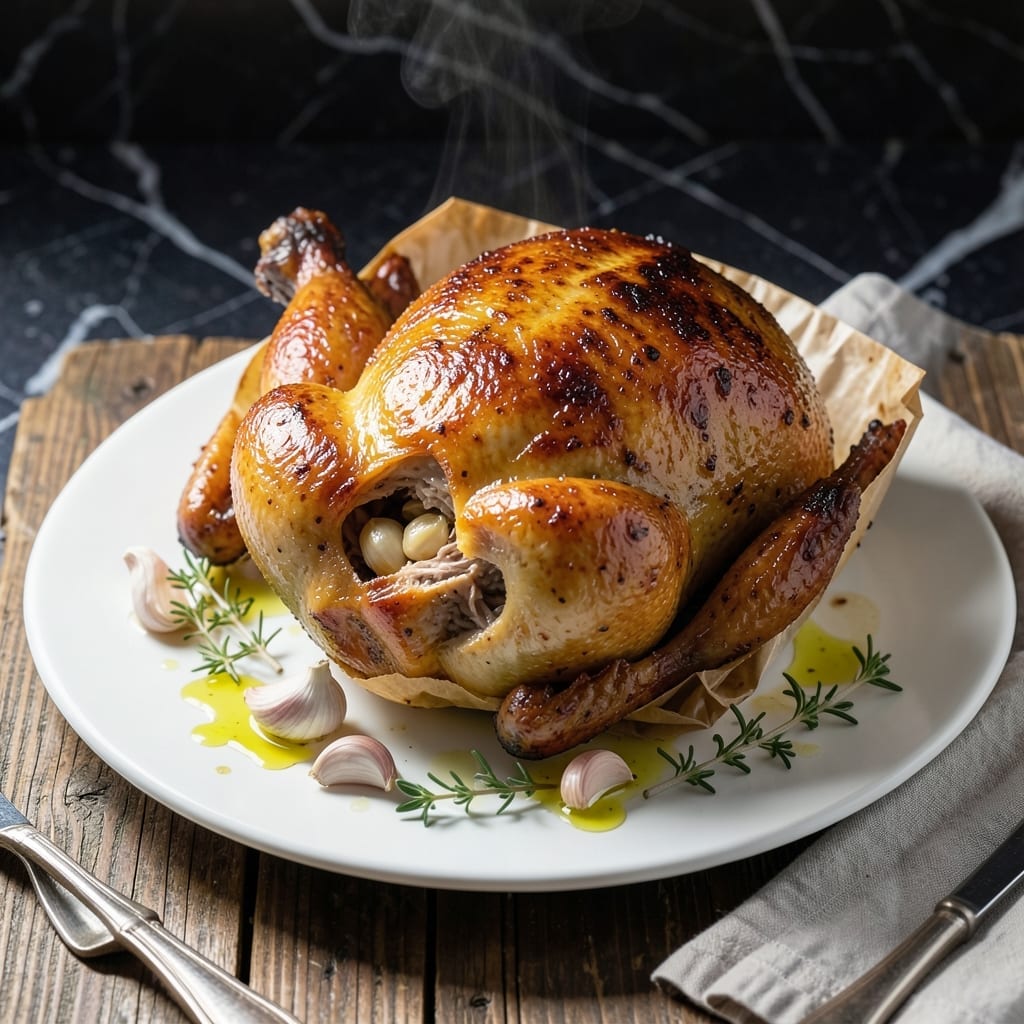
This method delivers perfectly juicy roast chicken with zero cleanup. The oven bag locks in moisture while the skin crisps beautifully, creating a foolproof main dish that impresses every time.
No special equipment is needed beyond a standard roasting pan and oven-safe bag. The technique ensures even cooking and eliminates the risk of dry meat, which plagues many home-cooked whole chickens.
What results is tender, flavorful meat with golden-brown skin that stays succulent. The bag collects all the natural juices, making it easy to create a quick pan sauce if desired.
This approach takes the guesswork out of roasting chicken. Set it and forget it for a reliable, delicious meal with minimal effort.
Ingredients for Whole Chicken in a Bag
A simple whole chicken plus aromatics and herbs deliver foolproof roasted perfection in a bag.
| Ingredient | Amount | Notes |
|---|---|---|
| Whole Chicken 🍗 | 1 whole | 4-5 lb, giblets removed |
| Oven-Safe Roasting Bag 🛍️ | 1 bag | Large, heat-resistant |
| Unsalted Butter 🧈 | ½ cup | Softened for rubbing |
| Kosher Salt 🧂 | 1 ½ tbsp | Diamond Crystal preferred |
| Freshly Ground Black Pepper 🌶️ | 1 tsp | Coarse grind ideal |
| Garlic Cloves 🧄 | 6 cloves | Minced or smashed |
| Fresh Rosemary 🌿 | 2 tbsp | Chopped, stems removed |
| Fresh Thyme 🍃 | 2 tbsp | Chopped, stems removed |
| Lemon 🍋 | 1 whole | Halved for cavity |
| Yellow Onion 🧅 | 1 whole | Quartered for cavity |
| Carrots 🥕 | 3 whole | Peeled and cut into chunks |
| Celery Stalks 🌿 | 3 pieces | Cut into large chunks |
| Dry White Wine 🍷 | ¼ cup | For moisture and flavor |
| Olive Oil 🫒 | 1 tbsp | For bag interior |
The chicken itself is critical. Opt for a 4-5 lb bird—smaller can dry out, larger may not cook evenly. Kosher chicken (like Empire or Bell & Evans) has better texture and flavor. Ensure the giblets are removed; most butchers will do this for you. The roasting bag must be oven-safe and large—Reynolds makes a reliable one. Butter quality matters too; Plugrá or Vermont Creamery are excellent choices if available.
No oven bag? Double-layer heavy-duty foil works in a pinch, though the results won’t be quite as moist. Fresh herbs are ideal, but dried at one-third the amount suffices. No white wine? Chicken broth with a splash of lemon juice substitutes well. For the vegetables, parsnips or potatoes can replace carrots or celery. The lemon and onion in the cavity are optional but add significant aroma.
Store the chicken in its original packaging in the coldest part of your fridge for up to 2 days before cooking. Leftovers keep 4-5 days refrigerated or freeze for 3 months. The roasting bag can be reused once if undamaged, but it’s best to discard after a single use for optimal hygiene.
Why You’ll Love This Recipe
- No Mess Cooking: I just pop the chicken in the bag with butter, salt, and pepper—no scrubbing pans afterward.
- Juicy Every Time: The bag locks in moisture so the meat stays tender, with crispy skin from the butter basting.
- Feeds the Week: One chicken means lunches for days—sandwiches, tacos, you name it.
- Budget Hero: A whole chicken costs less than parts, and the bag means no wasted drippings.
Step-by-Step Instructions for Roasting Whole Chicken in a Bag
Here is the professional method for achieving perfectly juicy chicken with minimal cleanup.
Step 1: Prepare the Chicken and Aromatics
Pat the whole chicken dry with paper towels, inside and out. This ensures the skin will crisp properly during roasting. Season the cavity and exterior generously with the 1.5 tbsp kosher salt and 1 tsp freshly ground black pepper, rubbing it into the skin.
Combine the 6 cloves garlic cloves, 2 tbsp fresh rosemary, and 2 tbsp fresh thyme in a small bowl. Stuff the cavity with the 1 whole lemon (halved), 1 whole yellow onion (quarterd), 3 whole carrots, and 3 pieces celery stalks. This aromatic base infuses the meat with flavor as it cooks.
Step 2: Prep the Roasting Bag
Place the 1 bag oven-safe roasting bag in a large roasting pan or baking dish. Add the 1 tbsp olive oil to the bag, then rub it around the interior to coat evenly. This prevents sticking and helps the skin brown.
Place the seasoned chicken into the bag, breast-side up. Dot the exterior with the 0.5 cup unsalted butter, allowing some to melt into the bag. The butter will baste the chicken as it roasts, keeping it moist and adding richness to the juices.
Step 3: Seal and Roast
Seal the bag according to the manufacturer’s instructions, leaving a small opening for steam to escape if directed. This traps moisture, ensuring the chicken stays succulent while allowing the skin to crisp. Cut a few small slits in the top of the bag to allow excess steam to vent.
Place the pan in a preheated 375°F oven. Roast for 1 hour and 45 minutes to 2 hours, depending on the size of the bird. The chicken is done when the internal temperature in the thickest part of the thigh reaches 165°F and the juices run clear.
Step 4: Rest and Finish
Carefully remove the pan from the oven and transfer the chicken to a cutting board. Open the bag away from you to avoid steam burns. Pour the 0.25 cup dry white wine into the bag to deglaze, then pour the juices into a gravy boat or small saucepan if you wish to make a pan sauce.
Let the chicken rest for 15 minutes before carving. This allows the juices to redistribute, ensuring every slice is moist and flavorful. Serve with the roasted vegetables from the cavity and the pan juices for a complete, effortless meal.
Pro Tips For Making Whole Chicken In A Bag
- Preheat the Bag: I learned this the hard way—shake a tablespoon of flour in the bag first and tap it around to prevent sticking. Sounds weird, but it works.
- Butter Under Skin: Slide your fingers under the chicken skin and rub softened butter directly onto the meat—this actually changes the outcome, giving you juicier flesh.
- Skip the Overcrowding: Resist the urge to stuff the bag with veggies; just the chicken and a few aromatics max, or it steams instead of roasts.
- Start at 400°F: Crank the oven high for the first 20 minutes to get that skin crisp, then drop to 350°F to finish cooking through.
Common Mistakes When Making This Recipe
Bag Size Errors
Using a bag that’s too small causes uneven cooking and tearing. Select a large oven bag designed for turkeys—it should comfortably fit your 4-5 lb chicken with room for expansion. I once used a standard bag and it burst mid-cook, making a mess. 🔥
Skipping the Slits
Failing to cut vent slits traps too much steam, resulting in soggy skin. Make 3-4 small cuts in the top of the bag before sealing. This allows excess moisture to escape while retaining enough for juicy meat.
Overcrowding the Bag
Stuffing the cavity with too many aromatics can prevent even heat circulation. Stick to 1 lemon, 1 onion, and a few herb sprigs. I limit additional veggies to the pan around the chicken, not inside.
Temperature Missteps
Oven temperature matters—too low and the skin won’t crisp, too high and the meat dries out. Always preheat to 375°F and verify with an oven thermometer. I check mine with a ThermoWorks probe for accuracy.
Ignoring Rest Time
Cutting immediately after removing from the oven causes juices to spill out, leaving dry meat. Rest the chicken for 15 minutes before carving. This step is non-negotiable for maximum juiciness.
Sealing Too Tight
A completely airtight seal can cause the bag to burst. Leave a ½-inch opening as most brands instruct. This small gap prevents pressure buildup while keeping moisture locked in. 💡
Nutrition Facts
Frequently Asked Questions
Do I need a special bag for this method?
Use a large oven-safe roasting bag designed for turkeys. Standard bags may tear. Brands like Reynolds work well and cost just a few dollars at most grocery stores.
Can I add other vegetables to the bag?
Yes! Potatoes, parsnips, or Brussels sprouts cook beautifully alongside the chicken. Cut them into large chunks so they don’t overcook during the 1 hour and 45 minutes to 2 hours roasting time.
What if the skin doesn’t crisp?
This usually means too much steam was trapped. Next time, cut 3-4 small slits in the bag top and leave a ½-inch opening when sealing. The skin should turn golden-brown at 375°F.
How do I know when it’s done?
Use a meat thermometer inserted into the thickest part of the thigh. It’s safe to eat at 165°F. The juices should also run clear when pierced.

- 6 Egg Cake Recipe with Oil: Light as Air With Buttery Moisture - October 4, 2026
- 4 Bean Casserole Recipe: One-Pan Heartiness With Smoky Paprika Depth - October 4, 2026
- 3-Ingredient Keto Mug Cake Recipe: Microwave Magic in 2 Minutes - October 4, 2026