
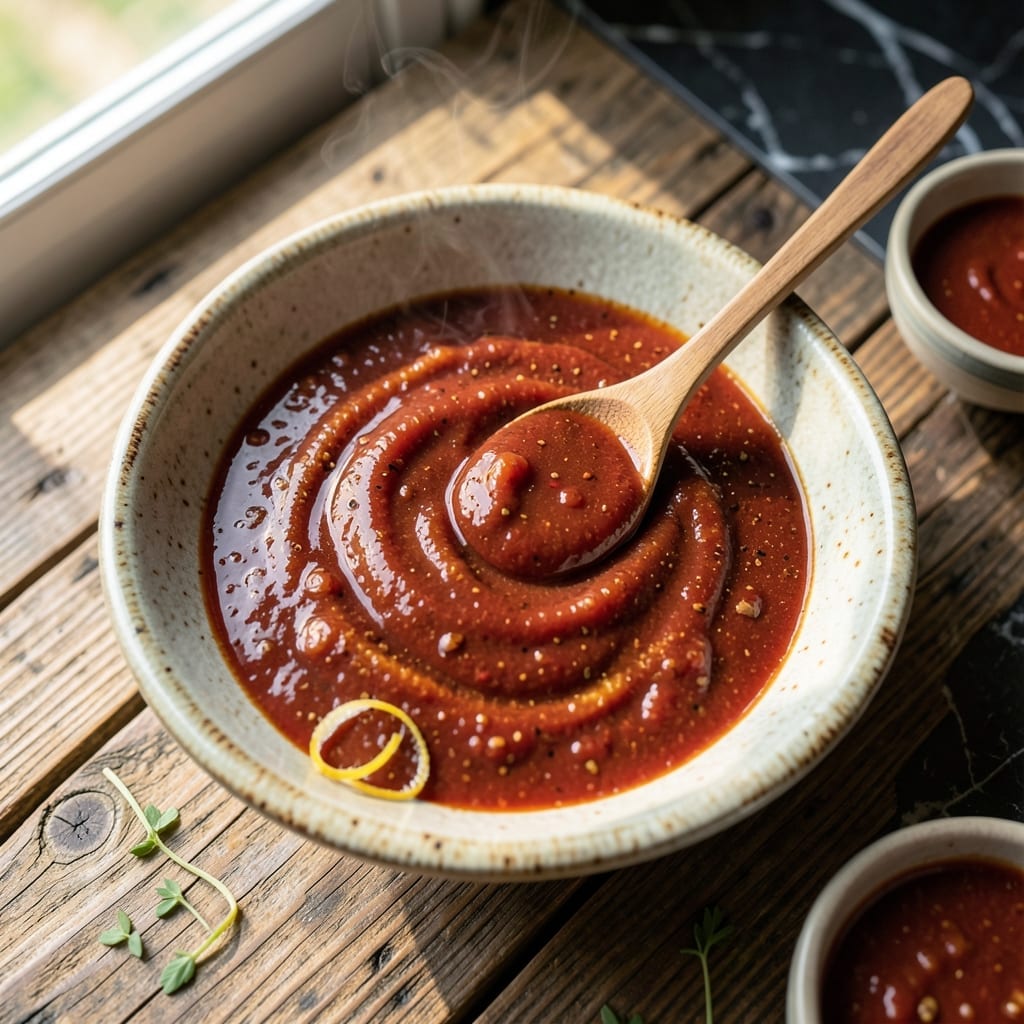
There’s a reason this tangy chili sauce has become a beloved staple for hot dog lovers everywhere. This homemade version captures the bold, slightly sweet flavor that makes Yocco’s famous, without any preservatives or artificial ingredients.
The secret lies in the balance of spices and a slow simmer that deepens the flavors. With just a handful of pantry staples and 30 minutes of your time, you can recreate this classic condiment that elevates any dish it touches.
What you’ll get is a thick, rich sauce with a perfect blend of tangy, sweet, and spicy notes. It’s incredibly versatile—drizzle it over hot dogs, use it as a dip for fries, or add a spoonful to burgers for extra kick.
This recipe makes a small batch that keeps well in the fridge, so you can enjoy that signature flavor whenever the craving strikes.
Ingredients for Yocco’s Chili Sauce
A handful of pantry staples transforms into this bold, slightly sweet condiment.
| Ingredient | Amount | Notes |
|---|---|---|
| Tomato Sauce 🍅 | 2 cups | Plain, no herbs added |
| Apple Cider Vinegar 🍏 | ½ cup | For tangy brightness |
| Brown Sugar 🍚 | ¼ cup | Light or dark works |
| Chili Powder 🌶️ | 2 tbsp | Mild or medium heat |
| Ground Cumin 🌿 | 1 tsp | Toasted for depth |
| Garlic Powder 🧄 | 1 tsp | Not garlic salt |
| Onion Powder 🧅 | 1 tsp | Balances sweetness |
| Salt 🧂 | 1 tsp | Adjust to taste later |
| Black Pepper 🌶️ | ½ tsp | Freshly ground best |
| Paprika 🌶️ | 1 tsp | Sweet or smoked variety |
The tomato sauce base is key—Hunts or Muir Glen are my go-tos for consistent thickness and flavor. Apple cider vinegar (not white) gives that signature tang. I always grab the brown sugar from Domino (the bag, not the box) since it clumps less. Spices should be fresh; if your chili powder smells dusty, it’s time to restock from Penzeys.
No apple cider vinegar? White vinegar plus a pinch of sugar works in a pinch. Swap brown sugar for white if that’s what you’ve got (add a touch of molasses if you’re feeling fancy). Cumin can be doubled if you love that earthy depth. Out of chili powder? Mix paprika with a dash of cayenne—won’t be identical but still tasty.
This keeps 3-4 weeks in the fridge in a sealed jar. Freeze extras in ice cube trays for 6 months. The flavors meld overnight, so it’s even better the next day (worth the wait).
Why You’ll Love This Recipe
- Five-Minute Mix: I dump everything in one pot and let it simmer while I set the table.
- Sweet Heat Balance: The brown sugar and chili powder hit that perfect tangy-sweet spot every time.
- Drizzle or Dip: Honestly, I use it on hot dogs, eggs, even as a marinade—it never lets me down.
- Pantry Staples: Between us, I always have these ingredients, so it’s my go-to when the fridge is bare.
Step-by-Step Instructions for Homestyle Chili Sauce
This simple stovetop method brings out the perfect balance of tangy, sweet, and spicy flavors.
Step 1: Combine the Liquid Base
In a medium saucepan, pour in the 2 cups Tomato Sauce and 0.5 cup Apple Cider Vinegar. I always use a heavy-bottomed pan to prevent scorching, especially with the acidic vinegar.
Stir these together over medium heat just until combined. You’ll notice the vinegar’s sharp aroma mellows slightly as it warms—this is the first sign your sauce is developing its characteristic tang.
At this stage, the mixture will look thin, but don’t worry. The reduction process will thicken it to the perfect consistency for topping hot dogs or sandwiches.
Step 2: Add Sweetener and Spices
Sprinkle in the 0.25 cup Brown Sugar, 2 tbsp Chili Powder, 1 tsp Ground Cumin, 1 tsp Garlic Powder, 1 tsp Onion Powder, 1 tsp Salt, 0.5 tsp Black Pepper, and 1 tsp Paprika.
Whisk thoroughly to dissolve the brown sugar and distribute all the spices evenly. The mixture will darken slightly as the chili powder and paprika incorporate—the color deepens beautifully as it cooks.
I find that using a flat whisk works best here to prevent clumping, especially with the chili powder. Keep the heat at medium to avoid burning the sugars at the bottom of the pan.
Step 3: Simmer and Develop the Flavors
Once all ingredients are fully combined, reduce the heat to medium-low. Let the sauce simmer gently, stirring occasionally, for 15-20 minutes.
You’ll know it’s ready when the sauce thickens enough to coat the back of a spoon and the raw spice aroma transforms into a rich, complex scent. The volume will reduce by about a third during this time.
Watch for small bubbles breaking the surface consistently—that’s your visual cue the simmer is at the right pace. If it begins to spatter or bubble too vigorously, lower the heat slightly.
Step 4: Adjust Seasoning and Cool
Taste the sauce and adjust the salt if needed—the vinegar and tomato can vary in acidity. Remember that flavors intensify as it cools, so go easy on additional seasoning.
Remove the saucepan from heat and let it cool to room temperature. The sauce will thicken slightly more as it cools. I like to transfer it to a glass jar while still warm to make pouring easier.
Once completely cool, give it one final stir to redistribute any spices that may have settled. The finished sauce should have a glossy sheen and a consistency that clings to a spoon but still drizzles easily.
Pro Tips For Making Yocco’S Chili Sauce
- Simmer Low and Slow: Keep the heat at a gentle simmer—too high and the vinegar will overpower the sauce. I learned this the hard way after my first batch tasted like pickled tomatoes.
- Bloom the Spices: Toast the chili powder and cumin in a dry pan for 30 seconds before adding liquids. Sounds weird, but it wakes up the flavors in a way raw spices just can’t.
- Balance the Sweetness: Taste before adding all the brown sugar—some tomato sauces are sweeter than others. I skip the full amount half the time and never miss it.
- Rest Before Serving: Let the sauce sit for at least 20 minutes off the heat. My grandmother swore by this, and she was right: the flavors meld and mellow out.
Dietary Considerations for This Recipe
Gluten-Free Friendly
This sauce is naturally gluten-free as written, with no wheat, barley, or rye ingredients. All the spices and tomato sauce base are typically gluten-free, but always double-check labels on your chili powder and tomato sauce to be safe. 🌾
Vegetarian and Vegan
With no animal products in the recipe, this sauce works perfectly for both vegetarian and vegan diets. The rich, tangy flavor pairs wonderfully with plant-based hot dogs or veggie burgers for a fully meat-free meal.
Low-Sodium Option
To reduce sodium, use low-sodium tomato sauce and cut the added salt to ½ tsp. You can also boost flavor with extra garlic powder or onion powder to compensate. Taste as you go and adjust to your preference.
Sugar-Free Adaptation
Replace the brown sugar with a sugar-free alternative like Swerve or erythritol. Use the same ¼ cup measurement, but add 1 tsp molasses to mimic the depth of brown sugar. The texture will be slightly different but still delicious.
Allergen Notes
This recipe is free from the top 8 allergens, making it safe for most dietary restrictions. The only potential concern is sulfites in apple cider vinegar, so those with sensitivities may want to use white vinegar instead. 💡
Keto-Friendly Version
For a keto approach, swap the brown sugar for allulose or monk fruit sweetener. Reduce the tomato sauce to 1 cup and add ½ cup water to maintain volume. This keeps carbs low while preserving the signature tang.
Nutrition Facts
Frequently Asked Questions
Can I use white vinegar instead of apple cider vinegar?
Yes, but add 1 tsp sugar to balance the sharper taste. Apple cider vinegar adds depth, but white works in a pinch.
How long does the sauce keep in the fridge?
Stored in an airtight container, it stays fresh for 3-4 weeks. For longer storage, freeze for up to 6 months.
Why does my sauce taste too bitter?
Over-simmering can intensify bitterness. Stick to 15-20 minutes and balance with extra brown sugar if needed.
Can I make it spicier?
Add ½ tsp cayenne or a pinch of red pepper flakes. Taste as you go to avoid overpowering the tangy base.

- 6 Egg Cake Recipe with Oil: Light as Air With Buttery Moisture - October 4, 2026
- 4 Bean Casserole Recipe: One-Pan Heartiness With Smoky Paprika Depth - October 4, 2026
- 3-Ingredient Keto Mug Cake Recipe: Microwave Magic in 2 Minutes - October 4, 2026