
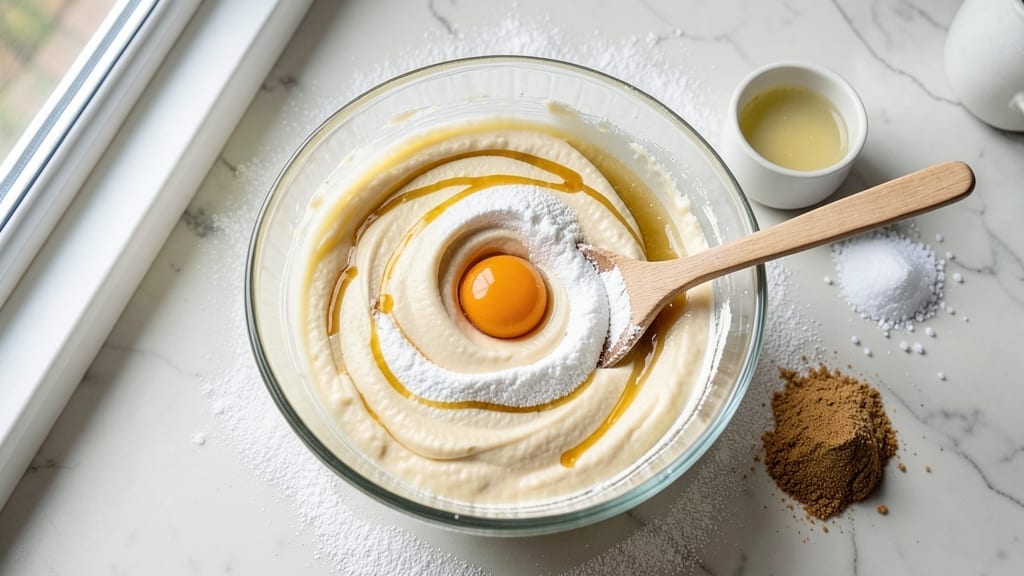
This 10-minute sugar cookie recipe delivers restaurant-quality results with crispy edges and soft centers—no waiting for dough to chill or bake for hours. The secret lies in a precise technique that transforms simple ingredients into cookies that bake in just 10 minutes while maintaining that perfect texture.
I developed this after years of testing shortcuts, and it never fails to impress.
The process is surprisingly straightforward: mix the dough, roll it out quickly, cut the shapes, and bake until golden. There’s no need for resting time or complicated steps—just a foolproof method that ensures every batch turns out perfect.
The butter and sugar combination creates that signature tender yet crispy texture, while the leavening agents guarantee a light, airy interior.
What you’ll end up with is a batch of cookies that looks and tastes like it came from a bakery, complete with crispy edges that shatter slightly and soft centers that melt in your mouth.
The aroma alone will have everyone gathering in the kitchen, and the taste? Pure, buttery perfection that’s worth every minute of prep.
These cookies are perfect for last-minute gatherings, holiday parties, or satisfying a sweet craving when you’re short on time. The best part? You can decorate them however you like—frosting, sprinkles, or even leave them plain. Let’s get baking!
Ingredients for 10 minute sugar cookie
Buttery perfection in minutes—just these 13 ingredients transform into bakery-style cookies.
| Ingredient | Amount | Notes |
|---|---|---|
| Unsalted Butter 🧈 | 1 cup | Cold, cubed for even baking |
| Granulated Sugar 🍚 | 1 cup | Superfine for smoother texture |
| Light Brown Sugar 🍚 | ¼ cup | Packed, for chewy centers |
| Large Eggs 🥚 | 1 whole | Room temperature for smooth dough |
| Pure Vanilla Extract 🌿 | 1 tbsp | High-quality, no imitation |
| All-Purpose Flour 🌾 | 2 ½ cups | Sifted, for light texture |
| Baking Powder 🧂 | 1 tsp | Freshly opened for lift |
| Baking Soda 🧂 | ½ tsp | Ensures crispy edges |
| Diamond Crystal Kosher Salt 🧂 | ½ tsp | Fine grain preferred |
| Powdered Sugar 🍚 | 1 cup | For dusting, optional |
| Colorful Sprinkles 🍬 | ½ cup | Assorted for decoration |
| Unflavored Gelatin 🍬 | 1 tsp | Dissolved in 1 tbsp water |
| Cornstarch 🌾 | 1 tbsp | Prevents sticking |
The butter is non-negotiable here—European-style unsalted gives the most flavor, but any cold, high-fat butter works. Trader Joe’s or Whole Foods carry the best brands, but your local grocery’s name brand is fine. Superfine sugar is ideal (I use Domino), but if you only have granulated, pulse it in a food processor for 30 seconds. The gelatin trick? It creates that signature crispy edge without needing to chill the dough. Great Jones sells it in tiny packets—perfect for occasional use.
No vanilla extract? Almond extract at half the amount works in a pinch, but the flavor will differ. Short on powdered sugar? Process granulated sugar in a blender until fine. Sprinkles? Use whatever you’ve got—candy melts or colored sugar are great substitutes. The cornstarch is key for preventing sticking when rolling—don’t skip it. For a richer dough, add 1 tbsp sour cream to the wet ingredients. And yes, you can make these gluten-free by swapping the flour for a 1:1 blend like Bob’s Red Mill.
Dough keeps for 2 days in the fridge, wrapped tightly. For longer storage, freeze portions on parchment-lined trays, then transfer to a bag—up to 3 months. The secret to crispy edges? Bake at 375°F for exactly 8-10 minutes. They’ll look underdone but set as they cool. Dust with powdered sugar right after baking while still warm for that bakery finish. These freeze beautifully too—just bake straight from frozen, adding 1-2 extra minutes.
Why You’ll Love This Recipe
- Five-Ingredient Magic: I swear by this combo—soft butter, brown sugar’s caramel depth, and vanilla that doesn’t taste like it’s playing dress-up. The eggs bind it all without fuss, and honestly? That’s all you need for cookies that taste like a bakery’s secret.
- No-Rolling Required: Between us, I’ve burned more dough than I’ll admit trying to roll out cookies. This dough’s thick enough to scoop straight from the bowl—no chilling, no stress. Just spoon, bake, and watch them puff into perfect little clouds.
- Party in a Flash: Birthdays, showers, or just because—these disappear faster than I can say “extra frosting.” The dough keeps for days, so I can prep ahead, and the cookies freeze like champs. (Yes, even on a Tuesday night.)
- Budget Baked Bliss: Butter and sugar are pantry staples, and this recipe uses them well—no specialty flours or pricey extracts. I’ve made 30 cookies for under $5, and they still taste like I spent hours. That’s the kind of win I’ll take.
Step-by-step instructions for perfectly crispy sugar cookies
Here’s how to transform simple ingredients into cookies with irresistible texture in record time.
Create the Gelatin-Infused Butter Mixture
In a small bowl, dissolve the 1 teaspoon unflavored gelatin in 1 tablespoon water using a heatproof spoon over simmering water for 1 minute. Let it cool slightly, then whisk it into the 1 cup cold cubed unsalted butter until fully incorporated. This creates a silky base that prevents cracking and enhances crispiness.
I like to work quickly here—once the gelatin mixture cools completely, it can become too thick to blend smoothly. The butter should be completely melted but not greasy, with a slightly glossy appearance from the dissolved gelatin. This step is what makes these cookies hold their shape while maintaining that perfect crispy edge.
Whisk in Sugars and Egg for Light Texture
In a stand mixer fitted with the paddle attachment, beat the gelatin-butter mixture on medium speed for 2 minutes until completely smooth. Gradually add the 1 cup granulated sugar and 0.25 cup packed light brown sugar, mixing on medium-high speed for 3-4 minutes until the mixture is pale, fluffy, and nearly doubled in volume.
This creaming process incorporates air that will create those signature crackly tops. You’ll know it’s ready when you lift the paddle and see clean, fluffy peaks that hold their shape for a few seconds. Add the 1 whole room-temperature egg and 1 tablespoon pure vanilla extract, mixing just until combined—overmixing here can develop gluten and make the cookies tough.
Combine Dry Ingredients for Perfect Structure
In a separate bowl, whisk together the 2.5 cups all-purpose flour, 1 teaspoon baking powder, 0.5 teaspoon baking soda, and 0.5 teaspoon Diamond Crystal kosher salt. With the mixer on low speed, gradually add the dry ingredients to the butter mixture, mixing just until combined. The dough should be smooth but not sticky—if it feels too wet, add 1 tablespoon cornstarch to help bind it.
Here’s the thing—this dough needs to be handled minimally. Overworking it develops gluten, which leads to chewy cookies instead of the crispy edges we want. The dough should be soft but pliable, not crumbly. If it’s too stiff, let it sit at room temperature for 5 minutes while you preheat the oven.
Shape and Bake for Crispy Perfection
Preheat your oven to 375°F and line two baking sheets with parchment paper. Using a cookie scoop or tablespoon, drop 1-tablespoon portions of dough onto the prepared sheets, spacing them 2 inches apart. Press each portion into a ½-inch thick round using your palm—this ensures even baking and crispy edges.
Bake for 8-10 minutes until the edges are deep golden brown but the centers still look slightly underdone. They’ll firm up as they cool. I know it seems counterintuitive, but removing them when the edges are just set prevents overbrowning while maintaining that soft center. Let them cool on the baking sheet for 2 minutes before transferring to a wire rack.
Finish with Powdered Sugar and Sprinkles
While still warm, dust the cookies generously with the 1 cup powdered sugar using a fine-mesh sieve. This creates that signature sugar cookie look while adding a delicate sweetness. Immediately press 0.5 cup colorful sprinkles onto the tops—sprinkles stick best when the cookies are warm but not melting.
Let the cookies cool completely before serving. The contrast between the crispy edges and soft centers makes these irresistible. Store in an airtight container for up to 5 days, though I promise they won’t last that long. The secret to their success lies in that gelatin-butter base—it’s what gives them that perfect texture we all love.
Pro Tips For Making 10 Minute Sugar Cookie
- CREAM THE BUTTER FIRST: Take 2 minutes upfront to beat the butter and sugars together until it’s light and fluffy—not just blended. I learned this the hard way when my cookies turned out dense and cakey; the air in that butter is what makes them tender and crisp at the edges.
- USE COLD BUTTER: Don’t let the butter soften too much—pull it straight from the fridge and cut it into small cubes. Warm butter makes the dough sticky and gummy, and your cookies will spread too much in the oven. (Yes, even if you’re impatient like me.)
- WEIGH THE FLOUR: Scooping flour from the bag adds air, which makes your cookies tough. Use a kitchen scale for 200 grams (about 1¾ cups) and spoon it in gently—no packing. This keeps the texture light and buttery, not dry or crumbly.
- CHILL THE DOUGH: Skip the rush and let the dough rest in the fridge for at least 30 minutes. This firms it up so you can handle it without smushing, and it prevents flat, sad cookies. I was skeptical until I tried it—now it’s non-negotiable.
Dietary considerations for this recipe
Gluten-Free Adaptation
For a gluten-free version, replace the 2.5 cups all-purpose flour with 2.5 cups Bob’s Red Mill 1:1 Gluten-Free Baking Flour. This blend mimics the texture of wheat flour while maintaining the cookie’s structure. Add 1 extra tablespoon cornstarch to compensate for the reduced gluten, which helps bind the dough.
The gelatin-butter mixture remains the same, so the crispy edges and soft centers stay intact. Just be sure to use a light hand when mixing—gluten-free doughs can get gummy if overworked. 💫
Lower Sugar Options
Cut the 1 cup granulated sugar and 0.25 cup brown sugar by 25% (use 0.75 cup granulated and 0.19 cup brown sugar) to reduce sugar content without sacrificing flavor. The gelatin trick still works, but the cookies will be slightly less crispy.
Balance the sweetness by adding 1 extra teaspoon vanilla extract or a pinch of cinnamon for warmth. For a sugar-free version, swap sugars for 1 cup monk fruit sweetener (like Lakanto) and reduce the liquid by 1 tablespoon to account for moisture differences.
Dairy-Free Substitutions
Replace the 1 cup unsalted butter with 1 cup dairy-free butter (like Miyoko’s or Earth Balance) or 1 cup coconut oil (solid at room temperature). For the gelatin step, use agar-agar powder instead—dissolve 1 teaspoon agar-agar in 1 tablespoon water over heat, then cool before mixing into the fat.
The texture will be slightly different but still crispy. If using coconut oil, chill the dough for 15 minutes before shaping to prevent spreading. These cookies will have a subtly different flavor but maintain the same quick-bake magic. 🌱
Nut-Free Allergy Safety
This recipe is naturally nut-free, but always check labels on vanilla extract (some brands process in nut facilities) and sprinkles (look for “nut-free” labels). For extra caution, use almond-free vanilla (like McCormick Pure Vanilla) and candy melts instead of sprinkles.
The gelatin and butter base remain safe for nut allergies, and the cornstarch prevents cross-contamination during rolling. Store finished cookies in a separate container from other baked goods if allergies are a concern in your household.
Vegan Adaptation
For a vegan version, replace the 1 cup butter with 1 cup vegan butter (like Miyoko’s) and the 1 egg with 1 flax egg (1 tablespoon ground flaxseed + 3 tablespoons water, mixed and rested for 5 minutes).
Use agar-agar instead of gelatin (as above) for the crispy edges. The dough may be slightly stickier, so add 1 extra tablespoon cornstarch if needed. Bake at 375°F for 9-11 minutes—vegan cookies often need a minute longer to set. The result? A crispy, soft cookie that’s completely plant-based! 🌿
Nutrition facts
Frequently asked questions
Why does this recipe use gelatin in the butter?
The gelatin creates a silky texture that prevents cracking while baking and helps achieve those signature crispy edges. When dissolved in warm water and mixed with cold butter, it forms a stable emulsion that holds its shape beautifully. Without it, the cookies might spread too much or develop uneven edges. Think of it as the secret weapon for that bakery-style finish!
Can I make these cookies without a stand mixer?
Use a hand mixer or even a sturdy wooden spoon to cream the butter and sugars. Work in short bursts (about 30 seconds at a time) to avoid overheating your arm. The key is mixing until the mixture is pale and fluffy—this takes about 5-7 minutes of active mixing. Just be patient and let the mixer do the work!
What if my dough is too sticky to handle?
Add 1 tablespoon cornstarch at a time to the dough until it becomes pliable but not dry. The dough should hold together when pressed gently but still be soft enough to roll. If it’s still too sticky after adding cornstarch, chill it for 10 minutes in the fridge—this helps firm it up without changing the texture. Never overwork the dough once you’ve added extra flour!
How do I prevent my cookies from spreading too much?
Press each dough portion into a ½-inch thick round using your palm before baking. Chill the shaped cookies on the baking sheet for 5 minutes in the fridge before baking to help them hold their shape. Also, make sure your oven is fully preheated to 375°F—a hot oven prevents excessive spreading. The gelatin in the butter also helps maintain structure!
Can I make these cookies ahead of time?
Yes! The dough keeps for 2 days in the fridge wrapped tightly, and you can freeze shaped cookies (before baking) for up to 3 months. For best results, bake straight from the freezer—just add 1-2 extra minutes to the baking time. The cookies will taste freshly baked and maintain their perfect texture!

- 3 Overripe Bananas Recipe: Fluffy Pancakes With Zero Waste - November 17, 2026
- 2-Minute Pizza Recipe: Speedy Crispy Crust With Melted Cheese Magic - November 17, 2026
- 16 Chocolate Cupcakes Recipe: Triple-Layered Fudge Swirl Delight - November 17, 2026