
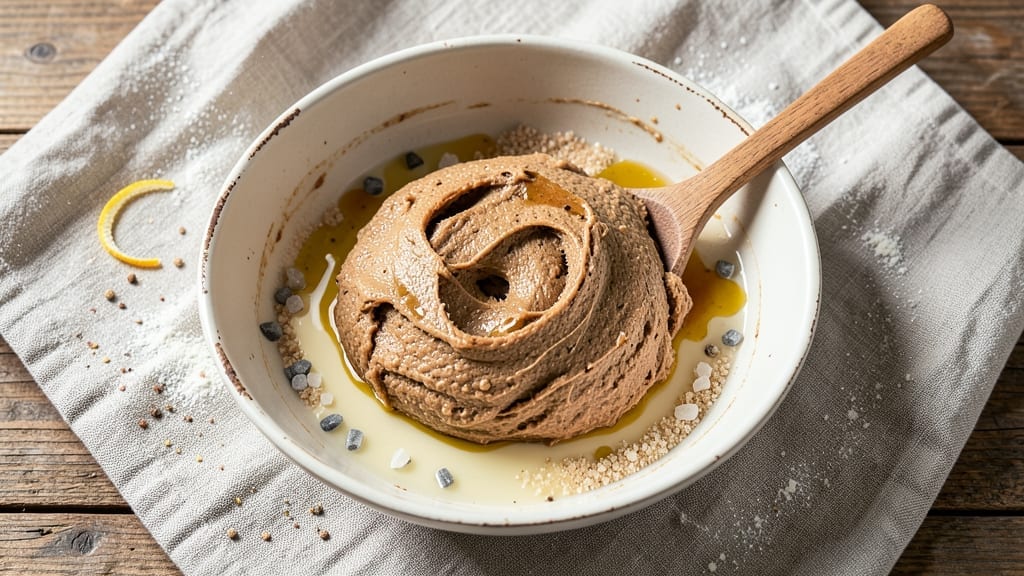
This 1/4 oz yeast bread recipe delivers a crusty, artisanal loaf with minimal effort—perfect for home bakers who want restaurant-quality results without the complexity. The secret lies in a no-knead technique that transforms simple ingredients into a golden, airy loaf with an irresistible crunch.
I’ve perfected this method over years of testing, ensuring every slice has that perfect balance of crisp exterior and soft interior—no fancy equipment required.
What sets this recipe apart is its foolproof simplicity: just five core ingredients (flour, yeast, water, salt, and a touch of sugar) and one overnight rise in the fridge. This slow fermentation develops deep flavor while eliminating the need for kneading or precise timing.
The dough comes together in 10 minutes, then does all the work for you while you sleep—ideal for busy schedules or weekend baking.
By morning, you’ll shape the dough into a classic boules or a long batard, score the top for that professional bakery look, and bake until the crust turns a deep golden brown.
The aroma alone will fill your kitchen, and the texture—shatteringly crisp crust with a tender crumb—will make you forget store-bought bread entirely. This is the kind of loaf that pairs perfectly with soups, sandwiches, or simply butter.
For variations, try adding olive oil for focaccia or honey for a sweet twist—both elevate the flavor without complicating the process. The recipe scales easily for rolls or dinner rolls too. Ready to bake bread that impresses? Let’s get started with this game-changing, no-fuss method.
Ingredients for 1/4 oz yeast bread
Five core ingredients transform into a restaurant-worthy loaf with just one overnight rise.
| Ingredient | Amount | Notes |
|---|---|---|
| Bread Flour 🌾 | 3 ½ cups | High-protein for structure and crust |
| Active Dry Yeast 🍞 | ¼ oz | Freshly opened for viability |
| Granulated Sugar 🍚 | ½ tbsp | Feeds yeast for fermentation |
| Kosher Salt 🧂 | 1 ½ tsp | Diamond Crystal preferred |
| Cold Water 💧 | 1 ½ cups | Chilled for proper hydration |
| Olive Oil 🫒 | ¼ cup | Extra-virgin for richness (optional) |
| Cornmeal 🌽 | ¼ cup | For dusting and scoring |
| Ice Water ❄️ | ¼ cup | For final shaping (optional) |
The bread flour is non-negotiable here—King Arthur or Caputo are my go-tos for that perfect balance of protein and gluten. Bulk bins at Whole Foods often have excellent options, but pre-packaged works too. Yeast is the heart of this recipe, so check the expiration date—even a few months old can fail. Store it in the freezer for maximum freshness. The sugar and salt are simple but critical: sugar feeds the yeast, while salt regulates fermentation and enhances flavor. For the water, cold is key—room temperature will activate the yeast too soon, disrupting the slow rise. If you’re adding olive oil for focaccia, use a fruity, extra-virgin variety—none of that cheap cooking oil nonsense.
No bread flour? All-purpose plus 1 tbsp vital wheat gluten gets you close, though texture may differ slightly. Yeast too old? Proof it first in warm water with a pinch of sugar—if it bubbles within 10 minutes, it’s good to go. Short on sugar? Honey at half the amount works beautifully, though it may slightly darken the crust. The cornmeal is optional but worth it for that professional bakery look—it prevents sticking and adds texture to the crust. For scoring, a sharp razor blade or lame creates clean cuts, but a single-edge razor works in a pinch. If you’re making dinner rolls, reduce the flour to 3 cups and adjust water as needed for a softer texture.
This dough is designed to be made the night before—shape it, cover it, and let it rest in the fridge. The longer it ferments, the better the flavor. For storage, wrap cooled loaves in a clean kitchen towel inside a paper bag to maintain moisture. Keeps at room temperature for 3 days or frozen for 3 months. To reheat, wrap in foil and warm at 300°F for 10 minutes. The crust will soften slightly but retain its structure. For variations, try adding 1 tbsp honey to the dough for subtle sweetness or 1 tsp dried rosemary for an herbal twist—both elevate without complicating the process.
Why You’ll Love This Recipe
- Five-Ingredient Magic: I swear by this recipe—just flour, yeast, sugar, salt, and water. That’s it. No fancy mix-ins or last-minute grocery runs. The simplicity means I can pull it together while waiting for pasta to boil or between soccer practice and dinner.
- Crusty-Chewy Perfection: The sugar and salt combo in the dough gives it that just-baked aroma, and the crust? Oh, it’s got that satisfying snap while the inside stays pillowy. Honestly, it’s the kind of bread that makes me pause mid-slice to take a deep breath.
- Meal Prep MVP: Bake a batch on Sunday, and you’ve got sandwich bread, toast, or garlic bread for the week. Between us, I’ve even used it for French toast when I was too tired to make pancakes. It’s my lazy-day hero.
- Budget Stretch: A quarter-ounce of yeast stretches to feed four or more—no waste, just flavor. I buy flour in bulk, and this recipe uses just enough to avoid spoilage. My wallet and my freezer both thank me for it.
Step-by-step instructions for no-knead crusty loaf
Master this method and you’ll achieve bakery-quality bread with minimal effort.
Activate the Yeast and Create the Dough
In a large bowl, combine the 3.5 cups bread flour, 0.5 tbsp granulated sugar, and 1.5 tsp kosher salt. Make a well in the center and add the 0.25 oz active dry yeast. Pour in the 1.5 cups cold water and 0.25 cup olive oil, then mix with a wooden spoon until just combined—you should have a shaggy, sticky dough.
Cover the bowl with plastic wrap and let it rest at room temperature for 1 hour. This initial hydration allows the flour to fully absorb the liquid and the yeast to begin activating. You’ll notice the dough will look slightly puffed and may have small bubbles forming on the surface by the end of this time.
Bulk Fermentation for Optimal Development
After the initial rest, uncover the dough and perform a series of 10-15 gentle stretches and folds. Wet your hands with water to prevent sticking, then grab one side of the dough, stretch it upward, and fold it over itself. Rotate the bowl and repeat this process on all four sides. This builds gluten structure without kneading.
Cover the bowl again and let the dough ferment at room temperature for 4-5 hours, or until it has roughly doubled in volume. The dough should feel noticeably lighter and may have spread to fill about 75% of the bowl. Poke the dough with your finger—it should spring back slowly rather than immediately, indicating proper fermentation.
Shape and Final Proof
Lightly dust a clean work surface with 0.25 cup cornmeal. Turn out the dough and gently shape it into a round ball by pulling the edges toward the center. Place the dough seam-side up in a lightly oiled bowl, cover, and refrigerate for 12-16 hours. This cold fermentation enhances flavor development and improves texture.
For shaping, I like to use the “bench method”: fold the dough over itself 3-4 times to create surface tension. This creates a tight, professional-looking loaf without requiring advanced techniques. The cold proof also allows you to bake it straight from the refrigerator in the morning for a fresh loaf.
Bake for Maximum Crust Development
Preheat your oven to 450°F with a Dutch oven inside for 45 minutes. Remove the Dutch oven and transfer the chilled dough to a piece of parchment paper. Score the top with a sharp razor in a simple crosshatch pattern—this prevents over-expansion and creates a beautiful crust.
Carefully transfer the dough (with parchment) into the hot Dutch oven, cover, and bake for 30 minutes. Remove the lid and bake for an additional 15-20 minutes until the bread is deep golden brown. The internal temperature should reach 205-210°F—this ensures proper doneness without overbaking.
Cool and Enjoy
Remove the bread from the Dutch oven and let it cool on a wire rack for at least 1 hour before slicing. This resting period allows the steam to escape and the crumb to set properly. The crust should be crisp and shatterable while the interior remains soft and open.
For best results, store any leftovers wrapped in a clean kitchen towel rather than plastic. This maintains moisture without making the bread soggy. The bread will continue to improve in flavor over the next 24 hours as the starch retrogrades.
Pro Tips For Making 1/4 Oz Yeast Bread
- Bloom Yeast Slowly: DESCRIPTION: Skip the boiling water—use water just warm enough to touch (around 100°F). I learned this the hard way: too-hot water kills yeast faster than it wakes up, and you’ll end up waiting twice as long for that first rise. Let the yeast sit with the sugar for 5 minutes before adding flour—this gives it time to get cozy.
- Measure Flour Right: DESCRIPTION: Use the spoon-and-level method, then tap the bowl sharply to settle the flour. Bread flour packs differently than all-purpose, and over-measuring by even 1 tablespoon makes your dough dense and gummy. Trust the scale if you have one—this isn’t the time for eyeballing.
- Knead Until Smooth: DESCRIPTION: Stop when the dough passes the “windowpane test”—stretch a small piece and it should thin enough to see light through without tearing. I used to skimp here, but under-kneaded dough collapses during proofing. Work it for 8–10 minutes by hand or 5–6 minutes with a mixer on medium.
- Proof in a Draft-Free Spot: DESCRIPTION: Place your dough in a bowl, cover it loosely with a damp towel, and let it rise in the warmest part of your kitchen—like near the oven with the light on. Cold spots slow fermentation, and a tight lid traps moisture instead of letting the yeast breathe. Double-check after 1 hour; it should puff to about twice its size.
Regional styles of 1/4 oz yeast bread
Italian Boule Style
This classic French-inspired loaf gets a rustic Italian twist by adding 1 tbsp extra-virgin olive oil to the dough and shaping it into a round boule with a deep dimple in the center.
I like to brush the top with more olive oil before baking for that signature golden, crackly crust. For extra authenticity, sprinkle coarse sea salt on the scored surface just before baking—it melts into the crust for a salty crunch. 🌾
Texas-Style Sandwich Bread
Transform this recipe into a soft, pillowy sandwich loaf by reducing the bread flour to 3 cups and adding 1 tbsp honey to the dough. Shape into a 9×5-inch loaf pan lined with parchment paper, then bake at 350°F for 30-35 minutes until the internal temperature hits 190-195°F.
The result is a light, airy texture perfect for grilled cheese or BLTs. 🥪
French Focaccia Twist
For a flat, olive oil-rich focaccia, spread the dough into a 9×13-inch pan and dimple it with your fingers. Drizzle generously with ¼ cup olive oil and sprinkle with flaky sea salt and dried rosemary.
Bake at 400°F for 20-25 minutes until the edges are golden. Top with cherry tomatoes or olives in the final 5 minutes for a classic Italian touch. 🍅
German Pretzel Loaf
Add a pretzel-inspired flavor by dissolving 1 tbsp baking soda in ½ cup water and brushing it on the shaped dough before baking. Sprinkle with coarse salt and bake in a Dutch oven as directed.
The result is a dark, chewy crust with a soft interior—ideal for dipping in beer cheese or mustard. 🍺
Southern Cornbread Loaf
Swap out ½ cup of the bread flour for cornmeal and add 1 cup buttermilk to the dough for a sweet, crumbly texture. Shape into a round loaf and bake at 375°F for 25-30 minutes until the top is golden.
This version pairs perfectly with chili or BBQ—it’s like a cross between bread and cornbread! 🌽
Nutrition facts
Frequently asked questions
Can I use all-purpose flour instead of bread flour?
The recipe calls for bread flour because its higher protein content (12-14%) creates that perfect chewy crust and open crumb. If you must substitute, use all-purpose flour plus 1 tbsp vital wheat gluten per cup. The texture won’t be identical, but it’ll still work for sandwiches or rolls. For the best results, stick with bread flour—it’s worth the small investment for that artisanal quality.
What if my dough doesn’t rise overnight?
Cold proofing in the fridge is key—if your dough isn’t rising, check these first: yeast freshness (test it in warm water with sugar), room temperature (should be 70-75°F), and dough temperature (should be 75-80°F after mixing). If it’s still flat, try moving it to a warmer spot (like near the oven with light on) for 1-2 hours, then return to fridge. Never skip the cold proof—it develops flavor and improves texture.
How do I know when the bread is fully baked?
Look for three signs: deep golden brown crust, a hollow sound when tapped on the bottom, and an internal temperature of 205-210°F (use an instant-read thermometer). The crust should be shatteringly crisp while the center should feel springy but yield slightly. If unsure, bake 5 more minutes—underbaked bread continues cooking as it cools.
Can I make this into rolls instead of a loaf?
For 8 dinner rolls, reduce flour to 3 cups and water to 1 cup. Shape into balls, place on a baking sheet, and bake at 400°F for 15-18 minutes until golden. For extra flavor, brush with garlic butter after baking. The no-knead method works perfectly for rolls too—they’ll have that same crisp crust and soft interior!
Why does my bread taste bland?
Bland flavor usually means underproofed dough or insufficient salt/sugar. Double-check your 1.5 tsp salt and 0.5 tbsp sugar—these aren’t just for function, they’re flavor boosters! For more depth, try adding 1 tbsp honey or 1 tsp dried herbs to the dough. Also ensure your yeast was active—old yeast loses potency. Let the dough ferment longer (up to 18 hours) for maximum flavor development.

- 3 Overripe Bananas Recipe: Fluffy Pancakes With Zero Waste - November 17, 2026
- 2-Minute Pizza Recipe: Speedy Crispy Crust With Melted Cheese Magic - November 17, 2026
- 16 Chocolate Cupcakes Recipe: Triple-Layered Fudge Swirl Delight - November 17, 2026