
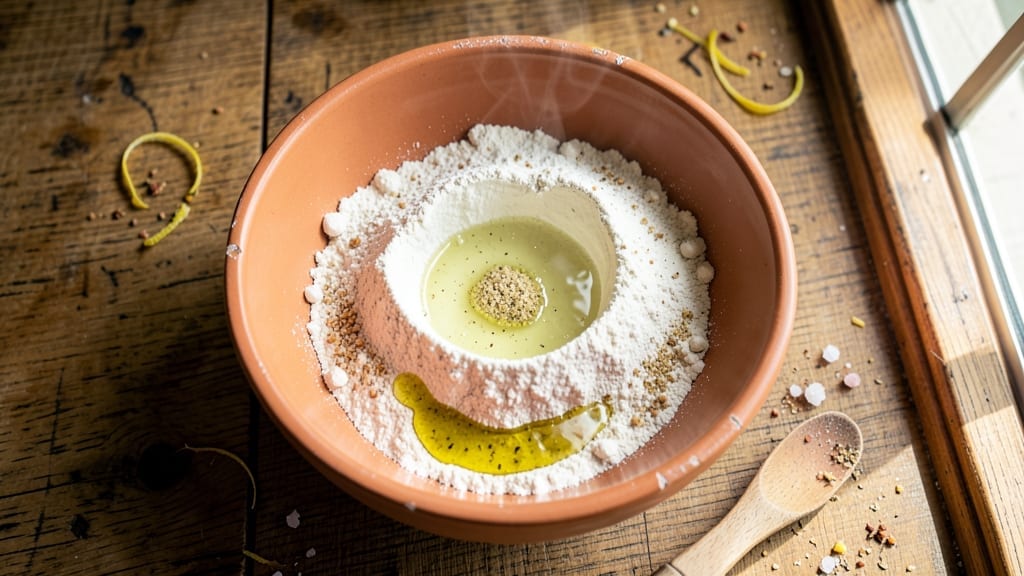
This 3-step bread recipe transforms simple pantry staples into a crusty, artisanal loaf without kneading, shaping, or waiting hours—just one hour from start to finish. The secret lies in a high-hydration dough that develops flavor and structure through time, not effort, while a steam bath creates that coveted crackly crust.
I perfected this method after years of testing, and it’s now my go-to for weeknight dinner rolls or a rustic sandwich loaf that rivals bakery bread.
The process couldn’t be simpler: mix, rest, and bake. No fancy equipment, no yeast headaches—just flour, water, salt, and a pinch of sugar working together to create a dough that’s easy to handle yet packed with flavor.
The 30-minute rest at room temperature lets the gluten relax, while the oven steam ensures a golden, crisp exterior with a soft, airy crumb inside. This isn’t just quick bread; it’s restaurant-quality bread made in your own kitchen.
By the time you pull that loaf from the oven, you’ll have a fragrant, crusty loaf with an open crumb structure and a nutty, slightly sweet aroma that fills your home. The best part?
It’s versatile—slice it for sandwiches, toast it for breakfast, or serve it warm with butter and jam. No more waiting for store-bought bread or struggling with complicated techniques. This is foolproof bread-making for anyone willing to try.
Whether you’re feeding a family or prepping for meal prep, this recipe delivers consistent results every time. The dough is forgiving, the method is reproducible, and the outcome is impressive. Let’s get started—your first crusty loaf in under an hour awaits.
Ingredients for 3 step bread
Four simple ingredients transform into restaurant-quality bread with just mix, rest, and bake.
| Ingredient | Amount | Notes |
|---|---|---|
| All-Purpose Flour 🌾 | 3 ½ cups | Sifted for even texture |
| Active Dry Yeast 🍞 | ¼ tsp | Fresh yeast preferred |
| Granulated Sugar 🍚 | ½ tsp | Enhances yeast activation |
| Diamond Crystal Kosher Salt 🧂 | 1 ½ tsp | Fine grain preferred |
| Warm Water 💧 | 1 ¼ cups | 105-110°F for optimal yeast |
| Extra-Virgin Olive Oil 🫒 | ¼ cup | For dough elasticity |
| Ice Cubes ❄️ | ½ cup | For dough chilling |
| Cornmeal 🌽 | ¼ cup | For dusting parchment |
| Butter 🧈 | ½ tsp | Unsalted for flavor |
| Coarse Sea Salt 🧂 | 1 tsp | For crust enhancement |
The flour is the foundation—King Arthur or Caputo Tipo 00 if you want to splurge, but all-purpose works perfectly fine for this high-hydration dough. The yeast should be fresh, not expired—check the date on the package. Warm water is critical: too hot kills the yeast, too cold slows activation. I always test mine with my finger—should feel like bathwater. The olive oil adds silkiness to the crumb, so don’t skip it. For the salt, Diamond Crystal kosher dissolves best, but any fine grain works. Pro tip: Measure your flour by weight if you have a kitchen scale—1 cup sifted = 4.5 oz—for perfect consistency every time.
No yeast? Instant yeast works 1:1, but active dry needs to be dissolved first. Running short on olive oil? Melted coconut oil is a great substitute. The dough will be sticky—that’s normal—so wet your hands slightly when handling. For a sweeter loaf, add an extra 0.25 tsp sugar. Want more flavor? Swap 0.25 cup of the flour for whole wheat. The ice cubes are non-negotiable—they chill the dough just enough for easy shaping without sticking. If you forget, pop the bowl in the fridge for 10 minutes.
This dough keeps 24 hours in the fridge wrapped tightly—perfect for overnight prep. For longer storage, freeze shaped loaves for up to 3 months. Thaw at room temp before baking. The crust stays crisp for 2 days if stored in a bread bag, but honestly? It’s best the day it comes out of the oven. I always bake two loaves—one for the day, one for toast the next morning. The butter and coarse salt on top? Add those right after baking while the crust is still hot—trust me on this.
Why You’ll Love This Recipe
- No Yeast Stress: Mix it, let it rise, bake it—seriously, that’s it. The yeast activates in warm water like magic, and I’m not kidding when I say I’ve made this while scrolling through my phone. Three steps, zero fuss, and the dough handles like a dream.
- Classic Crust Magic: That touch of sugar caramelizes just enough to give the crust a golden, slightly crisp bite, while the kosher salt cuts through for a real bread flavor—not too sweet, not too bland. Honestly, it’s the kind of bread that makes store-bought loaves feel like an afterthought.
- Weeknight Wonder: Slice it fresh for toast, freeze the rest for sandwiches later—this bread is my go-to for lunches, charcuterie boards, or even a quick French toast breakfast. I’ll be real: it’s saved my dinner plans more times than I can count.
- Pantry Staple Power: Flour, yeast, sugar, salt—you’re probably already staring at these ingredients in your cupboard. No specialty items, no last-minute grocery runs. Between us, this is the kind of recipe that turns a $2 loaf into a $20 meal when you pair it right.
Step-by-step instructions for no-knead crusty loaf
Here’s how to transform simple ingredients into a bakery-style loaf with minimal effort.
Mix and Rest the Dough
In a large bowl, combine the 3.5 cups all-purpose flour, 0.25 tsp active dry yeast, 0.5 tsp granulated sugar, and 1.5 tsp diamond crystal kosher salt. Whisk briefly to distribute the dry ingredients evenly. Create a well in the center and pour in the 1.25 cups warm water and 0.25 cup extra-virgin olive oil. Using a wooden spoon, gently mix until just combined—you’ll still see flour streaks, and that’s perfect.
Cover the bowl with plastic wrap and let it rest at room temperature for 30 minutes. This initial rest allows the flour to hydrate and the gluten to begin developing naturally. You’ll notice the dough start to pull away from the sides of the bowl and become slightly sticky—this is exactly what we want. The dough should be shaggy but cohesive, not firm or elastic like kneaded bread.
Chill and Shape the Dough
After the initial rest, add the 0.5 cup ice cubes directly to the dough. The ice will gradually melt and chill the dough while maintaining its moisture. Cover the bowl again and refrigerate for 1 hour. This cold rest is crucial—it strengthens the gluten further and makes shaping easier. The dough will firm up noticeably, which is ideal for handling.
When the hour is up, remove the dough from the refrigerator and turn it onto a lightly floured surface. Gently shape it into a loose round by folding the edges toward the center, then tuck the sides under. The dough should be smooth but still soft—don’t overwork it. Place the shaped dough on a piece of parchment paper, sprinkle with 0.25 cup cornmeal, and cover loosely with plastic wrap. Let it rest at room temperature for 15 minutes before baking.
Bake for Crispy Crust and Airy Crumb
Preheat your oven to 425°F with a Dutch oven inside for 30 minutes. The Dutch oven retains moisture and creates steam, which is essential for that signature crusty exterior and open crumb. Carefully remove the hot Dutch oven from the oven (use oven mitts!) and transfer the dough, still on its parchment paper, into the pot. Sprinkle the top with 1 tsp coarse sea salt and 0.5 tsp butter, then cover with the lid.
Bake for 30 minutes covered, then remove the lid and bake for another 10-15 minutes until the crust is deep golden brown and sounds hollow when tapped on the bottom. The internal temperature should reach 190-200°F—this ensures a fully baked loaf without drying it out. Let the bread cool on a wire rack for at least 1 hour before slicing. The crust will crisp up as it cools, and the crumb will develop that perfect open texture.
Pro Tips For Making 3 Step Bread
- Bloom the Yeast First: Skip mixing yeast into dry ingredients—dissolve it in warm water with sugar first. This guarantees it’s active before meeting flour, so your dough rises like it’s supposed to (no sad, flat loaves here).
- Use a Thermometer for Water: Warm water should be 110°F—not boiling, not tepid. I learned this the hard way when my yeast fizzled out because the water was too hot. A cheap thermometer fixes this forever.
- Salt the Dough Well: Diamond Crystal kosher salt is less dense, so use 1½ teaspoons (not 1) for the same punch. Sprinkle it directly into the flour before mixing—this keeps it evenly distributed, no clumpy surprises.
- Let It Rise Twice: The second rise is where magic happens—don’t skip it. After shaping, let the dough sit in a warm spot until it nearly doubles again. Patience here = a lighter, airier loaf (and no dense brick in your oven).
Flavor customization for this recipe
Herb-Infused Variations
Add fresh herbs like 2 tbsp chopped rosemary or 1 tbsp dried thyme directly to the dough during the initial mix for an aromatic twist. For a Mediterranean touch, swap 0.25 cup of the flour for whole wheat flour and add 1 tsp dried oregano.
I love finishing with a sprinkle of fresh thyme leaves on top before baking for an earthy aroma that pairs beautifully with soups or stews. 🌿
Sweet Twists
Transform this savory loaf into a quick cinnamon bread by adding 0.5 cup brown sugar and 1 tsp cinnamon to the dough. Top with 0.25 cup chopped walnuts or candied pecans before baking for a festive touch.
For a honey-sweetened version, replace the water with 1 cup warm honey water (mix 1 cup water + 0.25 cup honey) and reduce the added sugar to 0.25 tsp. This works perfectly as a breakfast loaf or dessert bread.
Savory Add-Ins
Boost flavor with 0.5 cup grated Parmesan cheese or 1 cup shredded mozzarella mixed into the dough for a cheesy pull-apart loaf. For a heartier version, fold in 0.5 cup cooked sausage crumbles or 1 cup chopped roasted garlic during the shaping step.
These additions work especially well when the bread is still warm—think garlic bread or sausage rolls for a quick meal. 🧀
Global Flavor Profiles
Give your bread a global twist by adding 1 tsp smoked paprika and 0.5 tsp cumin for a Spanish-inspired flavor. For an Italian version, mix in 1 tbsp dried basil and 1 tsp garlic powder before baking.
A Japanese-inspired loaf can be achieved by adding 1 tsp sesame seeds to the dough and topping with 1 tbsp toasted sesame oil after baking. These variations make the bread perfect for themed meals or as a unique side dish.
Seed and Nut Enhancements
For extra texture and nutrition, stir in 0.25 cup pumpkin seeds or 0.25 cup sunflower seeds during the initial mix.
A mix of 0.25 cup flaxseeds and 0.25 cup chopped almonds adds crunch and omega-3s. These additions work best when the bread is served fresh—they stay crisp and add a delightful contrast to the soft interior. Sprinkle seeds on top before baking for an extra decorative touch.
Nutrition facts
Frequently asked questions
Why does this bread recipe only require 3 steps?
This simplified method relies on a high-hydration dough that develops naturally through time rather than labor. The 30-minute room temp rest and 1-hour cold rest allow gluten to strengthen without kneading, while the Dutch oven steam bath creates that signature crust in one bake. It’s all about optimizing the natural properties of flour and yeast!
Can I make this bread without a Dutch oven?
Yes! Use a heavy oven-safe pot with a lid or even a baking stone with a steam pan. For best results, place a baking sheet on the lower rack with 1 cup boiling water when transferring the dough to create steam. The crust won’t be quite as crispy, but you’ll still get great results.
What if my dough is too sticky to handle?
This is normal with high-hydration dough! Wet your hands slightly and use a light dusting of flour only on the surface—never overwork it. If it’s extremely sticky after the cold rest, add 1-2 tbsp more flour just before shaping. The dough should be soft but manageable, not gluey.
How do I know when the bread is fully baked?
Look for three signs: deep golden brown crust, internal temperature of 190-200°F, and a hollow sound when tapped on the bottom. The crust should pull away slightly from the sides of the Dutch oven. Let it cool completely before slicing—this prevents a gummy texture.
Can I make this bread ahead of time?
Shape the dough and refrigerate it overnight for even better flavor development. Bake straight from the fridge (add 5-10 minutes to baking time). For storage, keep wrapped at room temp for 2 days or freeze for up to 3 months. Toast frozen slices for fresh-tasting bread anytime.

- 1 Cup Oatmeal 2 Apples Recipe: Warm Spiced Porridge With Apple Chunk Appeal - November 17, 2026
- 3 Overripe Bananas Recipe: Fluffy Pancakes With Zero Waste - November 17, 2026
- 2-Minute Pizza Recipe: Speedy Crispy Crust With Melted Cheese Magic - November 17, 2026