
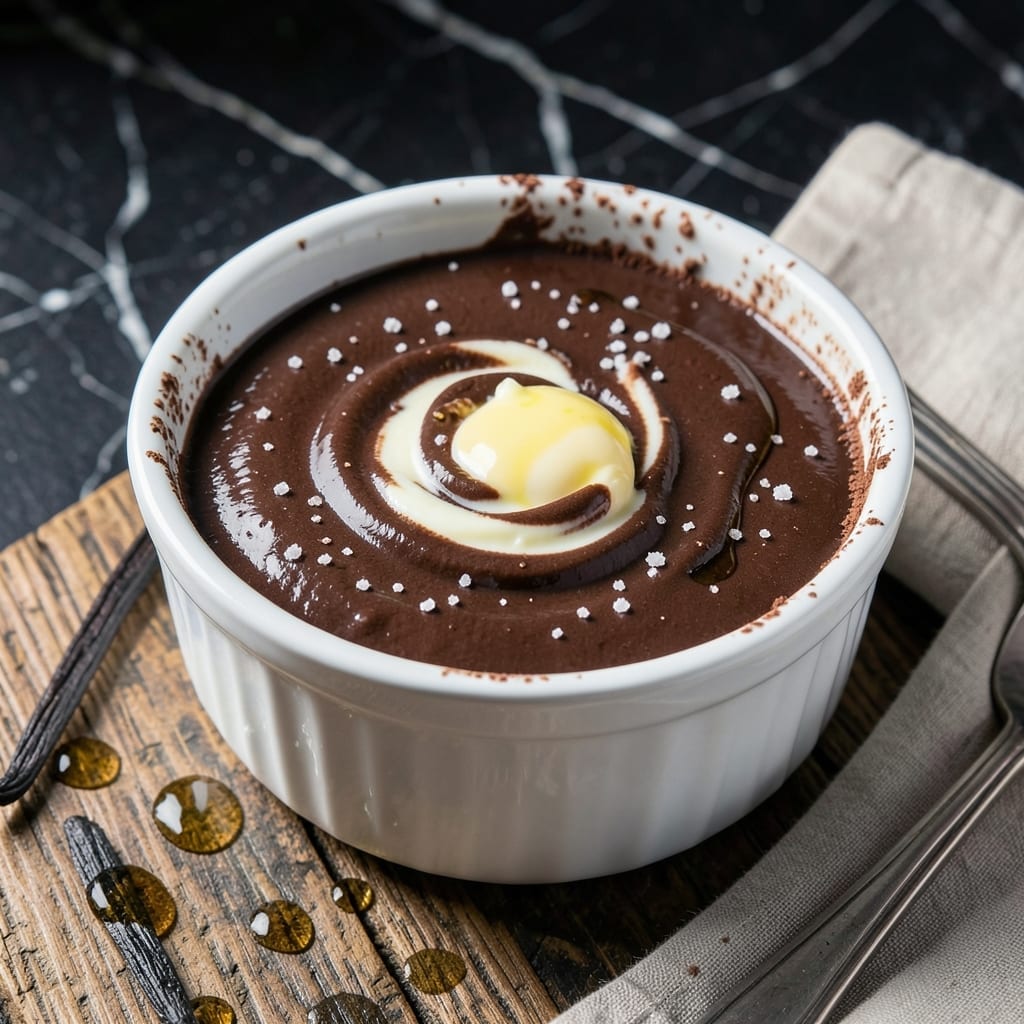
This rich, velvety chocolate syrup captures the classic Dairy Queen flavor you remember from childhood. I’ve perfected the balance of cocoa and sugar to create a thick, smooth topping that clings to every scoop of ice cream.
What makes this version special is its simplicity—just a handful of pantry staples and 10 minutes on the stove. The key is cooking it just long enough to reach the right consistency without becoming overly sweet or grainy.
You’ll end up with a glossy, pour-able sauce that hardens slightly when it hits cold ice cream, creating that signature fudge shell. It’s the ideal topping for sundaes, milkshakes, or even drizzled over brownies.
Store it in the fridge for up to two weeks, though it rarely lasts that long. Here’s how to make it at home.
Ingredients for Dairy Queen Cocoa Fudge
A handful of pantry staples transforms into that nostalgic chocolate magic you remember.
| Ingredient | Amount | Notes |
|---|---|---|
| Unsweetened Cocoa Powder 🍫 | ¾ cup | Dutch-process preferred for smoothness |
| Granulated Sugar 🍚 | 1 ½ cups | Fine white sugar works best |
| Water 💧 | ¾ cup | Filtered or tap is fine |
| Unsalted Butter 🧈 | ¼ cup | Cubed for even melting |
| Vanilla Extract 🌿 | 1 tsp | Pure extract for best flavor |
| Salt 🧂 | ¼ tsp | Enhances chocolate flavor |
| Light Corn Syrup 🥧 | ½ cup | Karo brand recommended |
| Heavy Cream 🥛 | ¼ cup | Full-fat for richness |
The cocoa is non-negotiable here—Hershey’s Special Dark or Ghirardelli Dutch-process give that deep, smooth flavor. Skip the natural cocoa; it won’t dissolve as nicely. Butter matters too (I use Land O’Lakes), but any unsalted kind works. Don’t sub margarine—it changes the texture. The corn syrup? Karo light is what I test with, but generic is fine if that’s what you’ve got.
No corn syrup? Honey or agave at a 1:1 ratio works, but it’ll be slightly thinner. Want it dairy-free? Swap the butter for coconut oil and cream for full-fat coconut milk. Out of vanilla? Almond extract at half the amount adds a nice depth. The salt might seem small, but it’s what balances all that sweetness—don’t skip it (worth the extra second).
This keeps in a jar in the fridge for 2 weeks—if it lasts that long. The butter may separate a bit when cold; just stir before using. For gifting, pour into cute bottles while warm. It’ll thicken as it cools, so don’t stress if it seems thin at first.
Why You’ll Love This Recipe
- Five Ingredients Only: I love that this fudge comes together with just cocoa powder, sugar, water, butter, and vanilla—no fancy shopping required.
- Deep Chocolate Fix: The unsweetened cocoa gives it that rich, old-school DQ flavor without being cloyingly sweet.
- Gift in Minutes: I’ve wrapped slices of this for teachers, neighbors, and last-minute hostess gifts—always a hit.
- Stays Fresh: Honestly, it keeps in the fridge for over a week, so I can sneak a square anytime the craving hits.
Step-by-Step Instructions for Chocolate Syrup for Ice Cream
This foolproof method delivers that iconic thick, velvety chocolate sauce you know and love.
Step 1: Combine Sugar, Cocoa, and Water
In a medium saucepan, whisk together the 1.5 cups Granulated Sugar, 0.75 cup Unsweetened Cocoa Powder, and 0.75 cup Water until smooth. I use a wire whisk to break up any lumps in the cocoa powder—this ensures a silky texture in the final sauce.
Place the saucepan over medium heat and stir constantly as the mixture begins to warm. You’ll notice it slowly thicken and darken as the sugar dissolves. This step takes about 3-4 minutes and creates the base for your rich chocolate flavor.
Step 2: Add Butter, Corn Syrup, and Salt
Once the sugar mixture is fully combined and beginning to bubble, add the 0.25 cup Unsalted Butter, 0.5 cup Light Corn Syrup, and 0.25 tsp Salt. Stir well to incorporate as the butter melts. The butter adds richness, while the corn syrup gives that signature glossy finish.
Continue cooking over medium heat while stirring frequently. The mixture will start to thicken noticeably after about 5 minutes. Watch for it to reach a consistency similar to hot fudge—this is your visual cue that it’s progressing perfectly.
Step 3: Simmer to Desired Thickness
Reduce the heat to medium-low and let the mixture simmer for another 5-7 minutes. Stir occasionally to prevent sticking, especially around the edges of the pan. The sauce should coat the back of a spoon thickly and drizzle slowly from the spoon.
This is the moment that matters: resist the urge to rush. A proper simmer ensures the flavors meld completely and the sauce reaches that luxurious, pour-over-ice-cream consistency. If it seems too thick, you can always thin it slightly with a splash of the 0.25 cup Heavy Cream later.
Step 4: Finish with Vanilla and Heavy Cream
Remove the saucepan from heat and immediately stir in the 1 tsp Vanilla Extract and 0.25 cup Heavy Cream. The vanilla adds depth, while the cream mellows the intensity and adds a velvety smoothness. Stir until everything is fully incorporated and glossy.
Let the sauce cool for 10-15 minutes—it will thicken slightly as it cools. This is the perfect time to taste and adjust if needed, though I’ve found this combination hits the sweet spot every time. The sauce should be thick but still pourable, with a rich chocolate aroma that’s impossible to resist.
Pro Tips For Making Dairy Queen Cocoa Fudge
- Boil to 234°F: Use a candy thermometer and pull the sugar-water mix the moment it hits 234°F—any higher and your fudge will turn grainy. I learned this the hard way after ruining two batches by guessing.
- Sift the cocoa: Always sift the unsweetened cocoa powder first to break up clumps, or you’ll end up with tiny bitter bits in your fudge. Sounds tedious, but it actually changes the outcome.
- Skip the stirring: Resist the urge to stir once the mixture starts boiling—it can cause sugar crystals to form on the sides of the pan. My grandmother swore by this, and she was right.
- Chill before cutting: Let the fudge set in the pan for at least 2 hours at room temp before slicing, or it’ll crumble. I was skeptical until I tried it—now I never rush this part.
Serving Suggestions for This Recipe
Classic Sundae Style
Drizzle 2-3 tablespoons of warm fudge over a scoop of vanilla ice cream. The heat creates a thin shell that cracks beautifully with each spoonful. I love watching the sauce cascade down the sides of the bowl. 💛
Milkshake Magic
Blend ¼ cup of this sauce into your milkshake base before adding ice cream. It integrates smoothly without making the shake too thick. For a classic Dairy Queen taste, use chocolate ice cream and top with whipped cream.
Fudge Dip Station
Serve the sauce warm in a small bowl for dipping strawberries, pretzel rods, or banana slices. The contrast of cold fruit and warm chocolate is irresistible. I always set out a platter with a mix of all three.
Brownie Topping
Pour ½ cup of sauce over a plate of warm brownies and let it soak in slightly. The combination of chewy brownie and gooey fudge sauce is next-level. Add a scoop of ice cream for a full dessert experience.
Fudge Swirl
Layer the sauce between scoops of different ice cream flavors in a tall glass. I alternate vanilla and coffee ice cream with the fudge for a stunning parlor-style treat. The visual effect is as impressive as the taste.
Frozen Treat Coating
Dip ice cream bars or banana pops in the warm sauce, then roll in chopped nuts or sprinkles. Freeze for 10 minutes to set. This creates a professional-looking dessert with minimal effort. ✨
Nutrition Facts
Frequently Asked Questions
Can I use dark cocoa powder instead?
Yes! Dark cocoa will give a deeper, more intense chocolate flavor. Just note it may slightly alter the sweetness balance, so taste and adjust sugar if needed.
How long does this keep in the fridge?
Stored in an airtight container, it stays fresh for up to 2 weeks. Stir before using as the butter may separate slightly when chilled.
Why did my sauce turn grainy?
This usually happens if the sugar isn’t fully dissolved before boiling. Stir constantly over medium heat until smooth to prevent this.
Can I make this without corn syrup?
Yes, substitute honey or agave at a 1:1 ratio. The texture will be slightly thinner but still delicious.

- 6 Egg Cake Recipe with Oil: Light as Air With Buttery Moisture - October 4, 2026
- 4 Bean Casserole Recipe: One-Pan Heartiness With Smoky Paprika Depth - October 4, 2026
- 3-Ingredient Keto Mug Cake Recipe: Microwave Magic in 2 Minutes - October 4, 2026