
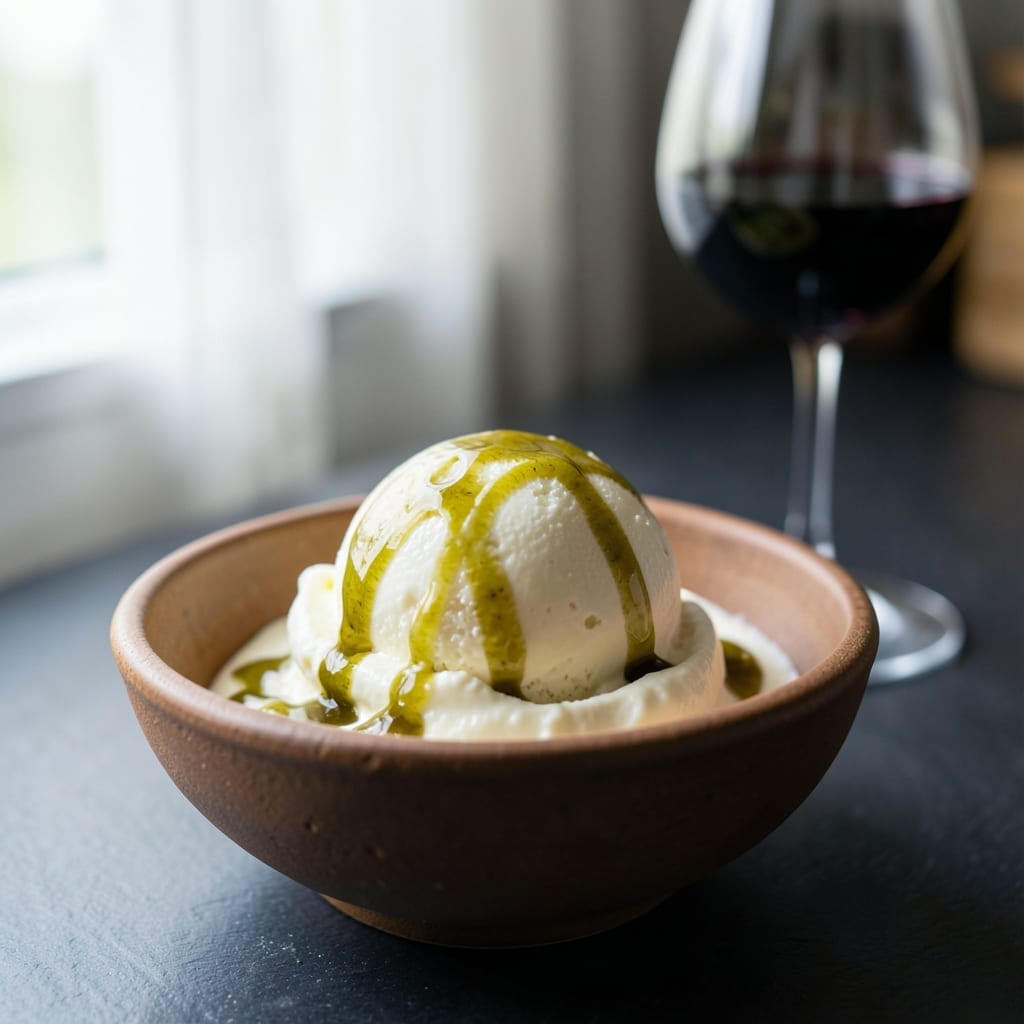
There’s a science to creating perfectly smooth ice cream, and this method delivers velvet texture every time with just heavy cream and a few simple ingredients.
By carefully balancing cream with sugar and flavorings, then churning at the right temperature, you achieve that ideal creamy consistency without icy crystals. The result is professional-quality ice cream worth savoring.
Ingredients for Ice Cream Recipe with Cream
Cream, sugar, and flavorings balance perfectly for that ideal creamy consistency without icy crystals.
| Ingredient | Amount | Notes |
|---|---|---|
| Heavy Cream 🥛 | 2 cups | Cold, 36-40% fat content |
| Whole Milk 🥛 | 1 cup | Cold, full-fat preferred |
| Granulated Sugar 🍚 | ¾ cup | Superfine for smoothest texture |
| Pure Vanilla Extract 🌿 | 1 tbsp | High-quality, not imitation |
| Table Salt 🧂 | ¼ tsp | Fine grain for even distribution |
| Large Egg Yolks 🥚 | 4 whole | Room temperature, pasteurized optional |
| Sweetened Condensed Milk 🥛 | ½ cup | Optional for extra creaminess |
| Vanilla Bean 🌿 | 1 whole | Split and scraped, optional |
| Sea Salt Flakes 🧂 | ½ tsp | For garnish, optional |
| Fresh Berries 🍓 | 1 cup | For mixing in, optional |
| Chopped Nuts 🥜 | ½ cup | Toasted, for texture |
| Chocolate Chips 🍫 | ½ cup | Semi-sweet, for mixing in |
The heavy cream is non-negotiable—36-40% fat content is what delivers that velvet texture. Organic Valley or Darigold are reliable brands at most supermarkets. Whole milk adds lightness; skip the skim or you’ll sacrifice richness. For the yolks, pasteurized eggs eliminate any safety concerns while maintaining that luscious mouthfeel. Always use cold dairy—it churns faster and smoother.
No vanilla bean? Pure vanilla extract at 1 tbsp per bean works perfectly. Short on sugar? Superfine sugar dissolves fastest—pulse granulated in a blender if needed. Swap the berries for caramel swirls or crushed cookies for variety. The condensed milk is optional but adds a luxurious density. For dietary needs, coconut cream can replace heavy cream at a 1:1 ratio.
Base custard keeps 1 week in the fridge before churning. Churned ice cream stores 2-3 weeks in an airtight container with parchment pressed directly on the surface to prevent ice crystals. Add mix-ins just before the final churn for even distribution.
Why You’ll Love This Recipe
- 5-Minute Mix: I just dump cream, milk, sugar, and vanilla in a bowl—no cooking, no fuss.
- Velvety Smooth: The heavy cream makes it rich and luxurious, like a scoop from the old-fashioned parlor down the street.
- Endless Variations: I’ve stirred in crushed cookies, fruit, even a pinch of espresso—I’ll never run out of ideas.
- Freezer Ready: Leftovers keep beautifully, so I always have a pint waiting for late-night cravings.
Step-by-Step Instructions for Ice Cream With Cream
Master the custard base and temperature control for silky, professional-quality results every time.
Step 1: Infuse and Warm the Dairy Base
In a heavy saucepan, combine the 2 cups Heavy Cream, 1 cup Whole Milk, and 0.75 cup Granulated Sugar. If using, split the 1 whole Vanilla Bean lengthwise, scrape the seeds into the mixture, and add the pod.
Heat over medium-low until the sugar dissolves completely and the mixture reaches 170°F—tiny bubbles will form at the edges. This gentle heating prevents scorching while allowing the vanilla to infuse fully. Remove from heat and let steep for 15 minutes if using the vanilla bean.
Step 2: Temper the Egg Yolks for a Smooth Custard
In a separate bowl, whisk the 4 whole Large Egg Yolks with the 0.25 tsp Table Salt until pale and slightly thickened, about 2 minutes. This creates a stable base for the hot liquid.
Slowly pour about 1 cup of the warm cream mixture into the yolks while whisking constantly. Pour the tempered yolks back into the saucepan with the remaining cream. Return to medium-low heat and cook, stirring constantly with a wooden spoon, until the custard thickens enough to coat the back of the spoon at 175-180°F.
Step 3: Chill the Base Thoroughly
Strain the custard through a fine-mesh sieve into a clean bowl to remove any cooked egg bits or vanilla pod. Stir in the 1 tbsp Pure Vanilla Extract and, if using, the 0.5 cup Sweetened Condensed Milk for extra richness.
Press plastic wrap directly onto the surface to prevent a skin from forming. Refrigerate for at least 4 hours, or preferably overnight, until completely cold—40°F or below. Chilling is non-negotiable; warm bases churn into icy, grainy ice cream.
Step 4: Churn and Freeze to Perfection
Pour the chilled base into your ice cream maker and churn according to the manufacturer’s instructions, typically 20-25 minutes. The mixture should resemble soft-serve with a pale, creamy texture.
During the last 2 minutes of churning, add your chosen mix-ins: 1 cup Fresh Berries, 0.5 cup Chopped Nuts, or 0.5 cup Chocolate Chips. Transfer to a lidded container, smooth the surface, and freeze for at least 4 hours until firm.
Step 5: Serve with a Professional Finish
Let the ice cream sit at room temperature for 5-10 minutes to soften slightly before scooping. This ensures clean, smooth balls rather than rock-hard chunks.
Garnish each serving with a pinch of 0.5 tsp Sea Salt Flakes to elevate the flavors. The contrast of the cold, creamy texture with the delicate crunch of salt creates a restaurant-quality experience. Serve immediately for the best texture.
Pro Tips For Making Ice Cream Recipe With Cream
- Chill the Base: Let your cream-milk-sugar mixture chill in the fridge for at least 4 hours—I learned this the hard way after ending up with soupy ice cream that refused to set.
- Use Full-Fat Cream: Skip the light cream; 36-40% fat heavy cream gives that rich, scoopable texture that makes homemade ice cream worth the effort.
- Add Vanilla Last: Stir in the vanilla extract after cooling the base, or the heat will dull its flavor—my first batch tasted like sweet cream until I figured this out.
- Salt the Mixture: A tiny pinch of table salt, about 1/8 teaspoon, balances the sweetness and actually makes the vanilla pop—sounds small, but it’s the thing that matters most.
Health Benefits of This Dish
Protein Power 💪
This cream-based ice cream delivers a solid dose of protein, thanks to the natural richness of dairy cream. Protein is essential for muscle repair and growth, making this treat a guilt-free indulgence for active lifestyles. Plus, it keeps you feeling fuller longer, curbing those late-night cravings!
Vitamins and Minerals 🥛
Dairy cream is packed with calcium and vitamin D, which work together to support strong bones and teeth. It also contains vitamin A, promoting healthy vision and immune function. A scoop of this homemade ice cream isn’t just delicious—it’s a nutrient boost!
Energy Boost 📊
The natural fats in cream provide a steady source of energy, perfect for a quick pick-me-up. Unlike refined sugars that cause energy crashes, the fats in this recipe help sustain your energy levels, making it a smarter choice for a sweet treat.
Heart-Healthy Fats ❤️
While moderation is key, the healthy fats in cream can support heart health by improving cholesterol levels. Opt for high-quality, grass-fed cream for an extra dose of beneficial nutrients like omega-3s. Enjoy your ice cream knowing it’s nourishing your body!
Nutrition Facts

- 6 Egg Cake Recipe with Oil: Light as Air With Buttery Moisture - October 4, 2026
- 4 Bean Casserole Recipe: One-Pan Heartiness With Smoky Paprika Depth - October 4, 2026
- 3-Ingredient Keto Mug Cake Recipe: Microwave Magic in 2 Minutes - October 4, 2026