
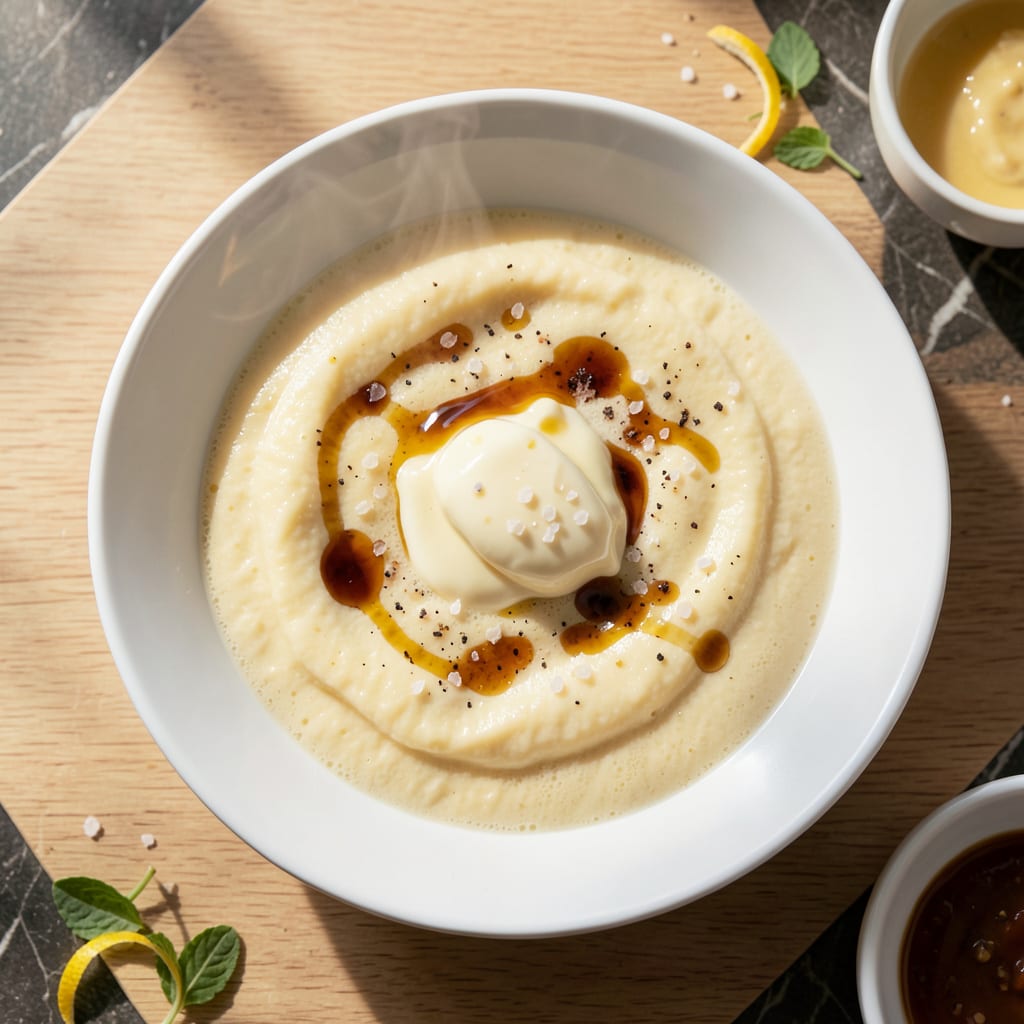
This microwave method delivers fluffy, custard-like eggs with minimal effort and maximum speed. The technique involves beating eggs with water and microwaving in short bursts to achieve the perfect texture.
No special equipment is needed—just a microwave-safe bowl and a few minutes. The result is a light, tender egg dish that’s ideal for a quick breakfast or a simple protein boost any time of day.
Ingredients for Microwave Steam Egg
Minimal ingredients, maximum flavor. Perfect for a quick, protein-packed meal any time.
| Ingredient | Amount | Notes |
|---|---|---|
| Large Eggs 🥚 | 4 whole | Room temperature preferred |
| Water 💧 | ½ cup | Filtered for best texture |
| Unsalted Butter 🧈 | 1 tbsp | Melted for richness |
| Sea Salt 🧂 | ¼ tsp | Fine grain preferred |
| Ground White Pepper 🌶️ | 0.125 tsp | For subtle heat |
| Sesame Oil 🫒 | ½ tsp | Pure for aroma |
| Green Onions 🧅 | 2 whole | Thinly sliced for garnish |
| Light Soy Sauce 🫒 | 1 tsp | Low-sodium if preferred |
| Shaoxing Wine 🍷 | ½ tsp | Optional for depth |
| Sesame Seeds 🌾 | ½ tsp | Toasted for garnish |
The eggs are the foundation—fresh, high-quality eggs yield the best texture. Room temperature ensures even cooking, so pull them out of the fridge 30 minutes before starting. Unsalted butter allows precise seasoning control, and Plugra or Kerrygold offer superior richness. For the water, filtered is ideal to avoid any off-flavors affecting the custard-like consistency.
No Shaoxing wine? Dry sherry at equal volume works as a substitute. If avoiding alcohol, a pinch of sugar balances the soy sauce’s saltiness. Green onions can be swapped with chives for a milder onion flavor. For a dairy-free version, replace butter with coconut oil—it lends a subtle sweetness that complements the eggs beautifully.
Best consumed immediately for optimal texture. Leftovers keep in the fridge for 1-2 days, though the fluffiness diminishes upon reheating. Reheat gently in the microwave with a splash of water to revive some of the original tenderness.
Why You’ll Love This Recipe
- 3-Minute Magic: I can go from cracking eggs to silky, steaming custard faster than my coffee reheats. No stove, no fuss.
- Buttery Cloud: The unsalted butter melts into the eggs, giving that rich, velvety finish with just a pinch of white pepper for a subtle kick.
- Breakfast or Midnight Snack: Honestly, it’s as good with toast at 7 a.m. as it is straight from the mug at 2 a.m.
- Pennies per Serving: Three eggs, a splash of water, and pantry staples—this costs less than my morning latte and tastes way more satisfying.
Step-by-Step Instructions for Microwave Steam Egg
This method delivers a silky, custard-like texture with minimal effort and maximum precision.
Step 1: Prepare the Egg Mixture
In a microwave-safe bowl with a lid, crack all 4 whole Large Eggs and beat them gently with a fork until the yolks and whites are fully combined. Avoid over-beating, as this can create a tougher texture rather than the desired fluffy custard.
Add the 0.25 tsp Sea Salt and 0.125 tsp Ground White Pepper, stirring until the seasoning is evenly distributed. This step ensures every bite is perfectly balanced in flavor. The fine grain of the sea salt dissolves quickly for even dispersion.
Step 2: Incorporate Liquids for Steaming
Pour in the 0.5 cup Water and stir gently to combine. The water creates the steam necessary for cooking the eggs evenly in the microwave. Add the 1 tbsp Unsalted Butter, which should already be melted, and stir until it forms a smooth emulsion with the egg mixture.
Drizzle in the 0.5 tsp Sesame Oil, 1 tsp Light Soy Sauce, and optional 0.5 tsp Shaoxing Wine. These ingredients add depth and aromatic complexity to the custard. Stir once more to incorporate fully.
Step 3: Microwave with Precision
Cover the bowl with its lid, leaving a small gap for steam to escape. Microwave on medium power (50%) for 2 minutes. This lower power setting prevents the eggs from cooking too quickly, which can result in a rubbery texture.
After 2 minutes, carefully remove the bowl (it will be hot) and stir the mixture gently. You’ll notice the eggs beginning to set around the edges but still liquid in the center. Return the bowl to the microwave and cook for another 2 minutes at the same power level.
Step 4: Final Cook and Check for Doneness
After the second interval, stir the mixture again. At this point, the eggs should be mostly set but still slightly runny in the center. Cover and microwave for a final 1-2 minutes at medium power, checking every 30 seconds until the custard is fully set but still jiggly, like soft tofu.
The total cooking time should be around 5-6 minutes, depending on your microwave’s wattage. Avoid overcooking, as this will cause the eggs to become dense. The custard should be smooth, glossy, and uniform in texture.
Step 5: Garnish and Serve
Thinly slice the 2 whole Green Onions and sprinkle them over the top of the custard. Drizzle an additional 0.5 tsp Sesame Oil over the surface for added aroma, then finish with the 0.5 tsp Sesame Seeds for texture and visual appeal.
Let the steam egg rest for 2 minutes before serving. This brief rest allows the custard to set fully and the flavors to meld. Serve warm, directly from the bowl, for the best texture and experience.
Pro Tips For Making Microwave Steam Egg
- Cover Tightly: Use a microwave-safe lid or damp paper towel to trap steam—I learned this the hard way after ending up with rubbery eggs from uneven cooking.
- Room Temp Eggs: Take your eggs out of the fridge 10 minutes before cooking. Cold eggs straight from the fridge often cook unevenly in the microwave.
- Whisk Vigorousy: Beat your eggs until no streaks remain, then strain through a fine mesh sieve for that ultra-smooth texture. Sounds fussy, but it works.
- Short Bursts Only: Microwave in 10-15 second intervals on medium power, checking each time. After burning three batches, I finally figured out that high heat ruins the delicate texture.
Best Sauces and Condiments for microwave steam egg
Classic Soy-Ginger Drizzle
Mix 2 tbsp light soy sauce with 1 tsp grated ginger and ½ tsp sugar for a salty-sweet contrast that enhances the egg’s natural richness. I warm it slightly before drizzling to help the flavors bloom. 💫
Spicy Chili Oil Boost
Lao Gan Ma chili crisp adds heat and crunch—start with 1 tsp and adjust to taste. The oils from the chili infuse the custard beautifully. I keep a jar in my pantry for this exact purpose.
Creamy Garlic Sauce
Combine 3 tbsp Greek yogurt with 1 minced garlic clove and ½ tsp lemon juice for a tangy, cooling element. This works especially well if you prefer a milder flavor profile.
Umami Mushroom Topping
Sauté ¼ cup shiitake mushrooms in 1 tsp oyster sauce until caramelized. The earthy depth pairs perfectly with the silky eggs. I use fresh mushrooms for the best texture.
Herb Infusion
Stir 1 tbsp chopped cilantro into the egg mixture before cooking for a fresh, bright note. The herb’s citrusy aroma complements the dish’s delicate flavors beautifully.
Sesame-Garlic Finish
Toast 1 tsp sesame seeds in a dry pan, then mix with ½ tsp garlic powder. Sprinkle this over the finished dish for a nutty, aromatic crunch. 💛
Nutrition Facts
Frequently Asked Questions
Why use medium power instead of high?
Cooking on medium power (50%) prevents the eggs from setting too quickly, which can make them rubbery. The gradual heat ensures a silky, custard-like texture.
Can I skip the water?
No, the 0.5 cup water creates the steam needed for even cooking. Without it, the eggs may dry out or cook unevenly. Think of it as the secret to that tender finish.
How do I know when it’s done?
The custard should be fully set but still jiggly, like soft tofu. Check after 5-6 minutes total, stirring between intervals to gauge progress.
What if my microwave doesn’t have a lid?
Use a microwave-safe plate or damp paper towel to cover the bowl. Leave a small gap for steam to escape to avoid pressure buildup.

- 6 Egg Cake Recipe with Oil: Light as Air With Buttery Moisture - October 4, 2026
- 4 Bean Casserole Recipe: One-Pan Heartiness With Smoky Paprika Depth - October 4, 2026
- 3-Ingredient Keto Mug Cake Recipe: Microwave Magic in 2 Minutes - October 4, 2026