
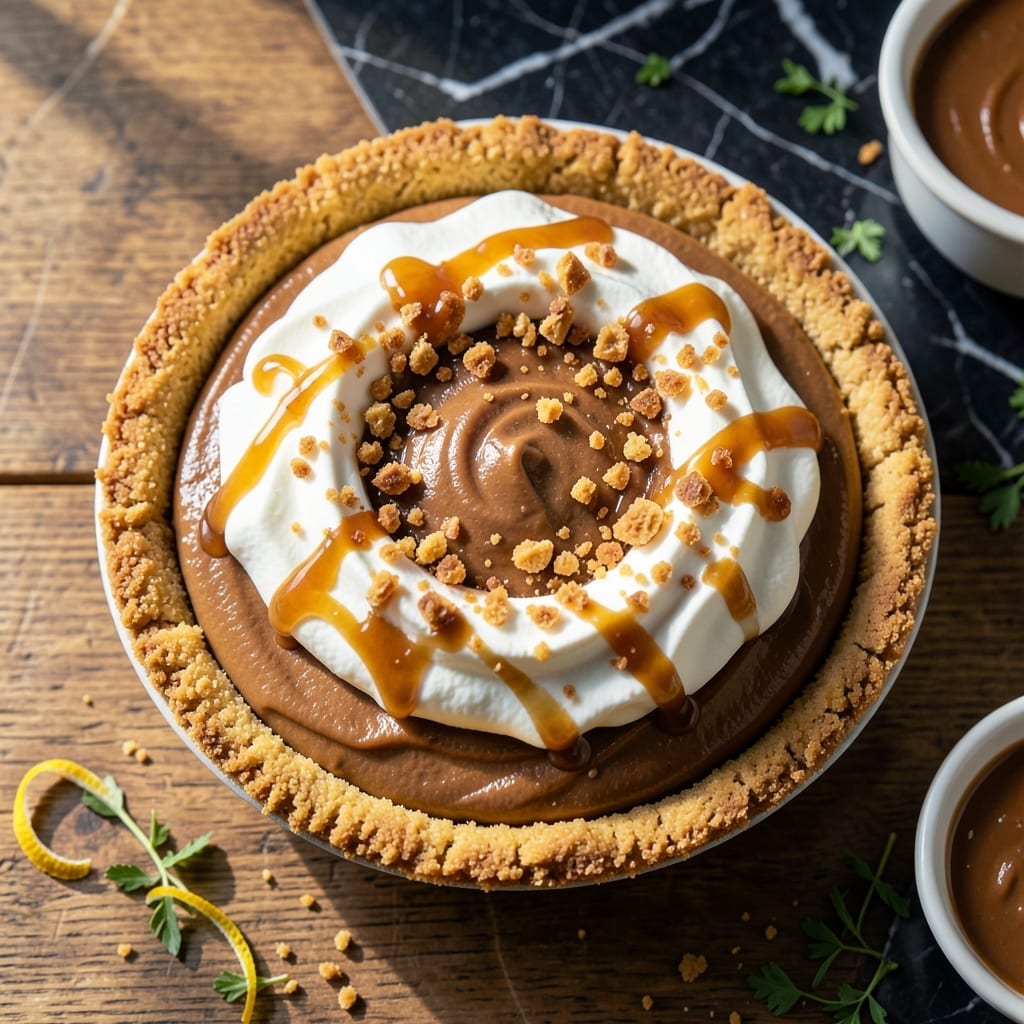
This classic diner-style pie delivers the creamy indulgence of peanut butter silk without turning on your oven. I developed this version to replicate the beloved Perkins recipe with a no-bake method that’s both simple and foolproof.
The secret lies in the smooth peanut butter custard layer, which gets its velvety texture from whipped cream and cream cheese. A pre-made graham cracker crust simplifies the process while maintaining that signature buttery base.
What results is a dessert that’s rich yet light, with a perfect balance of sweet and salty peanut butter flavor. It’s the kind of pie that disappears fast at gatherings.
Chill for 4 hours before serving to let the filling set completely. This one’s a guaranteed crowd-pleaser.
Ingredients for Perkins Peanut Butter Silk Pie
A handful of pantry staples plus cream cheese and whipped cream create this luscious no-bake dessert.
| Ingredient | Amount | Notes |
|---|---|---|
| Creamy Peanut Butter 🥜 | 1 ½ cups | Smooth, not natural style |
| Cream Cheese 🧀 | 8 oz | Full-fat, softened to room temperature |
| Powdered Sugar 🍚 | 1 ½ cups | Sifted for smooth texture |
| Vanilla Extract 🌿 | 1 tsp | Pure extract for best flavor |
| Heavy Whipping Cream 🥛 | 2 cups | Well-chilled for whipping |
| Graham Cracker Crust 🍪 | 1 whole | Pre-made 9-inch crust |
| Granulated Sugar 🍚 | ¼ cup | For sweetening whipped cream |
| Salt 🧂 | ¼ tsp | Balances sweetness |
| Unsalted Butter 🧈 | 2 tbsp | Melted for crust sealing |
The peanut butter is critical here—Jif or Skippy creamy deliver that classic diner flavor and texture. Avoid natural or reduced-fat varieties, as they’ll separate and ruin the silkiness. The cream cheese must be full-fat and at room temperature for smooth blending. Most grocery stores carry these brands, but Costco offers great bulk pricing if you’re making multiple pies.
No cream cheese? Full-fat Greek yogurt can substitute in a pinch, but the texture won’t be as rich. Heavy cream is non-negotiable—coconut cream won’t whip the same. For a less sweet version, reduce the powdered sugar by half a cup. The graham crust can be swapped for chocolate wafer or shortbread, but graham is traditional.
This pie must chill for at least 4 hours—overnight is even better. Store covered in the fridge for up to 3 days. For best results, add a thin layer of whipped cream just before serving to keep it fresh.
Why You’ll Love This Recipe
- No-Bake Bliss: I just mix, chill, and serve—no oven required, and the creamy peanut butter does all the work.
- Crowd Pleaser: Honestly, it’s my go-to for potlucks—even the picky eaters go back for seconds.
- Keeps Well: Leftovers taste just as good the next day, if they even last that long.
Step-by-Step Instructions for Peanut Butter Silk Pie
This no-bake method delivers a rich, creamy filling with minimal effort and maximum flavor.
Step 1: Seal the Graham Cracker Crust
Begin by preheating your oven to 350°F. Melt the 2 tbsp Unsalted Butter and brush it evenly over the bottom and sides of the 1 whole Graham Cracker Crust. This creates a moisture barrier that prevents the crust from becoming soggy when filled.
Bake the crust for 5 minutes until it appears slightly toasted and fragrant. Remove it from the oven and set it aside to cool completely on a wire rack. The crust must be at room temperature before adding the filling to maintain its crisp texture.
Step 2: Prepare the Peanut Butter Cream Cheese Base
In a large mixing bowl, beat the 8 oz Cream Cheese on medium speed until smooth and creamy. Add the 1.5 cups Creamy Peanut Butter and continue beating until fully combined and free of lumps. The mixture should be uniform in color and texture.
Gradually add the 1.5 cups Powdered Sugar, 1 tsp Vanilla Extract, and 0.25 tsp Salt, beating on low speed after each addition until incorporated. Scrape down the sides of the bowl as needed to ensure even mixing. This base provides the dense, velvety foundation for your pie.
Step 3: Whip the Heavy Cream to Stiff Peaks
In a separate chilled bowl, combine the 2 cups Heavy Whipping Cream and 0.25 cup Granulated Sugar. Using an electric mixer, whip on medium-high speed until soft peaks begin to form. Increase the speed to high and continue whipping until stiff peaks develop—this occurs when the beaters leave distinct, sharp peaks in the cream.
Be careful not to over-whip, as this can cause the cream to separate and become grainy. The properly whipped cream will fold smoothly into the peanut butter mixture, creating the signature silk texture.
Step 4: Fold and Fill for the Perfect Silk Texture
Gently fold one-third of the whipped cream into the peanut butter mixture using a silicone spatula. This lightens the base and makes it easier to incorporate the remaining cream. Add the rest of the whipped cream and fold until no streaks remain, taking care not to deflate the mixture.
Pour the filling into the cooled graham cracker crust, spreading it evenly with the spatula. The top should be smooth and level with the crust edge. Tap the pan lightly on the counter to remove any air pockets.
Refrigerate the pie for at least 4 hours, or preferably overnight. This chilling time allows the filling to set properly, achieving the perfect sliceable yet creamy consistency.
Pro Tips For Making Perkins Peanut Butter Silk Pie
- Soften Cream Cheese: Take the cream cheese out 1-2 hours before mixing—I learned this the hard way after ending up with lumpy filling that refused to smooth out.
- Chill the Bowl: Pop your mixing bowl and beaters in the freezer for 10 minutes before whipping the heavy cream. It whips faster and holds peaks better, especially in warm kitchens.
- Skip Low-Fat PB: Use full-fat creamy peanut butter, not the natural or reduced-fat kind. The oil separation in natural brands can make your pie filling greasy, and low-fat just doesn’t set right.
- Fold, Don’t Stir: When combining the peanut butter mixture with whipped cream, fold gently with a spatula instead of stirring. Overmixing deflates the cream and turns your silk pie into a dense blob.
Creative Variations of This Recipe
Chocolate Peanut Butter Swirl
Fold ½ cup melted semi-sweet chocolate into 1 cup of the filling before combining with whipped cream. Alternate spoonfuls of plain and chocolate filling in the crust, then swirl with a butter knife for a marbled effect. I use Ghirardelli chocolate chips for best results. 🔥
Crunchy Topping Variation
Press ½ cup chopped peanuts or crushed peanut butter cups into the top of the pie after filling. Chill uncovered for 30 minutes to let the topping adhere. This adds texture contrast to the creamy filling.
Mini Pie Bites
Divide the filling among 12 pre-made graham cracker mini crusts. These individual servings are perfect for parties. Garnish each with a dollop of whipped cream and a sprinkle of chopped roasted peanuts.
Banana Cream Twist
Layer ½ inch of sliced bananas on the crust before adding the filling. This creates a banana cream pie hybrid. For extra flavor, drizzle 2 tbsp caramel sauce over the bananas before filling.
Oreo Cookie Crust
Swap the graham crust for 1 pre-made Oreo crust. The chocolate base complements the peanut butter perfectly. I find Keebler’s Oreo crust works best—just seal it with melted butter as usual. ✨
Salted Caramel Drizzle
After chilling, drizzle ¼ cup warmed salted caramel sauce over the top. Use store-bought or homemade. The salt enhances the peanut butter flavor while adding a glossy finish.
Nutrition Facts
Frequently Asked Questions
Can I use natural peanut butter instead?
No, natural peanut butter will separate and make the filling oily. Stick with Jif or Skippy creamy for the right texture. The oils in natural versions won’t blend smoothly into the cream cheese base.
Why does my filling look grainy?
This usually happens if the cream cheese wasn’t at room temperature. Ensure it’s fully softened before mixing. Also, avoid over-whipping the cream or it can turn buttery and grainy.
How far in advance can I make this pie?
You can prepare it up to 3 days ahead. Store it covered in the fridge to prevent absorbing other odors. For best texture, add any whipped cream topping just before serving.

- 6 Egg Cake Recipe with Oil: Light as Air With Buttery Moisture - October 4, 2026
- 4 Bean Casserole Recipe: One-Pan Heartiness With Smoky Paprika Depth - October 4, 2026
- 3-Ingredient Keto Mug Cake Recipe: Microwave Magic in 2 Minutes - October 4, 2026