
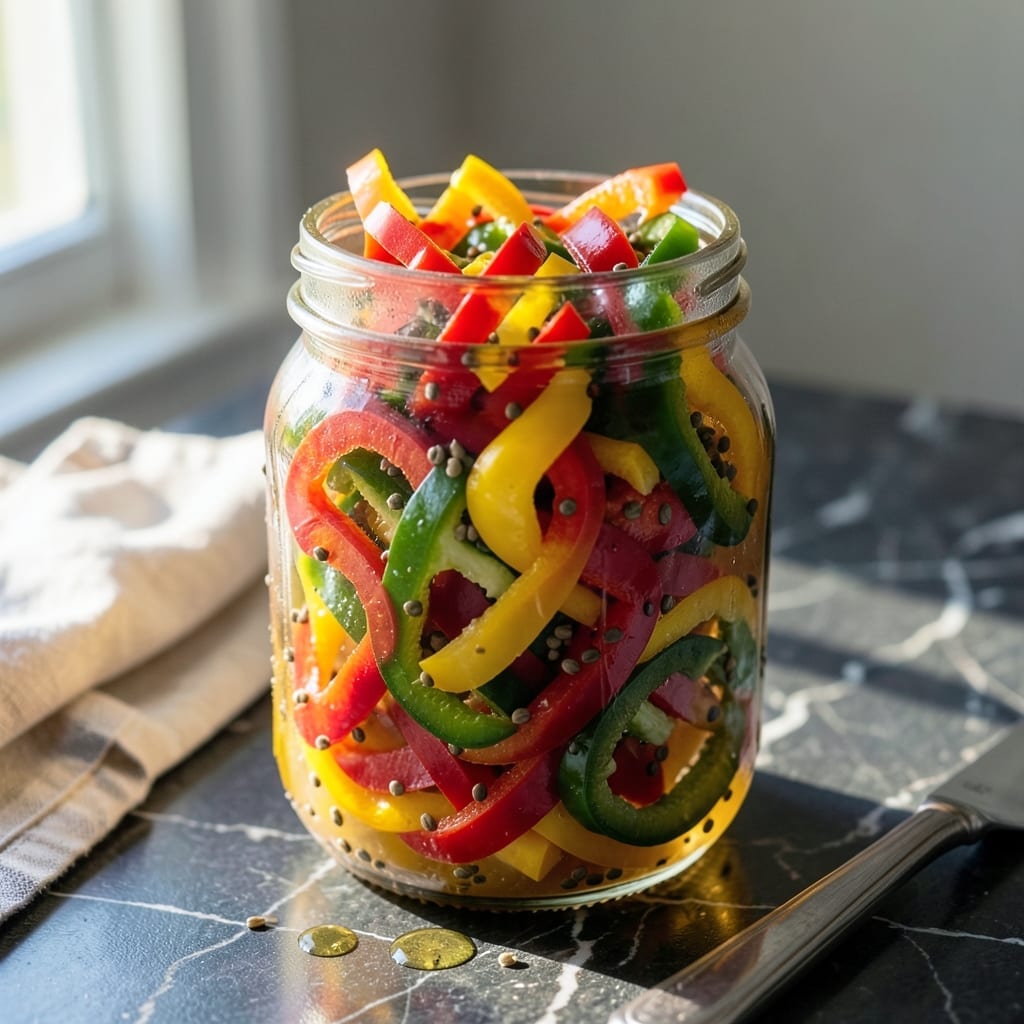
This pickle recipe transforms fresh bell peppers into vibrant, tangy condiments that brighten any dish. The process preserves their natural crunch while infusing them with bold, zesty flavors.
With a simple brine of vinegar, water, and spices, these pickled peppers come together in under 20 minutes of active prep. They keep well in the fridge for weeks, ready to add a pop of color and flavor.
Use them to elevate sandwiches, salads, or charcuterie boards. The balance of sweetness and acidity makes them surprisingly versatile for both everyday meals and special occasions.
Perfect for beginners, this method ensures consistent results with minimal effort. The key is using fresh, firm peppers and proper sterilization of jars.
Ingredients for Pickled Bell Peppers
Fresh peppers meet a simple vinegar brine for that perfect tangy crunch everyone loves.
| Ingredient | Amount | Notes |
|---|---|---|
| Bell Peppers 🌶️ | 2 lb | Assorted colors, sliced into strips |
| White Vinegar 💧 | 2 cups | 5% acidity for best preservation |
| Water 💧 | 2 cups | Filtered for clarity |
| Granulated Sugar 🍚 | 3 tbsp | Adjust to taste preference |
| Pickling Salt 🧂 | 2 tbsp | Non-iodized for clear brine |
| Mustard Seeds 🌿 | 2 tsp | Yellow or brown variety |
| Black Peppercorns 🌶️ | 1 tbsp | Whole for even distribution |
| Dried Red Pepper Flakes 🔥 | 1 tsp | Adjust for heat preference |
| Garlic Cloves 🧄 | 6 cloves | Peeled and smashed |
| Fresh Dill 🌿 | 4 sprigs | Optional for added aroma |
The peppers are everything here. Farmers market bell peppers (the firm, glossy kind) give the best crunch—avoid any with soft spots. I always grab a mix of colors (red, yellow, orange) for visual appeal. Ball or Mason jars are ideal for storage, but any heatproof glass jar works. The vinegar should be 5% acidity—check the label. For the salt, pickling or canning salt prevents cloudy brine.
No pickling salt? Kosher salt at the same amount works, but avoid iodized table salt—it can make the brine murky. Prefer a sweeter pickle? Swap white sugar for brown. Want more complexity? Add a pinch of celery seeds or coriander. If you’re out of mustard seeds, dill seeds bring a similar depth. The garlic can be sliced thin if you prefer milder flavor (vs. smashed for boldness).
These keep beautifully. Once cooled, seal and refrigerate—crunch stays perfect for 3-4 weeks. Process for shelf stability? Water bath for 10 minutes extends to 6-12 months. Always use clean utensils when removing peppers to prevent contamination.
Why You’ll Love This Recipe
- No Fuss Prep: I just slice the peppers, boil the brine, and let the jar do the rest—honestly, it’s almost too simple.
- Tangy Sweet Bite: The sugar and vinegar balance makes these peppers ridicously good, with a crisp crunch that’s hard to resist.
- Meal Prep Hero: I toss them on sandwiches, tacos, or salads all week—between us, they make leftovers taste brand new.
- Pantry Savior: A handful of cheap ingredients and 15 minutes is all it takes to fill my fridge with flavor for days.
Step-by-Step Instructions for Pickled Bell Peppers
This method ensures perfectly crisp peppers with balanced tangy-sweet flavor every time.
Step 1: Prepare the Bell Peppers and Aromatics
Begin by washing the 2 lb Bell Peppers thoroughly and slicing them into even ¼-inch strips. Uniform size ensures consistent pickling and even flavor distribution. Discard the seeds and white membranes as they can impart bitterness to the final product.
Peel and smash the 6 cloves Garlic Cloves with the flat side of your knife. This releases the oils and infuses the brine with robust flavor. Set aside the 4 sprigs Fresh Dill for later use—these will add a bright, herbal note to the pickles.
Step 2: Create the Pickling Brine
In a medium saucepan, combine the 2 cups White Vinegar, 2 cups Water, 3 tbsp Granulated Sugar, and 2 tbsp Pickling Salt. Stir over medium-high heat until the sugar and salt fully dissolve—this should take 3-4 minutes.
Once dissolved, add the 2 tsp Mustard Seeds, 1 tbsp Black Peppercorns, and 1 tsp Dried Red Pepper Flakes. Bring the mixture to a gentle boil, then reduce heat to low and let it simmer for 2 minutes to meld the flavors.
Step 3: Pack the Jars and Add Brine
Divide the sliced Bell Peppers evenly between clean, heatproof jars. Distribute the smashed Garlic Cloves and Fresh Dill evenly among the jars, tucking them between the pepper strips. This ensures every bite carries the aromatic flavors.
Carefully pour the hot brine over the peppers, ensuring they are fully submerged. Use a chopstick or spoon to remove any air bubbles trapped between the peppers. The peppers should be completely covered by at least ½ inch of brine to prevent spoilage.
Step 4: Seal and Cool for Perfect Pickling
Seal the jars with their lids while the contents are still hot. As the jars cool, the lids should form a vacuum seal—you’ll hear a satisfying pop when this happens, confirming proper preservation.
Let the jars cool to room temperature on the counter, which typically takes 1-2 hours. Once cooled, transfer them to the refrigerator. The peppers will develop their full flavor after 24 hours of pickling, though they can be enjoyed as soon as they’re cool.
Pro Tips For Making Pickled Bell Peppers
- Slice Uniformly: Cut the bell peppers into even strips—about 1/4-inch thick—so they pickle at the same rate and stay crisp.
- Boil the Brine: Heat the vinegar, water, sugar, and salt just until the sugar dissolves, then cool completely before pouring over the peppers to avoid soft, mushy textures.
- Skip the Seeds: Remove all seeds and white membranes from the peppers—I learned this the hard way after biting into a bitter slice weeks later.
- Use a Clean Jar: Sterilize your jar with boiling water first, even if it’s just for fridge pickles—it keeps them fresh longer and prevents mold.
Regional Styles of pickled bell peppers
Southern US Style
In the South, we often add 1 tsp celery seeds and ½ tsp turmeric to the brine for a brighter yellow hue. The peppers are sliced into rings instead of strips for that classic look. I love using this version on pulled pork sandwiches. 🌟
Mexican Escabeche
For a Mexican twist, include 1 sliced onion and 1 carrot in the jars. The brine often has ½ cup apple cider vinegar for a milder taste. These peppers are amazing on tacos or nachos.
Eastern European
This version uses 1 bay leaf and 5 allspice berries per jar. The peppers are often left in whole halves rather than sliced. They pair wonderfully with hearty meats like sausages.
Italian Giardiniera
Add 1 cup cauliflower florets and 1 sliced carrot to the mix. The brine includes 1 tsp oregano and ½ tsp fennel seeds. This mix is perfect on antipasto platters. ✨
Asian-Inspired
Swap white vinegar for rice vinegar and add 1 tbsp grated ginger and 1 star anise pod to the brine. These peppers add a zing to stir-fries and noodle dishes.
Middle Eastern
Include 1 tsp cumin seeds and 1 cinnamon stick in the brine. The peppers are often sliced into thin rounds and served with hummus or grilled meats. 💫
Nutrition Facts
Frequently Asked Questions
How long do these stay fresh in the fridge?
Properly sealed pickled peppers stay crisp and flavorful for 3-4 weeks in the refrigerator. For longer storage, process the sealed jars in a 10-minute water bath to extend shelf life to 6-12 months.
Can I use a different type of vinegar?
Yes! Apple cider vinegar adds a fruity note, while rice vinegar gives a milder taste. Stick to 5% acidity vinegars for safety. Avoid balsamic vinegar as its flavor overpowers the peppers.
Why did my brine turn cloudy?
Cloudiness often happens with iodized salt or hard water. Use pickling salt and filtered water for clear brine. If it’s still cloudy after 24 hours, it’s safe to eat but less visually appealing.
Do I need to sterilize the jars first?
For fridge storage, clean jars with hot soapy water are sufficient. For shelf-stable pickles, sterilize jars by boiling them for 10 minutes before filling. This prevents spoilage during long-term storage.

- 6 Egg Cake Recipe with Oil: Light as Air With Buttery Moisture - October 4, 2026
- 4 Bean Casserole Recipe: One-Pan Heartiness With Smoky Paprika Depth - October 4, 2026
- 3-Ingredient Keto Mug Cake Recipe: Microwave Magic in 2 Minutes - October 4, 2026