
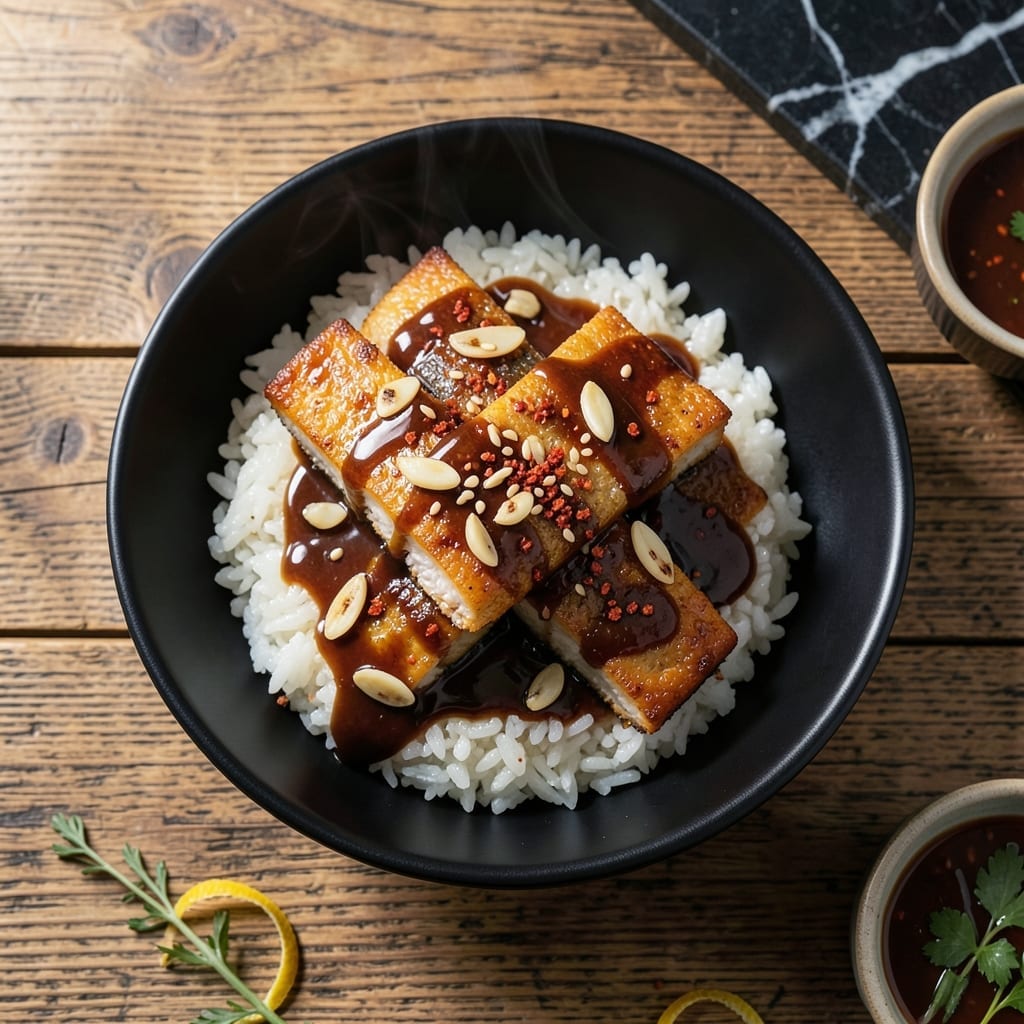
This Korean-style braised pollock delivers tender results with minimal effort. The secret lies in the preliminary salting step, which firms the fish while enhancing its natural sweetness.
I developed this method to create restaurant-quality pollock at home without complicated techniques. The braising liquid, infused with garlic and soy sauce, transforms the dish into something deeply flavorful.
After just 20 minutes of gentle cooking, the fish becomes melt-in-your-mouth tender while absorbing the savory sauce. The result is a dish that’s both comforting and impressive.
Serve with steamed rice to soak up every drop of the rich braising liquid. The preparation is straightforward, but the taste is anything but simple.
Ingredients for Salted Pollock
Simple ingredients deliver restaurant-quality results with this Korean-inspired braised fish.
| Ingredient | Amount | Notes |
|---|---|---|
| Pollock Fillets 🐟 | 1 ½ lb | Skinless, about 1-inch thick |
| Kosher Salt 🧂 | 1 tbsp | For preliminary salting step |
| Soy Sauce 🫒 | ½ cup | Low-sodium preferred for control |
| Garlic Cloves 🧄 | 6 cloves | Thinly sliced for infusion |
| Gochugaru 🌶️ | 1 tbsp | Korean red pepper flakes |
| Brown Sugar 🥚 | 2 tbsp | Light or dark variety |
| Rice Vinegar 🍚 | 2 tbsp | For balanced acidity |
| Sesame Oil 🫒 | 1 tsp | Toasted for aroma |
| Green Onions 🧅 | 4 whole | Thinly sliced for garnish |
| Fresh Ginger 🌿 | 1 tbsp | Grated, for depth |
| Water 💧 | ½ cup | For braising liquid |
| Toasted Sesame Seeds 🌰 | 1 tsp | For garnish, optional |
The pollock must be fresh—look for fillets with a slightly translucent appearance and no fishy odor. Whole Foods or a trusted seafood counter is ideal. For the soy sauce, Kikkoman low-sodium provides consistent flavor without overpowering saltiness. The gochugaru is non-negotiable for authentic heat; find it at H Mart or Korean markets. Don’t skip the preliminary salting—it’s the key to that promised tenderness.
No gochugaru? Crushed red pepper flakes at half the amount work in a pinch, though the flavor profile shifts slightly. Substitute mirin for the sugar if you want a different sweetness. For a gluten-free version, tamari instead of soy sauce maintains depth. The green onions can be swapped with chives, but the texture changes. Always use fresh ginger—powdered lacks the bright, zesty kick.
The braising liquid keeps well—store in an airtight container for up to 3 days in the fridge. Reheat gently to preserve the fish’s texture. Leftovers taste even better the next day as flavors meld. Freezing isn’t recommended—pollock can turn mushy when thawed.
Why You’ll Love This Recipe
- 5-Minute Prep: I just salt the fillets, let them sit, then rinse—no fancy steps, just time doing the work for me.
- Umami Bomb: The soy sauce and gochugaru create this deep, savory heat that makes the fish taste way fancier than it is.
- Meal Prep Hero: I make a big batch on Sunday and it keeps for days—great cold, in rice bowls, or flaked into soups.
- Budget Winner: Pollock is cheap, the seasonings are pantry staples, and it feeds my family for less than takeout. Honestly, it’s my go-to when money’s tight.
Step-by-Step Instructions for Korean-Style Braised Pollock
This method ensures the pollock stays moist while absorbing the rich, savory-sweet braising liquid.
Step 1: Salt and Prep the Pollock Fillets
Begin by patting the 1.5 lb Pollock Fillets completely dry with paper towels. This removes excess moisture that would otherwise dilute the braising liquid and prevent proper browning.
Season both sides of each fillet evenly with the 1 tbsp Kosher Salt. I press the salt gently into the surface to ensure it adheres well. Let the fillets sit at room temperature for 15 minutes—this preliminary salting step draws out moisture while allowing the salt to penetrate the flesh, resulting in better flavor and texture.
Step 2: Create the Braising Liquid Base
In a small bowl, combine the 0.5 cup Soy Sauce, 2 tbsp Brown Sugar, 2 tbsp Rice Vinegar, 1 tbsp Gochugaru, 1 tsp Sesame Oil, and 0.5 cup Water. Whisk until the brown sugar fully dissolves and the mixture is uniform.
Thinly slice the 6 cloves Garlic Cloves and grate the 1 tbsp Fresh Ginger. Add both to the bowl and mix well. This aromatic base will infuse the pollock with deep, complex flavors as it braises.
Step 3: Sear and Braise the Pollock
Heat a large skillet with a tight-fitting lid over medium-high heat. Add the pollock fillets and sear for 2-3 minutes per side until the surfaces turn lightly golden. This initial sear develops flavor and prevents the fillets from falling apart during braising.
Pour the braising liquid over the fillets, ensuring they are mostly submerged. Reduce the heat to medium-low, cover the skillet, and braise for 8-10 minutes. You’ll know it’s ready when the liquid is gently simmering and the pollock flakes easily when tested with a fork.
Step 4: Finish and Garnish
Carefully transfer the pollock to serving plates, spooning the braising liquid over the top. Thinly slice the 4 whole Green Onions and sprinkle them over the fish, along with the 1 tsp Toasted Sesame Seeds.
The dish is ready when the liquid has reduced slightly, coating the back of a spoon, and the pollock is tender yet still holds its shape. Serve immediately with steamed rice to soak up the flavorful sauce.
Pro Tips For Making Salted Pollock
- Salt Generously: Use at least 1 tablespoon of kosher salt per fillet—sounds like a lot, but pollock needs it to draw out moisture and absorb flavor. I learned this the hard way when my first batch tasted bland despite the soy sauce.
- Dry the Fillets: Pat the pollock fillets completely dry with paper towels before salting. Even a little moisture will prevent the salt from doing its job, and you’ll end up with a watery, uneven cure.
- Rest Overnight: Give the salted pollock at least 8 hours in the fridge, ideally overnight. Rushing this step leaves the fish unevenly seasoned—I skipped it once, and the center was still raw-tasting.
- Toast the Gochugaru: Lightly toast the gochugaru in a dry pan for 30 seconds before mixing it with the other seasonings. Sounds weird, but it wakes up the flavor and adds a subtle depth to the finished dish.
Perfect Pairings for This Recipe
Rice Companions
Steamed jasmine rice is my top choice—its subtle floral aroma complements the savory-sweet braising liquid perfectly. I use a 1:1.5 rice-to-water ratio for fluffy results. For a heartier option, short-grain white rice absorbs more sauce. 🍚
Vegetable Sides
Quick-pickled cucumbers add a refreshing crunch that cuts through the richness. Thinly slice 1 English cucumber and toss with 2 tbsp rice vinegar and 1 tsp sugar. Blanched spinach with a drizzle of sesame oil also pairs beautifully.
Kimchi Balance
Napa cabbage kimchi introduces probiotics and a spicy tang that contrasts the dish’s sweetness. I serve it on the side in small portions—about ¼ cup per plate—to let everyone adjust to their preferred heat level. The fermentation also aids digestion of the rich meal.
Beverage Pairings
A crisp Korean lager like Hite or OB Beer cleanses the palate between bites. For non-alcoholic options, barley tea (boricha) offers a nutty, toasted note that harmonizes with the sesame and soy flavors. 🍺
Garnish Upgrades
Beyond the recipe’s green onions and sesame seeds, add julienned red radish for color and peppery bite. A sprinkle of toasted nori strips introduces umami depth. Both additions keep the focus on the fish while elevating presentation.
Dipping Sauce
For extra flavor, serve with a simple dipping sauce: mix 2 tbsp soy sauce, 1 tbsp rice vinegar, 1 tsp honey, and ½ tsp grated ginger. This brightens each bite without overpowering the pollock’s delicate flavor. ✨
Nutrition Facts
Frequently Asked Questions
Can I use a different type of fish?
Cod or haddock work well as substitutes. They have a similar mild flavor and flaky texture. Adjust cooking time to 7-8 minutes for thinner fillets.
Why do we salt the fish first?
The preliminary salting draws out moisture, allowing the fish to absorb more flavor. It also firms the flesh, preventing it from falling apart during cooking.
What if my sauce is too salty?
Balance it with a splash of water or a teaspoon of sugar. Stir well and taste before adjusting further. The dish should be savory, not overwhelming.
Can I make this ahead of time?
Yes, but reheat gently to avoid drying out the fish. Store in an airtight container for up to 2 days. The flavors deepen overnight.

- 6 Egg Cake Recipe with Oil: Light as Air With Buttery Moisture - October 4, 2026
- 4 Bean Casserole Recipe: One-Pan Heartiness With Smoky Paprika Depth - October 4, 2026
- 3-Ingredient Keto Mug Cake Recipe: Microwave Magic in 2 Minutes - October 4, 2026