
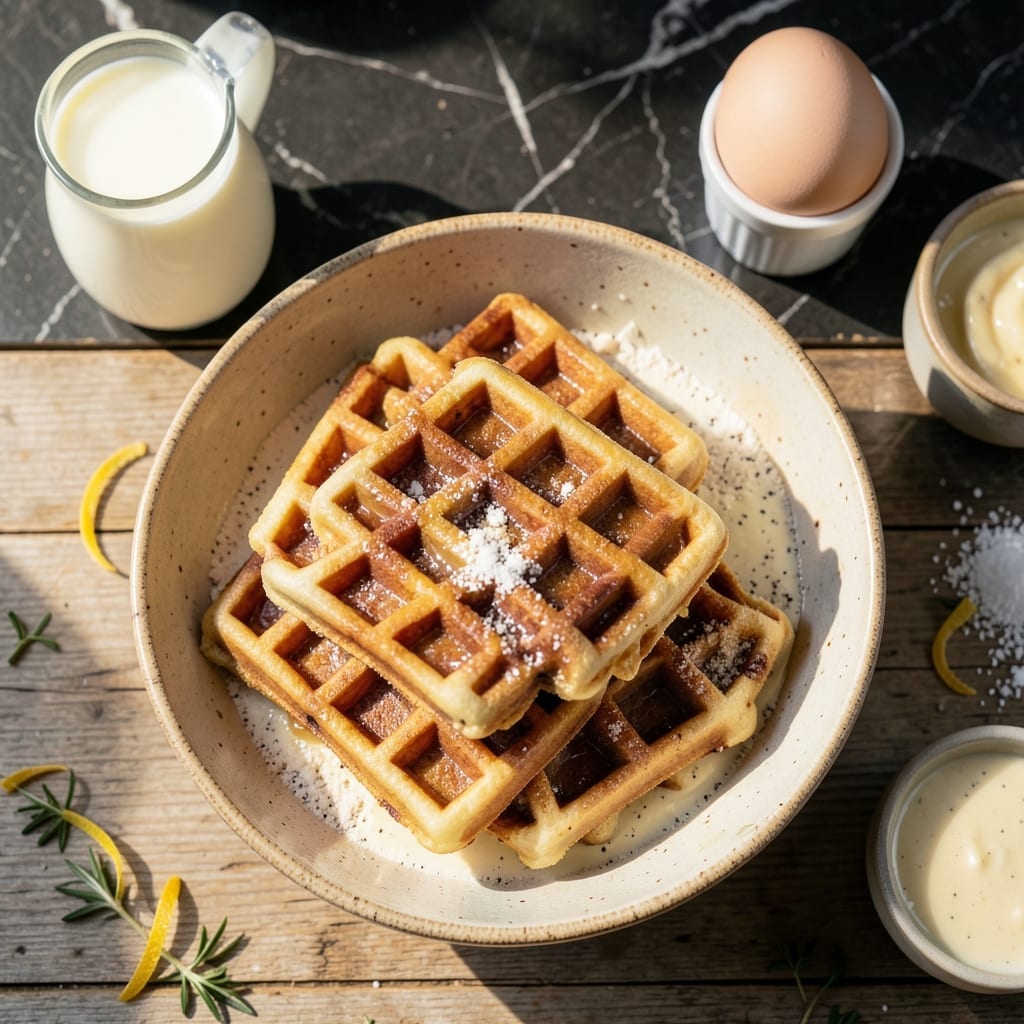
I’ve refined this small-batch waffle recipe to deliver perfectly crisp edges and a tender interior every time. No leftover batter, no guesswork—just a foolproof method for single-serving stacks.
The key is a balanced ratio of flour, leavening, and fat, plus a hot waffle iron set to 375°F. This ensures even cooking and that coveted golden-brown finish without burning or soggy centers.
Each bite offers a delicate crunch outside with a light, fluffy crumb inside. The recipe scales effortlessly if you need more, but it’s designed for those mornings when you want just enough.
Serve warm with maple syrup, fresh fruit, or a dollop of whipped cream. This is breakfast done right.
Ingredients for Small Waffle Batch
A balanced mix of dry ingredients, wet components, and fat for foolproof single-serve waffles.
| Ingredient | Amount | Notes |
|---|---|---|
| All-Purpose Flour 🌾 | 1 cup | Sifted for lighter texture |
| Baking Powder 🧂 | 1 ½ tsp | Ensures proper rise |
| Granulated Sugar 🍚 | 1 tbsp | Balances flavors |
| Salt 🧂 | ¼ tsp | Enhances all ingredients |
| Large Egg 🥚 | 1 whole | Room temperature preferred |
| Whole Milk 🥛 | ¾ cup | Full-fat for richness |
| Unsalted Butter 🧈 | 3 tbsp | Melted and cooled |
| Vanilla Extract 🌿 | 1 tsp | Pure for best flavor |
| Vegetable Oil 🫒 | 1 tbsp | For waffle iron greasing |
The flour is the foundation—King Arthur or Gold Medal deliver consistent results. Baking powder loses potency over time, so check your tin’s expiration date (yes, they expire). Butter quality matters here; European-style has a richer flavor but standard unsalted works perfectly. Milk should be whole for that tender crumb, but 2% in a pinch won’t ruin it.
No baking powder? One-fourth teaspoon baking soda plus one-half teaspoon cream of tartar per teaspoon needed. Out of milk? Half-and-half thinned with water (1:1) works. Butter can be swapped for coconut oil at the same volume, though flavor will differ slightly. Vanilla extract is worth the splurge—Nielsen-Massey is the gold standard, but store brands are fine too.
Store dry ingredients in a cool, dark place for 6-12 months. Batter can be mixed the night before—just whisk in the baking powder and egg in the morning. Leftover waffles freeze beautifully for up to 3 months.
Why You’ll Love This Recipe
- No-Fuss Mixing: I just dump the flour, baking powder, sugar, salt, and egg in one bowl—no separate steps, no extra dishes.
- Golden Crisp: The baking powder gives them that perfect lift with a slightly sweet, buttery flavor I can’t resist.
- Breakfast or Dessert: I’ve served these plain with syrup, dusted with powdered sugar, or even as mini ice cream sandwiches.
- Zero Waste: Since it’s a small batch, nothing goes stale—just enough for two, with maybe one left for me to sneak later.
Step-by-Step Instructions for Small Waffle Batch
Here’s the method. Straightforward, tested, works every time.
Step 1: Combine Dry Ingredients
In a medium bowl, whisk together the 1 cup All-Purpose Flour, 1.5 tsp Baking Powder, 1 tbsp Granulated Sugar, and 0.25 tsp Salt until fully combined. I always sift the flour first—this prevents lumps and creates a lighter, airier texture in the finished waffles.
Make sure there are no streaks of flour remaining in the bowl. The baking powder needs to be evenly distributed to ensure proper rise during cooking. This dry mix forms the foundation of your batter.
Step 2: Whisk Wet Ingredients Separately
In a separate bowl, crack the 1 whole Large Egg and whisk it lightly. Add the 0.75 cup Whole Milk, melted and cooled 3 tbsp Unsalted Butter, and 1 tsp Vanilla Extract. Whisk until the mixture is smooth and fully emulsified.
The butter should be melted but not hot—adding hot butter to the egg can cook it prematurely. I let the melted butter sit for about 5 minutes to cool slightly before incorporating it. This ensures a smooth, homogeneous wet mixture.
Step 3: Combine Wet and Dry Mixtures
Pour the wet ingredients into the bowl with the dry ingredients. Using a silicone spatula, gently fold the mixtures together until just combined. It’s okay if there are a few small lumps remaining—overmixing will develop gluten, resulting in tough waffles.
The batter should be thick but pourable. If it seems too stiff, resist the urge to add more milk. The consistency is correct when it slowly drizzles off the spatula. This thickness is what creates those beautiful, crisp edges on your waffles.
Step 4: Cook in Preheated Waffle Iron
Preheat your waffle iron and brush it lightly with the 1 tbsp Vegetable Oil. This prevents sticking and ensures a crisp exterior. Pour about ½ cup of batter onto the center of the iron, spreading it slightly toward the edges with the back of a spoon.
Close the lid and cook for 3-5 minutes until the waffles are golden brown and crisp. Most waffle irons have an indicator light, but I also check that steam has stopped escaping from the sides. Remove carefully and repeat with the remaining batter.
Step 5: Serve Immediately
Transfer the cooked waffles to a wire rack set in a 200°F oven to keep them warm if making the full batch. Serve immediately with your favorite toppings. The waffles should have a crisp exterior with a light, fluffy interior.
Each serving yields about two waffles, perfect for a single-serve stack. The edges should be deeply browned and crisp, while the center remains tender. This method ensures every bite has the ideal texture contrast.
Pro Tips For Making Small Waffle Batch
- Preheat the Iron: I learned this the hard way—always give your waffle iron a full 5-7 minutes to heat up, or your first batch will stick and cook unevenly.
- Whisk Eggs Thoroughly: Beat the egg until it’s pale and slightly frothy; it incorporates air that makes the waffles lighter, especially in a small batch where every bit of lift counts.
- Don’t Overmix: Stop stirring as soon as the flour disappears—small lumps are fine, and overworking the batter makes waffles tough.
- Measure Baking Powder: Use a level teaspoon for the baking powder; too much leaves a bitter taste, and too little means flat, sad waffles in a small batch.
Storing and Reheating small waffle batch
Refrigerator Storage
Let your waffles cool completely before storing. Place them in an airtight container with parchment paper between each layer to prevent sticking. They’ll stay fresh in the fridge for up to 3 days. I use Glasslock containers for this. ❄️
Freezer Storage
For longer storage, freeze waffles in a single layer on a baking sheet first. Once frozen solid, transfer to a freezer-safe bag with parchment between layers. They’ll keep for up to 2 months without losing quality. This method prevents them from sticking together.
Toaster Reheating
Pop waffles directly into the toaster on medium-high heat for 2-3 minutes until crisp. No need to thaw first—this works straight from the freezer. Watch closely to avoid over-browning. This is my go-to for quick breakfasts. 🔥
Oven Reheating
Preheat your oven to 350°F and place waffles on a wire rack set over a baking sheet. Heat for 5-7 minutes until warmed through and crisp. This method works best for larger batches.
Microwave Reheating
Place a waffle on a microwave-safe plate and cover with a damp paper towel. Microwave on high for 30-45 seconds. This softens them slightly but is perfect when you’re in a hurry.
Nutrition Facts
Frequently Asked Questions
Can I use a different flour?
Yes, but results may vary. Whole wheat flour will make them denser. For gluten-free, use a 1:1 blend, but add 1 extra tbsp milk to the batter.
Why are my waffles not crispy?
Ensure your iron is fully preheated to 375°F and avoid opening it too soon. Steam escaping means they’re still cooking. Let them cook until deeply golden.
Can I make the batter ahead?
Mix dry ingredients the night before, but add wet ingredients and baking powder just before cooking. This keeps the leavening active for fluffier results.
What if I don’t have a waffle iron?
Use the batter for pancakes! Cook on a greased skillet over medium heat for 2-3 minutes per side. The texture will differ but still taste great.

- 6 Egg Cake Recipe with Oil: Light as Air With Buttery Moisture - October 4, 2026
- 4 Bean Casserole Recipe: One-Pan Heartiness With Smoky Paprika Depth - October 4, 2026
- 3-Ingredient Keto Mug Cake Recipe: Microwave Magic in 2 Minutes - October 4, 2026