
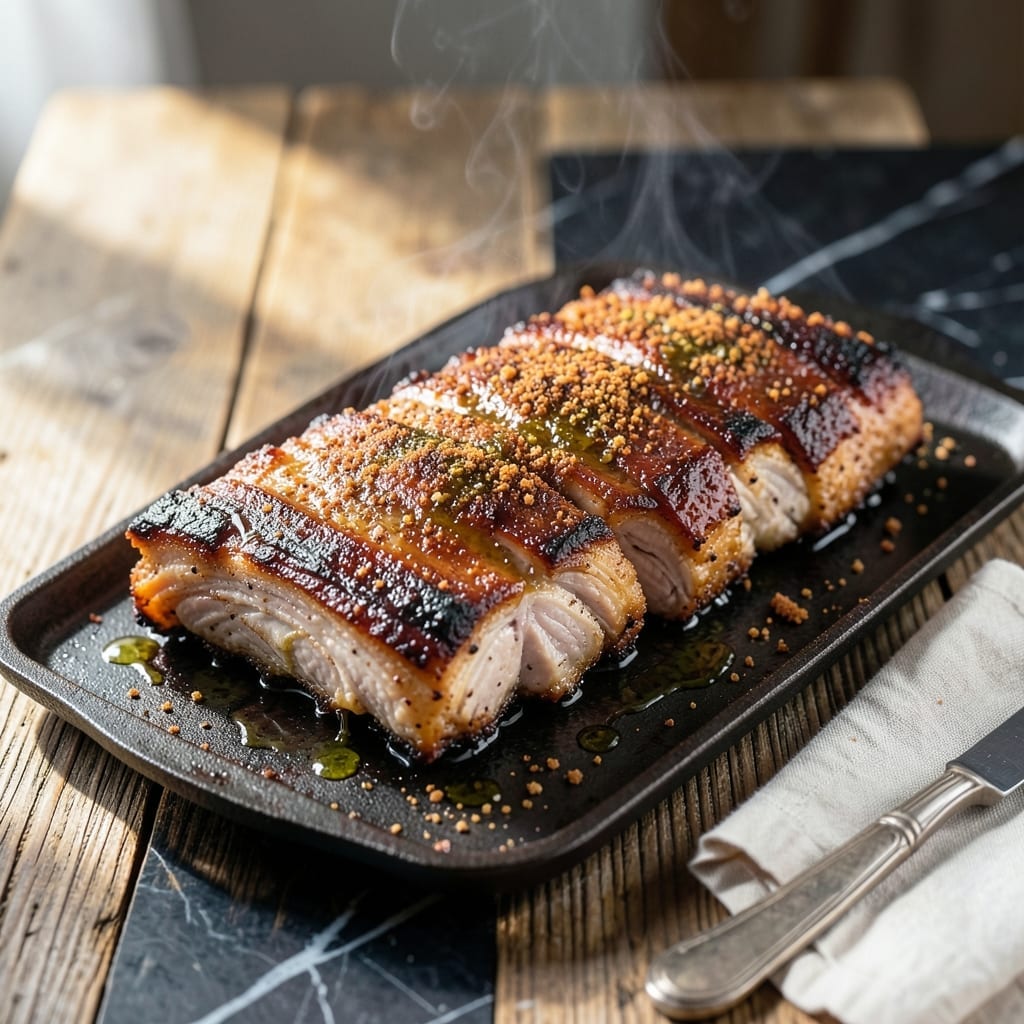
These ribs prove you don’t need a smoker for fall-off-the-bone results. I’ve perfected this oven method through trial and error, and it’s become my go-to for lazy weekends.
The dry rub is the star here—simple spices that form a flavorful crust. I coat the ribs generously, then let them sit for an hour so the seasoning sticks and penetrates.
At 275°F, the ribs cook low and slow, turning tough meat into something tender enough to pull apart with a fork. The oven does all the work while you relax.
What comes out is juicy, flavorful ribs with a perfect bark. Serve with extra dry rub on the side for those who want a bolder bite.
Ingredients for St Louis Ribs Dry Rub Oven
Simple spices and pork ribs come together for that perfect oven-baked tenderness you crave.
| Ingredient | Amount | Notes |
|---|---|---|
| St Louis Style Pork Ribs 🥩 | 4 lb | Rack trimmed, membrane removed |
| Brown Sugar 🧈 | ½ cup | Light or dark variety |
| Paprika 🌶️ | 2 tbsp | Sweet or smoked variety |
| Garlic Powder 🧄 | 1 tbsp | Not garlic salt |
| Onion Powder 🧅 | 1 tbsp | Freshly ground preferred |
| Chili Powder 🌶️ | 1 tbsp | Mild or hot variety |
| Ground Cumin 🌿 | 1 tsp | Toasted for deeper flavor |
| Black Pepper 🌶️ | 1 tbsp | Freshly ground preferred |
| Kosher Salt 🧂 | 1 tbsp | Diamond Crystal preferred |
| Dried Oregano 🍃 | 1 tsp | Crushed between fingers |
| Cayenne Pepper 🔥 | ½ tsp | Adjust for heat preference |
| Olive Oil 🫒 | 2 tbsp | For rubbing on ribs |
| Apple Cider Vinegar 🍏 | 2 tbsp | For tenderizing meat |
The ribs are everything here. St Louis style have that perfect shape and meat-to-bone ratio you want. Most butchers sell them with the membrane already removed (worth the extra dollar), but if not, it takes two minutes to peel off yourself. I grab mine from Costco—consistent quality, great price for a 4-pound rack. Look for ribs with good marbling, not too lean.
No brown sugar? White sugar plus a tsp of molasses gets you close. Smoked paprika is ideal but regular works fine. Out of garlic powder? Fresh minced garlic at double the amount—just press it into the meat so it sticks. The cayenne can be skipped if you’re sensitive to heat, but I love that little kick. Penzeys has the best spice quality if you’re restocking your pantry.
Rub the ribs the night before if you want maximum flavor penetration. The dry mix keeps in a jar for 6 months, so make extra. Leftovers taste even better the next day, and they freeze for up to 3 months.
Why You’ll Love This Recipe
- Oven Simple: I just rub, season, and let the oven do the work—no babysitting required.
- Sweet & Smoky: That brown sugar caramelizes with the paprika for a crust that’s sticky, spicy, and downright addictive.
- Crowd Pleaser: Honestly, I’ve served these at backyard BBQs and lazy Sundays alike—always disappear first.
- Budget Friendly: St. Louis ribs are affordable, and the dry rub uses pantry staples I already have.
Step-by-Step Instructions for St Louis Ribs Dry Rub Oven Recipe
Here’s my foolproof oven method that delivers tender ribs with minimal fuss and maximum flavor.
Step 1: Prepare and Season the Ribs
Start with the 4 lb St Louis Style Pork Ribs—make sure the membrane is removed (I use a paper towel for grip and slide a butter knife underneath first). This step ensures the dry rub penetrates the meat properly and prevents a chewy texture.
In a bowl, combine the 0.5 cup Brown Sugar, 2 tbsp Paprika, 1 tbsp Garlic Powder, 1 tbsp Onion Powder, 1 tbsp Chili Powder, 1 tsp Ground Cumin, 1 tbsp Black Pepper, 1 tbsp Kosher Salt, 1 tsp Dried Oregano, and 0.5 tsp Cayenne Pepper. Rub this mixture generously over all sides of the ribs, pressing it in firmly so it adheres well.
Step 2: Add Moisture and Let the Flavors Meld
Drizzle the 2 tbsp Olive Oil and 2 tbsp Apple Cider Vinegar over the seasoned ribs. The oil helps the dry rub stick, while the vinegar tenderizes the meat and balances the richness of the spices. I like to use my hands for this—it’s messy but ensures even coverage.
Let the ribs sit at room temperature for 30 minutes while you preheat the oven. This waiting period allows the spices to begin penetrating the meat and enhances the flavor. Don’t skip this—it makes a noticeable difference in the final taste.
Step 3: Slow-Roast for Fall-Off-The-Bone Tenderness
Preheat your oven to 275°F. Place the ribs meat-side down on a foil-lined baking sheet. Cover them tightly with another layer of foil, creating a sealed packet. This traps steam inside, which is key for breaking down the collagen and making the ribs tender.
Roast for 2.5 hours undisturbed. Resist the urge to peek—every time you open the oven, you lose heat and extend the cooking time. You’ll know they’re ready when the meat starts to pull away from the bones slightly.
Step 4: Finish Under the Broiler for a Caramelized Crust
Carefully remove the ribs from the oven and increase the temperature to 450°F. Unwrap the foil and brush the ribs with any juices that have collected. Place them meat-side up on the baking sheet and slide them under the broiler for 3-5 minutes.
Watch them closely—the sugar in the dry rub can burn quickly. You’re aiming for a deep, glossy crust with slightly charred edges. The ribs should be deep brown and sticky to the touch. Let them rest for 10 minutes before slicing and serving with your favorite sides.
Pro Tips For Making St Louis Ribs Dry Rub Oven
- Pat Ribs Dry: I learned this the hard way—blot the ribs with paper towels before applying the rub to help the brown sugar and spices stick better and form a proper crust.
- Low and Slow: Keep the oven at 275°F and give them 3-4 hours; rushing with higher heat turns the meat tough instead of fall-off-the-bone tender.
- Skip the Foil: Resist the urge to wrap them in foil halfway—this dry rub method works best when the ribs cook uncovered the whole time for maximum bark development.
- Rest Before Slicing: After pulling them from the oven, let the ribs rest for 10 minutes under loose foil—this keeps the juices from running all over the cutting board.
Common Mistakes When Making This Dish
Skipping the Membrane
I learned the hard way that the membrane on the bone side must go. If you leave it on, it creates a barrier that prevents the dry rub from penetrating and can make the ribs chewy. Use a paper towel for grip and slide a butter knife underneath to lift it, then peel it off in one piece.
Under-Seasoning the Ribs
Don’t be shy with the dry rub—this isn’t the time for restraint. A light dusting won’t give you that flavorful crust you’re after. I coat every surface generously, pressing the mix into the meat so it adheres well. You’ll use nearly all of the ½ cup brown sugar mixture for a 4 lb rack. 💪
Peeking in the Oven
Every time you open the oven door, you lose 25-50°F of heat, which can add 30 minutes or more to your cooking time. Trust the process and resist the urge to check on them. The ribs need that steady 275°F to break down properly.
Skipping the Rest
After broiling, let the ribs rest for at least 10 minutes before slicing. This allows the juices to redistribute throughout the meat. If you cut into them too soon, all those delicious juices will end up on your cutting board instead of in the ribs.
Overcooking Under Broiler
The sugar in the dry rub can burn quickly under the broiler. Stay close and watch them like a hawk—3-5 minutes is usually all it takes to get that perfect caramelized crust. If they start to darken too much, pull them out immediately.
Using the Wrong Rack
St. Louis-style ribs are trimmed square and have a good meat-to-bone ratio. Baby back ribs will cook faster and can dry out at 275°F for 2.5 hours. Stick with St. Louis for this method to get the best texture and flavor.
Nutrition Facts
Frequently Asked Questions
What’s the ideal oven temperature for tender results?
Use 275°F for low-and-slow cooking. This temperature breaks down collagen without drying out the meat. Higher heat risks tough ribs, while lower may not cook them through properly.
How long should I let the dry rub sit on the ribs?
Let them rest for 30 minutes at room temperature after applying the rub. This allows the spices to penetrate the meat and develop deeper flavor before cooking.
Can I use baby back ribs instead?
Not recommended. Baby backs cook faster and may dry out at 275°F for 2.5 hours. Stick with St. Louis-style for the best texture and even cooking.
What if my ribs aren’t tender after cooking?
They likely need more time. Extend cooking in 30-minute increments at 275°F until the meat pulls away from the bones. Resist increasing the temperature.

- 6 Egg Cake Recipe with Oil: Light as Air With Buttery Moisture - October 4, 2026
- 4 Bean Casserole Recipe: One-Pan Heartiness With Smoky Paprika Depth - October 4, 2026
- 3-Ingredient Keto Mug Cake Recipe: Microwave Magic in 2 Minutes - October 4, 2026