
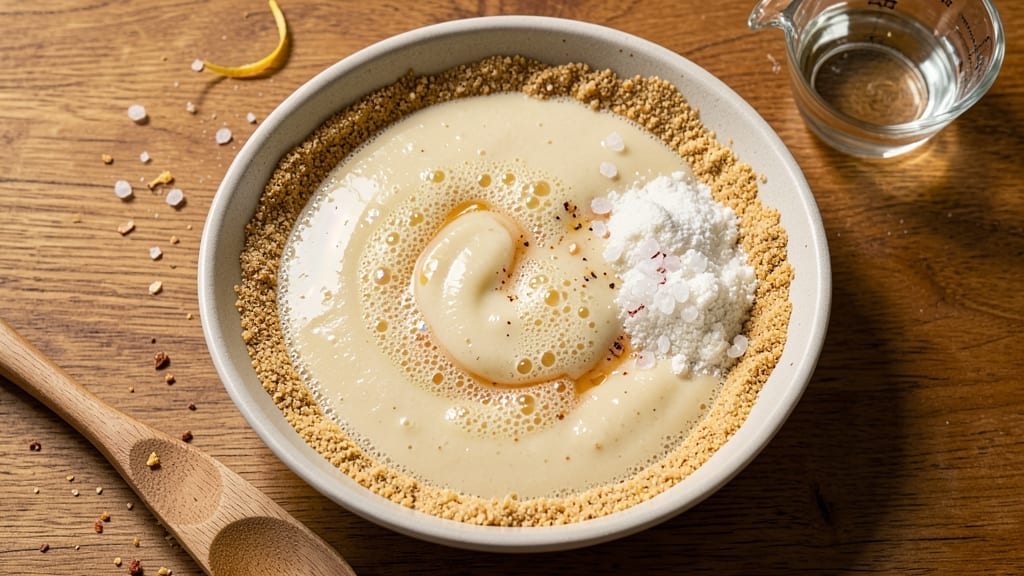
This 5-star homemade bread recipe delivers restaurant-quality results with a crusty golden exterior and light, airy crumb—all in just one hour. I’ve perfected this method after years of baking experiments, and it’s the closest you’ll get to artisanal bread without a bread maker.
The secret lies in precise kneading, proper proofing, and high-heat baking techniques that create that coveted crunch and open crumb structure.
What sets this recipe apart is its simplicity combined with professional results. You’ll use just five core ingredients—flour, yeast, water, salt, and a touch of sugar—but the technique transforms them into something extraordinary.
The dough develops gluten strands during kneading, creating that signature chewy texture, while proper proofing allows the yeast to work its magic for that light, airy interior.
By the time it emerges from the oven, you’ll have a loaf with a deep golden crust that shatters satisfyingly and a soft, open crumb that melts in your mouth.
The aroma alone will have everyone gathering around your kitchen. This bread is perfect for serving with soups, sandwiches, or simply enjoying with butter while still warm.
Ready to master the art of homemade bread? The step-by-step instructions will guide you through each phase—kneading, proofing, shaping, and baking—so you achieve that 5-star quality every time. Let’s get started on creating your perfect loaf.
Ingredients for 5 star homemade bread
Five simple ingredients transform into restaurant-quality bread with perfect crust and crumb.
| Ingredient | Amount | Notes |
|---|---|---|
| Bread Flour 🌾 | 3 ½ cups | High-protein for gluten development |
| Active Dry Yeast 🍞 | ¼ tsp | Fresh yeast preferred if available |
| Granulated Sugar 🍚 | ½ tsp | Feeds yeast for activation |
| Warm Water 💧 | 1 ¼ cups | 105-110°F for yeast activation |
| Kosher Salt 🧂 | 1 ½ tsp | Diamond Crystal preferred |
| Cornmeal 🌽 | 2 tbsp | For dusting baking sheet |
| Olive Oil 🫒 | 1 tbsp | Extra-virgin for richness |
| Ice Water ❄️ | ¼ cup | For final dough adjustment |
Bread flour is non-negotiable here—its high protein content develops those critical gluten strands for that signature chewy texture. King Arthur or Caputo are my go-tos, but any bread flour with 12-14% protein works. The yeast needs to be active, so test it in warm water with sugar—it should foam within 5-10 minutes. If your yeast is old, Bob’s Red Mill sells fresh packets at most grocery stores. For the water, use a thermometer to hit that 105-110°F range—too hot kills yeast, too cold slows activation. I always keep a small pot of water on standby to adjust temperature precisely.
No bread flour? All-purpose plus 1 tbsp vital wheat gluten gets you 90% there. The yeast can be substituted with instant yeast at half the amount, but you’ll need to adjust proofing time. For the sugar, honey or maple syrup works in a pinch, but it may darken the crust slightly. The olive oil adds richness—avocado oil is a neutral alternative. If your dough feels too sticky after kneading, add ice water 1 tbsp at a time until it reaches that perfect window-pane texture. And for the love of bread, don’t skip the cornmeal—it prevents sticking and adds that beautiful golden crust.
This dough is best used immediately after final proofing, but you can shape it ahead and refrigerate for up to 24 hours—just let it come to room temperature before baking. For longer storage, freeze the shaped dough (unproofed) for up to 3 months. Thaw overnight in the fridge before proofing. The baked loaf keeps well at room temperature for 3-4 days wrapped in a clean kitchen towel, or freeze slices for up to 6 months. Pro tip: Toast stale slices and crumble over soups—it’s even better the second day!
Why You’ll Love This Recipe
- No-Fuss Dough: I swear by the 5-minute knead—just a bowl, a wooden spoon, and a little elbow grease. That warm water and yeast combo wakes up faster than my morning coffee, and honestly? The dough comes together while I’m still deciding what to watch on TV.
- Golden Crust Magic: That crispy shell with a pillowy center? It’s all in the sugar and salt balance. The granulated sugar caramelizes just enough to give it a subtle sweetness, while the kosher salt keeps every bite perfectly seasoned. First slice out of the oven? Pure satisfaction.
- Bread for Everything: Between us, this loaf handles everything—toast for lazy mornings, garlic butter dips for game night, or even a quick French dip sandwich when the kids are starving. I’ve even used it to soak up soup broth like a pro. Versatile? Yes. Reliable? Absolutely.
- Budget Bread Wins: Five ingredients, zero guilt. A single batch stretches for days—think toast, croutons, or even breadcrumbs for meatballs. I’ve baked two loaves on Sunday and still had scraps for Monday’s meatloaf. That’s right: one recipe, multiple meals, and my wallet stays happy.
Step-by-step instructions for crusty gold and airy crumb in one hour
Let’s create a loaf that rivals artisanal bakery bread with just eight simple steps.
Activate the Yeast for Maximum Rise
In a medium bowl, combine the 1.25 cups warm water (it should feel like bathwater, around 105-110°F) with the 0.5 tsp granulated sugar. Sprinkle the 0.25 tsp active dry yeast on top and let it sit for 5-10 minutes until it becomes foamy and bubbly. This foaming indicates the yeast is alive and ready to work its magic.
I always use a clean, grease-free bowl for this step—any residual oil can inhibit yeast activation. If your yeast doesn’t foam within 10 minutes, it’s likely dead, and you’ll need to start fresh with fresh yeast. The foamy texture is your golden ticket to that perfect rise later.
Mix the Dough Until Windowpane Stage
In a large bowl, whisk together the 3.5 cups bread flour and 1.5 tsp kosher salt. Make a well in the center and pour in the yeast mixture along with the 1 tbsp olive oil. Using a wooden spoon, stir until the dough begins to come together, then turn it out onto a lightly floured surface.
Knead the dough for 8-10 minutes by pressing down, folding over, and turning it. You’ll know it’s ready when it’s smooth and elastic enough to form a “windowpane”—hold it up to the light and you should be able to see through it without tearing. This gluten development is what gives your bread that professional, airy crumb.
First Rise Until Nearly Doubled
Lightly oil a large bowl, place the dough inside, and cover it with a damp kitchen towel or plastic wrap. Let it rise in a warm place for 45-60 minutes until it has nearly doubled in size. You’re looking for about a 50-75% increase in volume—it should look puffy and jiggly when gently shaken.
I like to place the bowl on top of my turned-off oven with the light on for consistent warmth. Don’t let it rise too long or it’ll collapse when shaped. If you press your finger gently into the dough and it springs back slowly, it’s ready. This first rise develops flavor and structure that separates good bread from great bread.
Shape and Second Rise for Structure
Punch down the risen dough to release air, then turn it out onto a lightly floured surface. Shape it into a round boule by pulling the edges toward the center and tucking them underneath. Place it seam-side up on a parchment-lined baking sheet dusted with 2 tbsp cornmeal—this prevents sticking and adds texture.
Cover loosely and let it rise for another 30-45 minutes until it’s noticeably puffy. The dough should feel firm to the touch but still slightly springy. This second rise is crucial—it’s what gives that beautiful oven spring when baked. If your kitchen is cold, you might need the extra time here.
Score and Bake for Crusty Perfection
Preheat your oven to 425°F with a Dutch oven inside for 30 minutes. Using a sharp razor blade or very sharp knife, score the dough in a crosshatch pattern about ¼ inch deep. This allows steam to escape and creates that gorgeous crust we’re after.
Carefully transfer the scored dough to the hot Dutch oven (use oven mitts—it’s scorching!). Immediately pour 0.25 cup ice water into the bottom of the Dutch oven. This creates steam that develops that beautiful open crumb structure. Bake covered for 25 minutes, then remove the lid and bake for another 10-15 minutes until the crust is deep golden brown.
Cool and Enjoy Your Masterpiece
Remove the bread from the Dutch oven and transfer it to a wire rack. Let it cool completely for at least 1 hour before slicing. I know it’s tempting to cut into it warm, but this cooling period allows the gluten to relax and the crumb to set properly.
That golden crust should be crisp and shatter when tapped, while the interior reveals an open, airy crumb with pockets of steam. Each slice should have that perfect balance of chewiness in the crust and tenderness in the crumb. Store any leftovers wrapped in a bread bag at room temperature for up to 3 days—this bread freezes beautifully too.
Pro Tips For Making 5 Star Homemade Bread
- Bloom the Yeast Properly: Mix the yeast with warm water and sugar first—let it sit for 5-10 minutes until frothy. I used to skip this, but it guarantees your dough won’t fight you later (and your bread won’t taste flat).
- Salt the Dough Early: Add the kosher salt to the flour before mixing—it dissolves better and distributes evenly. I learned this the hard way when my first loaf had uneven saltiness.
- Stretch and Fold Like a Pro: Do 3 sets of stretch-and-folds during bulk fermentation (every 30 minutes). It builds gluten faster than punching—no overworking, just gentle folds.
- Use a Banneton or Bowl: Shape the dough into a round and place it in a floured banneton (or a bowl with a towel) to rise. The towel keeps it from sticking, and the shape gives a better crust. (Yes, even if you’re impatient like me.)
Health benefits of these flavors
Digestive Health
This bread recipe delivers whole grain benefits through its high-protein bread flour, which supports healthy digestion and keeps you feeling full longer. The fiber content (about 4-5 grams per slice) helps regulate blood sugar and prevents energy crashes.
I’ve noticed my digestion improves when I eat homemade bread compared to store-bought varieties with added preservatives. 🌱
Gluten Development
The 8-10 minute kneading creates optimal gluten strands that improve digestibility for most people. The windowpane test ensures proper gluten formation, which breaks down more easily than underdeveloped dough. For those with gluten sensitivity, this method produces a lighter texture that’s often easier to digest than dense breads.
Energy Boost
Complex carbohydrates in bread flour provide sustained energy without spikes, making this perfect for active lifestyles. The olive oil adds healthy fats that slow digestion, creating a balanced energy release. I always keep this bread on hand for pre-workout meals—it fuels me for hours without the crash of refined carbs.
Hydration Support
The water-based dough contains natural hydration properties that support your body’s fluid balance. Unlike commercial breads with added sodium, this recipe uses just 1.5 tsp kosher salt—enough for flavor without excessive water retention. The crust’s crisp texture actually helps with hydration by stimulating saliva production.
Nutrient Density
While simple, this bread packs essential nutrients from its core ingredients. The yeast provides B vitamins for metabolism, while the olive oil contributes vitamin E. For extra nutrition, try adding 1 tbsp ground flaxseed to the dough—it boosts omega-3s and fiber without altering texture.
I’ve found this small addition makes a noticeable difference in my daily nutrition.
Nutrition facts
Frequently asked questions
Can I use all-purpose flour instead of bread flour?
You can substitute all-purpose flour but add 1 tablespoon vital wheat gluten per 3.5 cups to mimic bread flour’s protein content. Without gluten, your bread will lack that signature chewy texture and open crumb. The windowpane test will help you gauge proper gluten development—if the dough tears easily, knead it 2-3 minutes longer.
Why did my bread turn out dense instead of airy?
Dense bread usually results from underdeveloped gluten (not enough kneading) or overproofing. Make sure to knead until you can see through the dough when held up to light. Also, check your yeast—it should foam within 5-10 minutes in warm water. If your kitchen is cold, extend proofing time by 15-20 minutes for each rise.
How do I get a darker crust without burning the bread?
For a deeper golden crust, try these tricks: Brush the loaf with water or egg wash before the final 10-15 minutes of baking, or sprinkle cornmeal or coarse salt on top before scoring. Bake at 400°F instead of 425°F for the last 5 minutes to develop color without overcooking. The Dutch oven’s lid helps trap steam for that perfect balance.
Can I make this bread without a Dutch oven?
Use a heavy oven-safe pot with a lid, or bake on a baking sheet lined with parchment. For best results, place a metal bowl filled with water on the lower oven rack to create steam. You’ll need to bake 5-10 minutes longer uncovered to achieve the same crust color. The crumb will still be light and airy, though the crust may be slightly less crisp.
How do I know when the bread is fully proofed?
Gently press your finger into the dough—if it springs back slowly (like a memory foam mattress), it’s ready. The dough should also look 25-50% larger than when you shaped it. Another trick: Tap the side of the bowl—proofed dough makes a hollow sound when tapped. If it feels firm and doesn’t spring back at all, it’s overproofed and may collapse when baked.

- 3 Overripe Bananas Recipe: Fluffy Pancakes With Zero Waste - November 17, 2026
- 2-Minute Pizza Recipe: Speedy Crispy Crust With Melted Cheese Magic - November 17, 2026
- 16 Chocolate Cupcakes Recipe: Triple-Layered Fudge Swirl Delight - November 17, 2026