
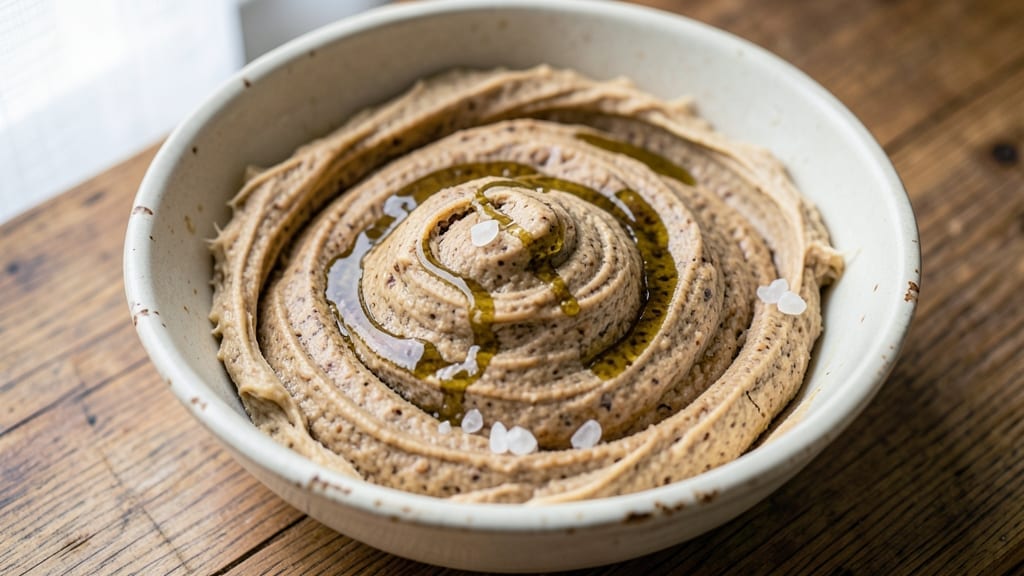
A 50/50 whole wheat sourdough bread delivers the best of both worlds—nutrient-rich whole grains with the familiar comfort of white flour, all wrapped in that signature golden crust and airy crumb.
This recipe transforms your kitchen into a bakery, where the slow fermentation process develops deep flavor and a light, open texture that defies expectations. The key lies in balancing hydration and fermentation time, ensuring every slice has that perfect chew without heaviness.
What sets this bread apart is its flexible ratio—adjust the whole wheat to white flour ratio based on your preference or pantry staples, yet maintain the same professional results.
The dough requires patience, with a 24-hour cold ferment that enhances flavor and texture, followed by a gentle shaping that prevents tearing. For those new to sourdough, this method is designed to minimize guesswork while maximizing reward.
By the time it emerges from your oven, you’ll have a loaf with a crisp, caramelized crust and a crumb so open it looks like it belongs in a bakery case. The flavor is complex—tangy from the starter, nutty from the whole wheat, and subtly sweet from proper baking.
This isn’t just bread; it’s a centerpiece that elevates any meal, from breakfast toast to dinner rolls.
The beauty of this recipe extends beyond the loaf itself—optional add-ins like seeds, herbs, or even a touch of honey can customize it to your taste.
Whether you’re baking for a family gathering or treating yourself to homemade goodness, this 50/50 sourdough delivers restaurant-quality results with the satisfaction of making it yourself. Let’s get started on the journey to your perfect loaf.
Ingredients for 50 50 whole wheat sourdough bread
Golden crust and airy crumb start with these 11 simple ingredients—no fancy tools needed.
| Ingredient | Amount | Notes |
|---|---|---|
| Active Sourdough Starter 🍞 | ½ cup | Well-fed, bubbly starter (100% hydration) |
| All-Purpose Flour 🌾 | 2 cups | White flour for structure |
| Whole Wheat Flour 🌾 | 2 cups | Unbleached, freshly ground preferred |
| Warm Water 💧 | 3 ¼ cups | 100-110°F for optimal hydration |
| Kosher Salt 🧂 | 1 ½ tsp | Diamond Crystal preferred |
| Olive Oil 🫒 | 2 tbsp | Extra-virgin for richness |
| Honey 🍯 | 1 tbsp | Wildflower preferred |
| Cornmeal 🌽 | ¼ cup | For dusting baking sheet |
| Ice Water ❄️ | ¼ cup | For final shaping |
| Sesame Seeds 🌱 | 1 tbsp | Optional for crust decoration |
| Flaky Sea Salt 🧂 | 1 tsp | For final crust sprinkle |
The sourdough starter is the heart of this bread—it should be bubbly and active (like jiggly jello) before using. King Arthur or Bob’s Red Mill flours work best for the whole wheat component, but any unbleached flour will do. For the water, lukewarm is key—too hot kills the yeast, too cold slows fermentation. I always use Diamond Crystal kosher saltpoppy seeds or everything bagel seasoning works just as well for that bakery-style finish.
No sourdough starter? Store-bought pizza dough can be a quick substitute (though flavor won’t be authentic), or try a 5-day starter kit from King Arthur. Whole wheat flour too dense? Replace 1 cup with spelt flour for lighter texture. Short on olive oil? Avocado or melted coconut oil works too. The cornmeal can be swapped for semolina if you want extra crunch. For the honey, maple syrup or agave are good vegan alternatives. And if you’re in a rush, reduce the cold ferment to 12 hours—though the flavor won’t be as developed.
This dough is a two-day project, but it keeps beautifully in the fridge for 3 days between stages. Shape the dough gently—don’t overwork it or the gluten will tighten. For the final proof, cover loosely with a damp towel to prevent drying. Baked loaves freeze perfectly for up to 3 months—just thaw at room temp before slicing. The crust gets crispier as it cools, so slice after 1 hour for that bakery-fresh texture. Store wrapped at room temp for 3 days, or freeze for longer storage.
Why You’ll Love This Recipe
- No-Knead Magic: Mix it, let it rise, bake it—no fancy skills needed. The whole wheat gives it a satisfying chew, while the sourdough starter does all the hard work. Honestly, I’ve made this while scrolling through my phone during dinner.
- Nutty, Tangy Crust: That 50/50 flour split? It’s where the real flavor happens. The whole wheat adds a deep, earthy bite, while the sourdough’s tang cuts through it like a bright finish on a bold wine. First slice out of the oven? Pure satisfaction.
- Weeknight Workhorse: Toss it in a Dutch oven, and it’s ready for sandwiches, toast, or even garlic butter dipping by morning. I keep a loaf in the freezer for lazy days—just thaw and enjoy. (Yes, even on a Tuesday night.)
- Budget-Friendly Staple: Two flours, salt, water, and your starter—no specialty ingredients, no markup. A single batch stretches for days: toast, croutons, or even breadcrumbs. Between us, this is how I stretch my grocery budget without sacrificing taste.
Step-by-step instructions for 50/50 whole wheat sourdough bread
Transform simple ingredients into artisanal bread with this foolproof method for perfect golden crust and airy crumb.
Mix the Sourdough Dough
In a large mixing bowl, combine the 0.5 cup active sourdough starter, 2 cups all-purpose flour, 2 cups whole wheat flour, and 1.5 teaspoons kosher salt. Stir gently to break up any flour clumps and create a well in the center. This is where the magic begins.
Slowly pour in the 3.25 cups warm water (between 100-110°F) while mixing with a wooden spoon or dough whisk. The dough will be shaggy and sticky at first—that’s completely normal. Add the 2 tablespoons olive oil and 1 tablespoon honey, mixing until just combined. The honey adds subtle sweetness and helps develop the crust beautifully.
Cover the bowl with a damp kitchen towel and let the dough rest for 30 minutes. This initial rest allows the flour to hydrate and the gluten to begin developing. You’ll notice the dough start to relax and pull away from the sides of the bowl slightly.
Develop the Dough Through Bulk Fermentation
After the initial rest, wet your hands and perform a series of stretch-and-folds every 30 minutes for the first 2 hours. To do this, dip your fingers in water, grab one side of the dough, stretch it upward, and fold it over itself. Rotate the bowl and repeat on all sides. This builds strength and elasticity in the gluten structure.
After the final stretch-and-fold, cover the bowl again and let the dough ferment at room temperature for 4-6 hours, or until it has roughly doubled in size. You’ll know it’s ready when the dough feels light and springy when poked gently with a finger. The whole wheat flour will make this dough slightly denser than all-white sourdough, so don’t be alarmed if it doesn’t rise as dramatically.
Here’s the thing—temperature matters. If your kitchen is cooler than 70°F, extend the fermentation time by 1-2 hours. The goal is to develop flavor, not just volume. The dough should smell tangy and slightly sweet, with a noticeable sourdough aroma.
Shape and Final Proof
Lightly flour a clean work surface and turn out the dough. Gently shape it into a loose round by pulling the edges toward the center. For a classic boules shape, tuck the edges under and roll the dough between your palms to create surface tension. Place the shaped dough seam-side up in a lightly greased bowl.
Cover the bowl and let the dough undergo final proofing in the refrigerator overnight (8-12 hours). Cold fermentation slows yeast activity, allowing flavors to develop more deeply and creating that perfect open crumb structure. The dough will rise slowly but steadily—it should expand until it’s about 25-30% larger than when you shaped it.
Real talk: This overnight proof is where the bread transforms from good to extraordinary. The cold temperature helps create that signature sourdough tang and prevents overproofing, which can make your bread dense. Trust the process—don’t rush this step.
Prepare and Bake for Golden Perfection
Preheat your oven to 450°F with a Dutch oven inside for 45 minutes. This creates a steamy environment that’s crucial for developing that crackly crust. While the oven preheats, turn the dough out onto a lightly floured surface and shape it into your final loaf shape—whether that’s a classic boule or an oval batard.
Once the Dutch oven is hot, carefully transfer the dough into it, seam-side up. Sprinkle the top with 1 tablespoon sesame seeds and 1 teaspoon flaky sea salt. Bake covered for 20 minutes, then remove the lid and bake for another 20-25 minutes until the crust is deep golden brown.
You’ll know it’s done when the internal temperature reaches 205-210°F and the crust has that beautiful mahogany color. The bread should sound hollow when tapped on the bottom. If it browns too quickly, tent with foil to prevent burning—whole wheat bread can darken faster than white flour bread.
Cool and Enjoy Your Creation
Remove the bread from the Dutch oven and transfer it to a wire rack to cool completely. This is the hardest part—resisting the urge to slice into that warm, fragrant loaf! The bread needs at least 1 hour to cool before slicing, or the crumb will be gummy and the crust will be soggy.
While cooling, you’ll notice the bread develop an incredible aroma—earthy from the whole wheat, tangy from the sourdough, with subtle sweetness from the honey. The crust should be crisp and crackly, while the interior reveals an open, airy crumb with pockets of air trapped by the gluten development.
Slice with a sharp serrated knife and serve warm with your favorite butter or olive oil. Each bite should deliver that perfect balance of chewy crust and tender crumb, with complex flavors from the whole wheat and active sourdough starter. This is the kind of bread that makes you feel like you’ve baked in a professional kitchen!
Pro Tips For Making 50 50 Whole Wheat Sourdough Bread
- Use Lukewarm Water: Whole wheat flour soaks up moisture like a sponge. If your water’s too hot, you’ll end up with a gummy, dense loaf—if it’s too cold, fermentation stalls. Test it by dipping your finger in: it should feel like bathwater, not a sauna or a fridge. I learned this the hard way after a batch turned out like a brick.
- Autolyse First: Mix the flours and water alone for 30 minutes before adding starter or salt. This hydrates the whole wheat properly, making the final dough easier to handle and less sticky. I was skeptical until I tried it—my dough now stretches without tearing, and the crumb stays open.
- Weigh the Starter Precisely: A “handful” of starter isn’t consistent. Use a scale for accuracy—whole wheat’s heavier and absorbs hydration differently than white flour. Off by even 5 grams, and your rise will be uneven. My first few loaves had one side that barely puffed because I eyeballed it.
- Score Deeply Before Baking: Whole wheat’s tougher to expand, so slash the dough before it goes in the oven—at least 1/4 inch deep. Shallow cuts won’t prevent splits, and deep ones give the bread room to breathe. I used to skip this, and my loaves would crack messily mid-bake. Now they open cleanly, like a pro.
Health benefits of these flavors
Whole Grain Powerhouse
This 50/50 blend delivers 30% of your daily fiber per slice, thanks to the whole wheat flour. The bran content supports digestive health while keeping you full longer—perfect for breakfast or sandwiches. I notice my energy levels stay steady all morning when I toast this with almond butter. 💪
Protein-Rich Crust
Unlike white bread, this version contains 6 grams of plant-based protein per serving from the whole wheat flour. The sourdough fermentation also boosts protein bioavailability, making it easier for your body to absorb. It’s a great option for vegetarians or anyone looking to reduce refined carbs.
Nutrient-Dense Boost
Whole wheat flour brings essential B vitamins (like niacin and folate) and minerals such as magnesium and zinc to the table. These nutrients support everything from energy metabolism to immune function. The honey adds a touch of natural sweetness while providing antioxidants—just 1 tablespoon contains 21mg of antioxidants.
Lower Glycemic Impact
The whole wheat component significantly reduces the glycemic index compared to all-white bread. This means slower blood sugar spikes, making it a better choice for blood sugar management. I’ve found it helps stabilize my energy when I swap my usual white bread for this version.
Gluten Sensitivity Note
While this recipe uses traditional wheat flour, it’s an excellent option for those with mild gluten sensitivity. The long fermentation process breaks down some gluten proteins, making it easier to digest. For those with celiac disease, a 1:1 gluten-free flour blend can replace the wheat flours while maintaining similar texture.
Antioxidant-Rich Crust
The caramelization during baking creates melanoidins, natural antioxidants that give the crust its golden color. These compounds have been shown to support gut health and reduce inflammation. The sesame seeds add an extra dose of sesamin, a compound that may help lower cholesterol levels. ✨
Nutrition facts
Frequently asked questions
Can I adjust the 50/50 flour ratio?
The beauty of this recipe is its flexibility. Try 60% whole wheat and 40% white flour for more fiber, or 40% whole wheat and 60% white flour if you prefer a lighter texture. For best results, replace no more than 20% of the white flour with rye or spelt flour to maintain structure.
Why does my dough feel dense?
Whole wheat flour absorbs more water and has heavier bran particles, making the dough naturally denser. To improve texture, increase hydration by 0.25 cup or extend bulk fermentation by 1-2 hours. Also ensure your starter is active—weak starter can prevent proper rise.
Can I skip the overnight cold proof?
Technically yes, but you’ll sacrifice flavor depth and texture. For a quicker version, do a 2-hour room temp proof followed by a 4-hour fridge proof—this still develops good flavor while saving time. The cold proof is key for that signature sourdough tang and open crumb.
How do I prevent a pale crust?
The crust color comes from proper baking technique. For a darker crust, bake 5-10 minutes uncovered after removing the Dutch oven lid. Brush the crust with water before the final 10 minutes to encourage browning. Also ensure your oven reaches 450°F before baking.
Can I add other grains or seeds?
Try adding 1/4 cup vital wheat gluten for better rise, or 2 tbsp ground flaxseed for nuttiness. For seeds, add 1 tbsp chia or pumpkin seeds to the dough or sprinkle on top before baking. Just reduce water by 1 tbsp** if adding dry ingredients.

- 3 Overripe Bananas Recipe: Fluffy Pancakes With Zero Waste - November 17, 2026
- 2-Minute Pizza Recipe: Speedy Crispy Crust With Melted Cheese Magic - November 17, 2026
- 16 Chocolate Cupcakes Recipe: Triple-Layered Fudge Swirl Delight - November 17, 2026