
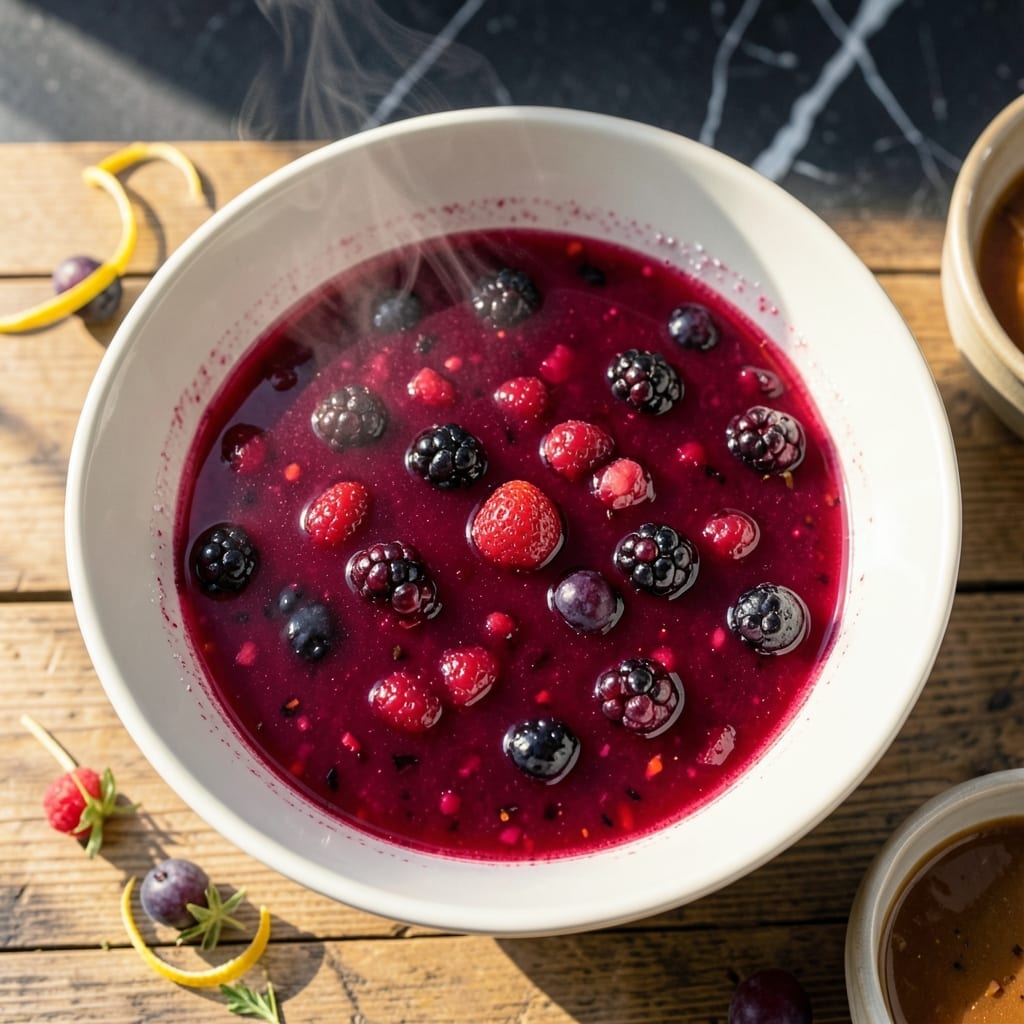
There’s something deeply satisfying about making jelly from scratch, especially when it captures the bright flavors of mixed berries. This recipe delivers that classic spreadable sweetness with a homemade touch you won’t find in store-bought versions.
The process is simpler than you might think. With just fruit, sugar, and pectin, you can create a smooth, glossy jelly that’s perfect for toast, pastries, or gift-giving. The key is proper fruit preparation and precise timing during cooking.
What you’ll get is a vibrant jelly with a beautiful sheen and the perfect balance of sweetness and fruit flavor. The mixed berries create a complex taste that’s both familiar and special, making every bite a little moment of joy.
Store in sterilized jars for up to a year, or enjoy immediately. Here’s how to make it.
Ingredients for Smuckers Mixed Fruit Jelly
Six ingredients transform into a glossy, spreadable jelly bursting with berry flavor.
| Ingredient | Amount | Notes |
|---|---|---|
| Mixed Berries 🍓 | 4 cups | Strawberries, blueberries, raspberries, hulled and crushed |
| Granulated Sugar 🥄 | 5 cups | Fine white sugar preferred |
| Powdered Pectin 🧂 | 1 ¾ oz | One package standard pectin |
| Lemon Juice 🍋 | ¼ cup | Freshly squeezed for acidity |
| Butter 🧈 | ½ tsp | Optional, reduces foam |
| Water 💧 | ½ cup | For pectin activation |
The berries are everything here—use a mix of strawberries, blueberries, and raspberries (fresh or frozen, but thaw and drain frozen first). I grab mine from Costco for bulk savings or Trader Joe’s for their pre-mixed berry blends. Look for fruit that’s ripe but firm (overripe berries can make the jelly too soft). The sugar isn’t just for sweetness—it’s what gives the jelly its structure, so don’t skimp.
No mixed berries? Any single berry works—just stick to the 4-cup measure. Short on pectin? Ball or Sure-Jell are reliable brands, but check the package for exact amounts. The lemon juice is non-negotiable for acidity balance, but bottled works in a pinch (fresh tastes brighter). Skip the butter if you’re vegan—just skim foam off the top before jar filling.
Jelly keeps 1 year unopened in a cool, dark place. Once opened, refrigerate and use within 3 months. Sterilize jars properly—this prevents mold and keeps the color vibrant. (I reuse old jam jars, just run them through the dishwasher first.)
Why You’ll Love This Recipe
- One Pot Wonder: I toss the berries, sugar, pectin, and lemon juice in a single pot, stir, and it thickens like magic.
- Bright & Balanced: The mixed berries give it that jammy depth, while the lemon juice cuts through with just the right tang.
- Gift-Worthy Jars: I make a batch and suddenly I’ve got homemade hostess gifts for the next three dinner parties.
- Stretches Further: A little butter at the end smooths it out, so one batch fills more jars than I expected.
Step-by-Step Instructions for Mixed Fruit Jelly
Here’s my tried-and-true method for making jelly that’s vibrant, perfectly set, and bursting with berry flavor.
Step 1: Prepare the Mixed Berries
Start by hulling and crushing the 4 cups Mixed Berries—I use a potato masher or the bottom of a clean glass. You want the fruit broken down enough to release its juices but not turned into a fine purée. This step ensures maximum flavor extraction during cooking.
If you’re using strawberries, blueberries, and raspberries like I do, crushing them together creates a beautiful, balanced berry blend. Transfer the crushed berries to a large, heavy-bottomed pot—this prevents scorching later.
Step 2: Activate the Pectin and Combine Ingredients
In a small bowl, whisk the 1.75 oz Powdered Pectin with the 0.25 cup Lemon Juice until fully dissolved. The lemon juice isn’t just for flavor—it’s essential for activating the pectin and ensuring your jelly sets properly.
Add the pectin mixture to the crushed berries in the pot, then stir in the 0.5 cup Water. Place the pot over medium-high heat and bring to a full rolling boil that can’t be stirred down. This is non-negotiable—pectin needs that vigorous boil to work its magic.
Step 3: Add Sugar and Reach the Jelling Point
Once boiling, add all 5 cups Granulated Sugar at once and stir constantly. Bring the mixture back to a full rolling boil and let it cook for 1 minute. You’ll notice the foam building up—that’s normal, but it’s also why I add the 0.5 tsp Butter now (if using). It reduces foam without affecting the jelly’s texture.
Watch for the mixture to thicken slightly and the color to deepen. At this stage, the jelly will start to sheet off a spoon when you lift it. If you’re unsure, do the cold plate test: place a spoonful on a chilled plate, let it sit for 30 seconds, then push it with your finger. If it wrinkles, it’s ready.
Step 4: Jar and Seal for Storage
Remove the pot from heat and let it sit for 1-2 minutes to allow the foam to settle. Skim off any remaining foam with a metal spoon—this ensures your jelly looks as good as it tastes. Ladle the hot jelly into sterilized jars, leaving ¼ inch headspace.
Wipe the rims clean, then seal with lids and rings. Process in a water bath canner for 10 minutes to ensure shelf stability, or let it cool completely and store in the refrigerator for up to 3 weeks. As it cools, you’ll hear the satisfying pop of the lids sealing—a sure sign of success.
Pro Tips For Making Smuckers Mixed Fruit Jelly
- Boil it hard: Once you add the sugar, bring it to a full rolling boil that can’t be stirred down—I learned this the hard way when my jelly stayed runny because I chickened out on the heat.
- Measure pectin precisely: Use a flat knife to level the powdered pectin in the measuring spoon; even a little extra can make your jelly set too firm or give it a dull, chalky taste.
- Skim the foam: As it boils, skim off the pink foam with a metal spoon so your finished jelly stays crystal clear instead of cloudy.
- Add butter last: Stir in the butter right at the end, after removing from heat, to reduce foaming during the boil and give your jelly that classic glossy shine.
Common Mistakes When Making smuckers mixed fruit jelly
Skipping the Cold Plate Test
I see so many people eyeball the jelly thickness and regret it later. Always do the cold plate test—place a spoonful on a chilled plate, wait 30 seconds, then push with your finger. If it wrinkles, it’s ready; if not, keep cooking. This takes the guesswork out completely. 💡
Using the Wrong Pot
A thin pot will scorch your jelly and ruin the flavor. Always use a heavy-bottomed pot, like enamel-coated cast iron or stainless steel, to distribute heat evenly. I learned this the hard way with a burnt batch that tasted bitter.
Over-Stirring After Adding Sugar
Once you add the 5 cups Granulated Sugar, stir just until dissolved, then let it boil undisturbed. Constant stirring can prevent the jelly from reaching the proper temperature and setting correctly. Trust the process—it works every time.
Ignoring the Foam
That foam on top isn’t just unsightly—it can trap air and affect shelf life. Skim it off with a metal spoon before jarring. If you’re using the optional 0.5 tsp Butter, add it when the mixture starts foaming to reduce it naturally.
Underfilling or Overfilling Jars
Leave exactly ¼ inch headspace in each jar for proper sealing. Too little space can cause leaks, while too much can prevent a strong vacuum seal. I use a canning funnel to keep things neat and consistent.
Skipping Sterilization
Never pour hot jelly into unsterilized jars. Boil your jars and lids for 10 minutes or run them through the dishwasher’s sanitize cycle. This step kills bacteria and ensures your jelly stays fresh for up to 1 year. ✨
Nutrition Facts
Frequently Asked Questions
Can I use frozen berries for this jelly?
Thaw frozen berries first, then drain excess liquid before crushing. This prevents a watery jelly. The flavor remains just as vibrant as with fresh berries.
Why did my jelly not set properly?
This usually happens if the mixture didn’t reach a full rolling boil after adding sugar. Always use a candy thermometer to hit 220°F. Undercooking or over-stirring can also prevent proper setting.
How long does homemade jelly last?
Unopened, it stays fresh for up to 1 year in a cool, dark place. Once opened, refrigerate and use within 3 months for best quality. Always sterilize jars first for maximum shelf life.
Can I reduce the sugar in this recipe?
Sugar is crucial for both flavor and preservation. Reducing it may result in a runny jelly. If you must, use a low-sugar pectin and follow the package instructions precisely.

- 6 Egg Cake Recipe with Oil: Light as Air With Buttery Moisture - October 4, 2026
- 4 Bean Casserole Recipe: One-Pan Heartiness With Smoky Paprika Depth - October 4, 2026
- 3-Ingredient Keto Mug Cake Recipe: Microwave Magic in 2 Minutes - October 4, 2026